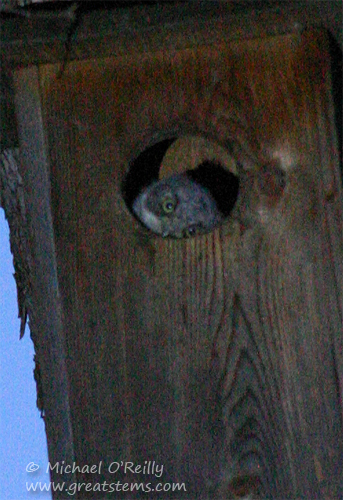
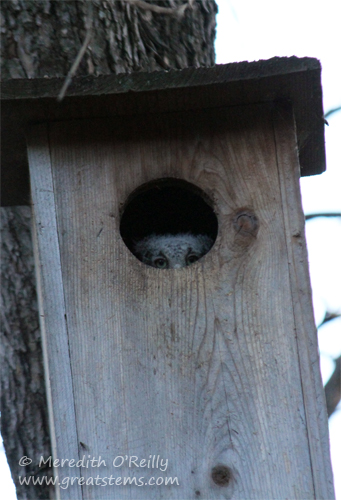
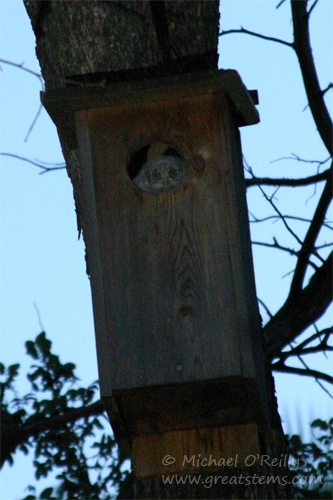
Brrrrr! It’s cold outside! Even here in Texas, major cold fronts can bring sudden freezing temperatures and snow. When temperatures drop, insects and reptiles will hide under protective leaves and twigs and logs, but birds have to expend a lot of energy to stay warm. Their efforts are complicated by the fact that fat-and protein-rich insects, prime energy food sources, can be hard to find when it’s cold outside.
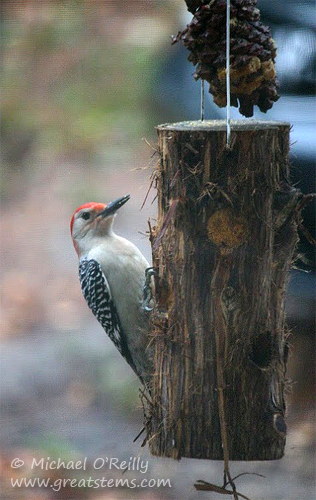
An easy way to provide an energy source in the cold is to put a peanut butter and seed mixture outside for the birds. You can use pine cones, log feeders, orange rinds, or pieces of bark to hold the food mixture. This is a fun project, and it’s a great way to let kids get involved in helping nature. Note: At the end of this post, I talk about alternatives to peanut butter if allergies are a concern, and I also talk about foods you should NEVER feed to wild birds.
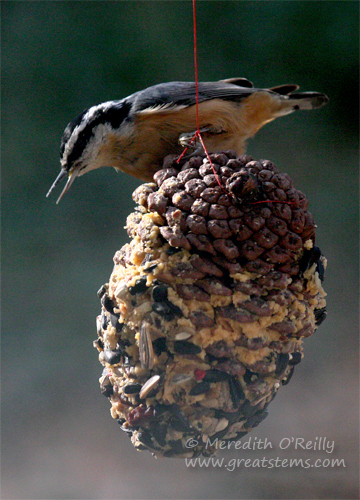
Let’s start with a basic pine cone feeder, and then we’ll look at alternative feeders if you don’t have access to pine cones in your area.
Pine Cone Feeder
- Pine cone (completely natural — don’t use ones treated with scented oils)
- Wire, twine, or yarn
- Organic, natural peanut butter (I like to get crunchy, but creamy is fine)*
- Organic yellow cornmeal
- Black oil sunflower seed
- Optional: Peanuts, dried fruit (chopped), or other seed (such as safflower)
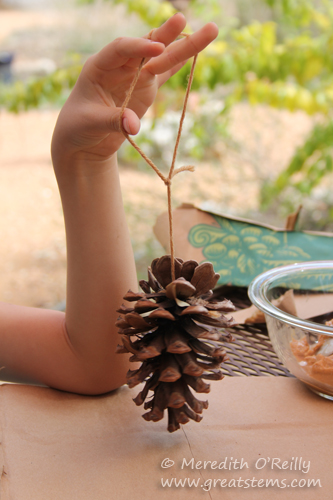
1. Start by twisting the wire or tying your twine or yarn around the fat end of the pine cone to create a loop for hanging the feeder.
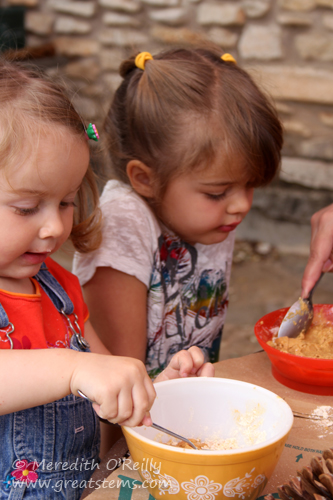
2. Next, scoop peanut butter into a bowl and add the corn meal in small quantities.
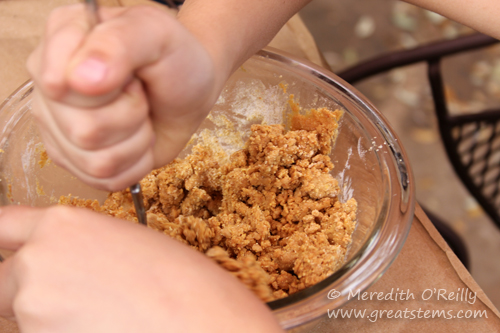
As the corn meal gets mixed in, the peanut butter gets less sticky and becomes more the consistency of fresh play-dough — this is what you want.
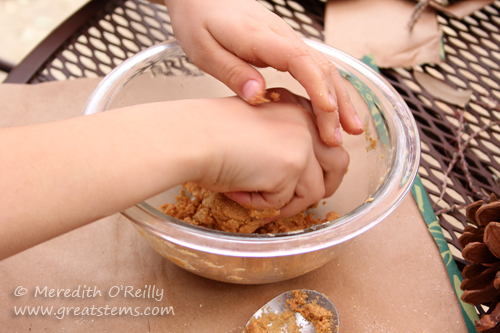
3. When the mixture becomes difficult to mix with a spoon, just stick your hands right in and knead the peanut butter-cornmeal to a well-blended consistency. I’ve seen some parents and kids hesitate to get their hands dirty on this step, but this is a really fun part for the rest of us! In fact, once hesitant kids dive in and get going, they usually discover that they are enjoying themselves, too. Plus, getting your hands in there lets you know when you have the right amount of cornmeal — if the peanut butter is still too sticky, add a little more cornmeal. If nothing is staying together, you’ve probably got too much cornmeal, so add more peanut butter.
4. When the consistency seems just right, add in the seed, as well as the peanuts or chopped dried fruit if you have them.
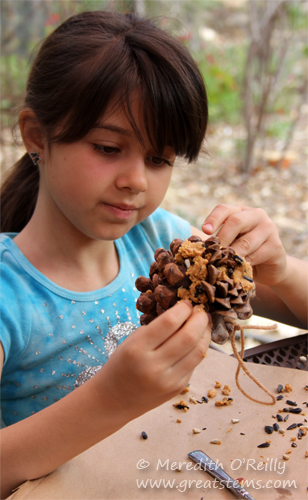
5. Then it’s time to spread the mixture onto your pine cone!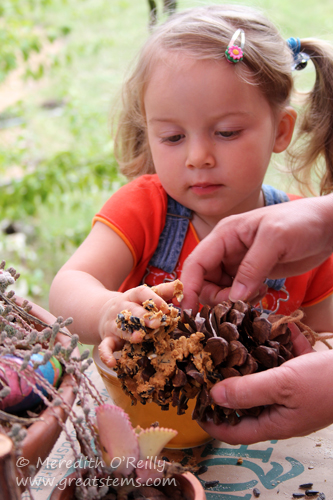
You can press peanut butter down between the cone scales, too — the birds will have no trouble getting it out.
 And that’s it! Hang your feeders outside a window so that you can watch the birds as they feast. It might take them a day or two to find the feeders. Don’t be surprised if a squirrel gets interested, too — but the squirrel might just show the birds where to find the pine cone!
If you don’t have pine cones but you have some power tools, you can make a log feeder. Older kids can help with this! Here are the basic instructions — I might do a how-to post in more detail later. Use a saw to cut a log to about 12 inches long (it’s helpful for the log to be 2-5 inches in diameter). With a power drill and a small bit, drill a pilot hole for a screw eye, then insert the screw eye and turn it the rest of the way into place. Finally, with a spade bit (about 1 or 1 1/4-inch), bore holes partially into the wood, about 1-inch deep. Then just add the food, and hang up your feeder!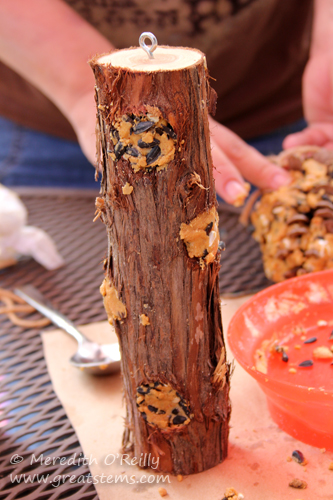 You can also cut one end off a large orange and remove the pulp (give it to the birds!), then create a bowl from the remaining rind by adding a hanging method and filling the rind bowl with the peanut butter mixture.
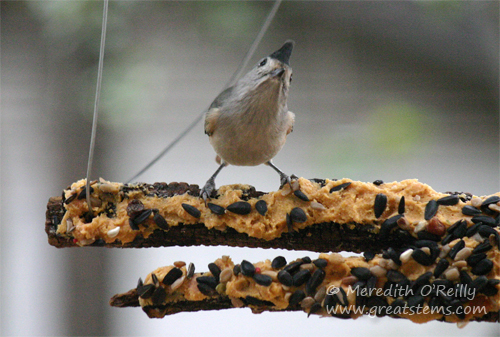
Another idea is to find a piece of bark that you can hang up and fill or spread with the peanut butter mixture. We created a perch one year that was very, very popular with the birds.
* What if your child is allergic to nuts? Some people use suet, or animal fat, instead of the peanut butter, but it’s harder to buy it organic. Others use vegetable shortening, but I can’t recommend it, unless you can find organic, healthier versions — I take the approach of “if I won’t feed it to my family, I won’t feed it to the birds.” Keep in mind, too, that seeds are often packaged in places that have peanuts and other nuts — you should never assume that a bag of black oil sunflower seeds won’t have traces of peanuts. However, the good news is that there are many other ways to feed wildlife that might be safer for folks with allergies — for example, oranges and other fruits are great choices for birds and butterflies, and there are lots of fun ways to present those to wildlife. Mealworms can be purchased at many pet stores, too — perhaps make a bowl out of an orange rind and fill it wiggling mealworms! Many parent songbirds will love to feed them to their babies.
While I’m at it, let’s talk about foods you should never feed wild birds. Foods that are bad for wild birds are bread or other wheat products (including loaf breads, bagels, cereals, and crackers), microwave popcorn, spoiled seed, chips and other junk food, raw meat, honey, and any foods that have been treated with pesticides or other chemicals. Unfortunately, well-meaning people unintentionally cause harm to wildlife when they provide these non-nutritious or potentially deadly foods to animals. Stick with organic foods, and always research before you feed something you are uncertain about to birds or other critters.
A final note — be sure not to use peanut butter or suet when it’s too warm outside — you don’t want the food to go rancid. But if it’s cold, help the birdies stay warm with these energy-rich treats — and then sit inside with some hot chocolate and enjoy watching the grateful birds!
Interested in other nature/wildlife activities for kids? Visit this page!
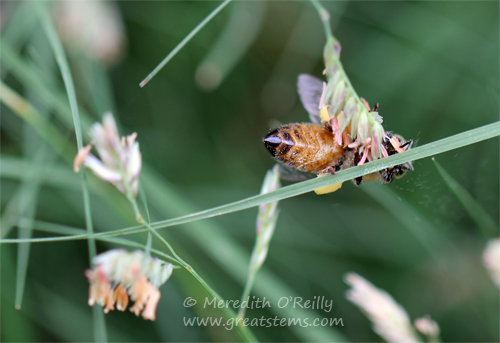
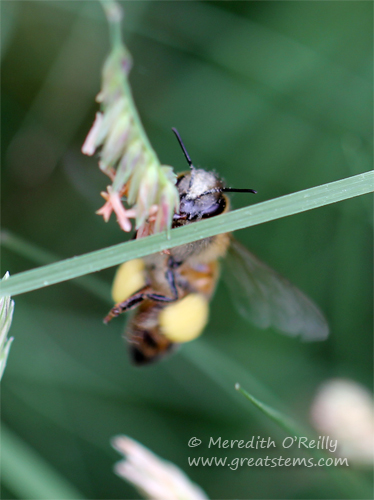 You can also see how big the pollen sacs are on this little honeybee.
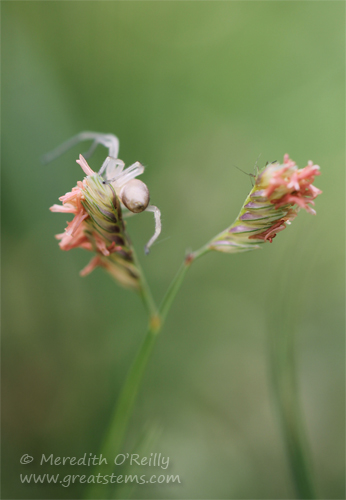
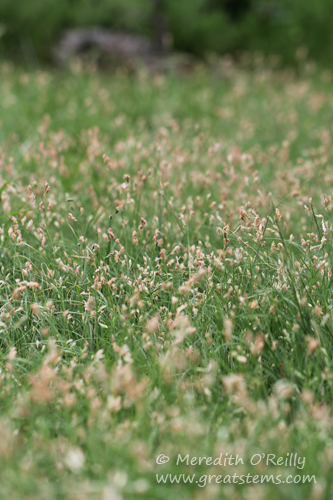
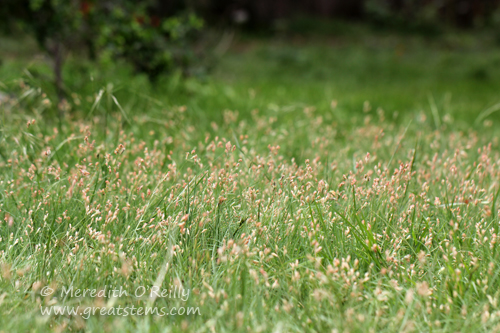
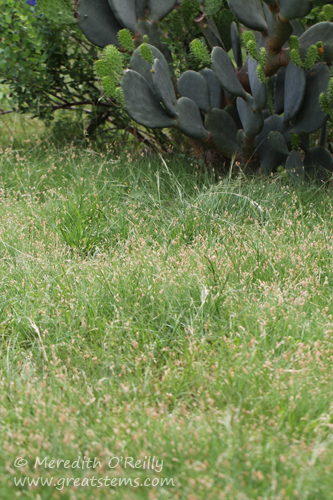
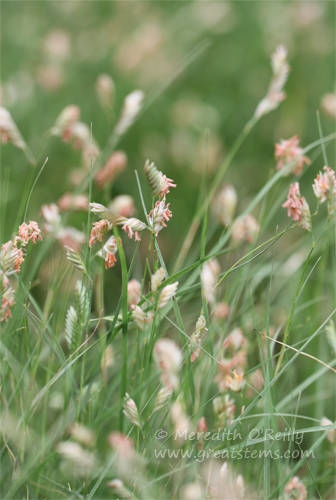
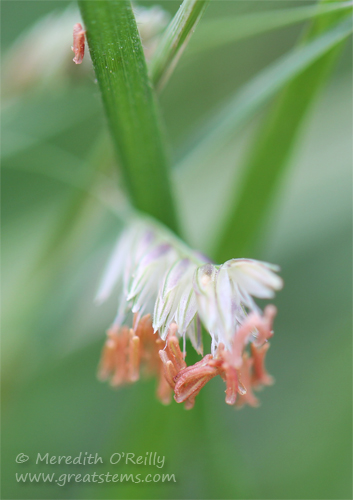
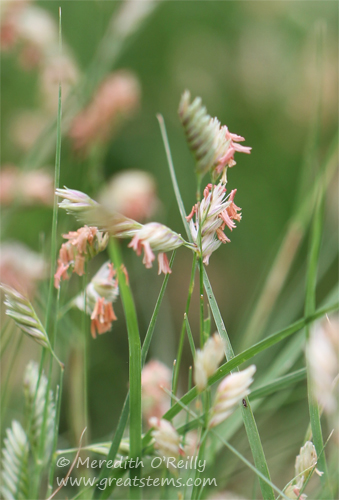 And so it grows, does my Buffalo Grass patch. With luck, the female inflorescences will appear soon, and soon thereafter, so will seeds. Lucky for me, Buffalo Grass also spreads by stolons, or above-ground runners — where the plant touches the ground, it can take root. Sometimes Buffalo Grass roots can reach 5-6 feet into the ground, but most will be closer to the surface of the soil. I suspect my Buffalo Grass patch has relied on a lot on spreading by stolons — this is just fine with me. It can do so right up near my garden beds, too — it won’t be hard to keep it out of the beds. Not like Bermuda, the grass of nightmares.