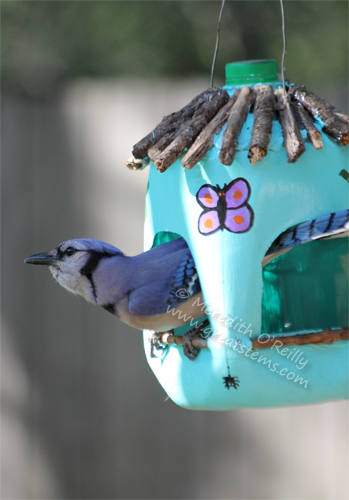
Here’s a fun bird feeder project that you can do with kids of all ages. Depending on the age of the children, adults might have to help with cutting or working with wires, but decorating can be all kid!
What I love about this project is that it gives a plastic milk jug a new purpose, while simultaneously helping wildlife, giving kids a fun activity to do, and connecting kids with nature.
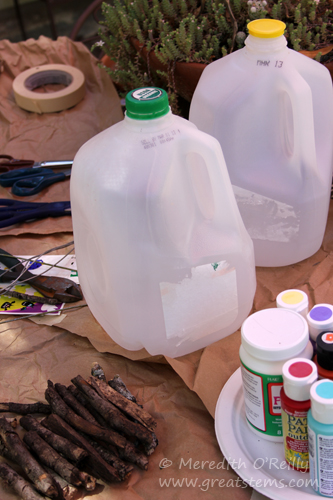 Materials can vary, depending on what you have on hand and how you want to decorate your feeder. The one thing you’ll need for sure is a milk jug. Oh, and birdseed!
Materials:
- Milk jug with cap
- Possible decorations: stickers, bottle caps, milk jug caps, Sharpies or other permanent markers, outdoor acrylic paint, tape for making sharp edges
- Possible tools: scissors, wire cutters, pliers, paintbrushes, garden pruners
- Perch or roof materials: sticks cut to desired length
- Possible adhesives or sealant: non-toxic outdoor white glue, Thermoweb Zots, Outdoor ModPodge
- Possible hanging materials: bendable thick wire, wire clothes hanger, twine, thin rope
- Birdseed, such as black oil sunflower seed
Steps:
1. Wash the inside of the milk jug and cap with soapy water. Rinse well. Try to remove the label — some will peel off easily, but others might be difficult (you can always choose to paint over the stubborn ones, or cut them out).
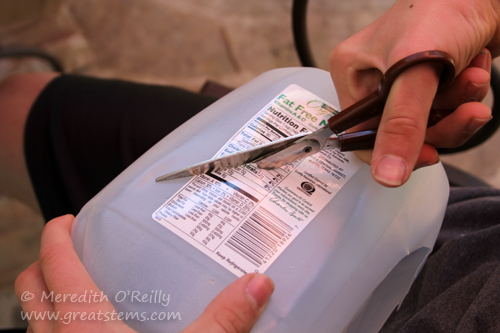
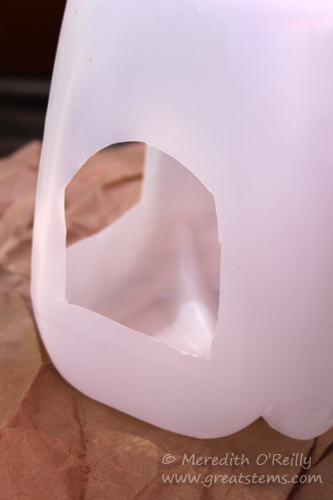
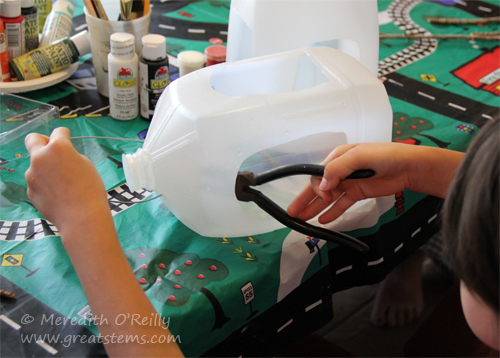
2. Use scissors to cut “windows” into your milk jug. We liked using the larger sides opposite the handle. Don’t go too low or you will lose seed storage space. If you want to put in a perch, make sure you don’t go too wide with the window, either. Adults will need to help with this step for younger children.
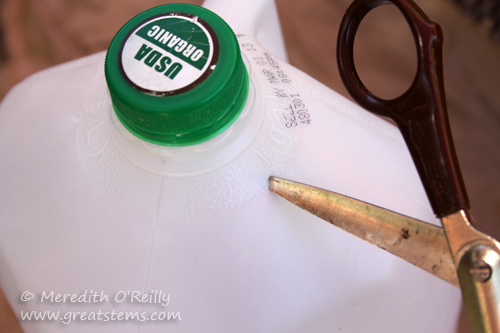
3. Using the pointier end of the scissors, carefully puncture two holes near the top of the jug for the hanger. Try to place the holes in the thicker plastic near the cap. Older kids can probably safely do this, but younger kids will need adult assistance.
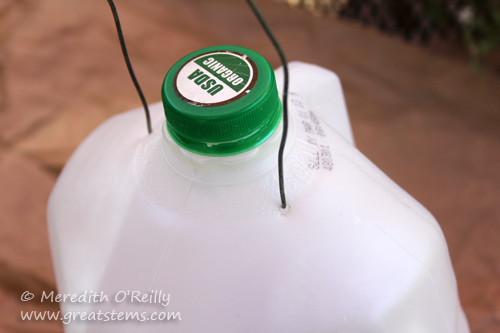
4. Cut your hanging material to your desired length and insert it into the holes. If using wire or a wire clothes hanger, use wire cutters to cut the length and pliers to twist the wire inside the milk jug to secure it. Adults will likely need to do this step, including twisting the wire. If using rope or twine, tie a secure knot inside the milk jug.
5. You don’t need to add a perch, but if you want one, there are different styles you can do. Again, parents might need to help younger children with this step.
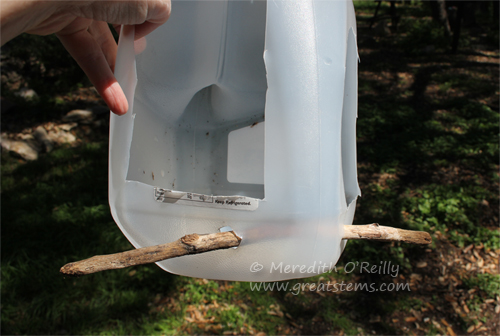
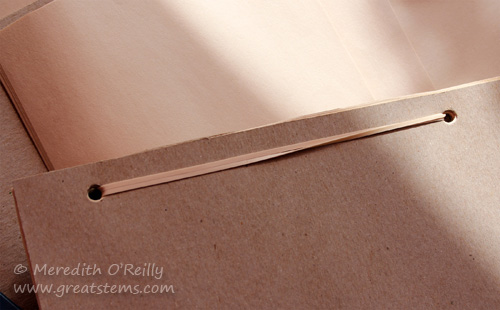
A resting perch along the lower edge of each window is a very attractive addition to the feeder. To do this, carefully cut slits to each side of the window — the slits should be a little wider than the thickness of the stick. Use garden pruners to trim your sticks to a length just beyond the slits (and trim off any little branches, too). Then maneuver the stick into each opening. Glue into place, including on the inside for extra stability.
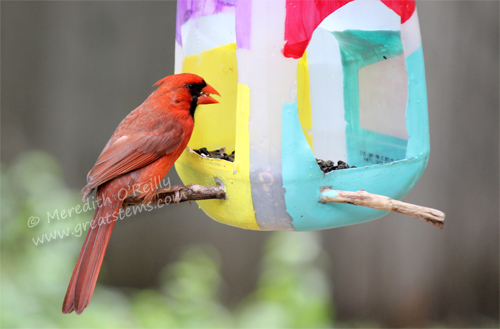
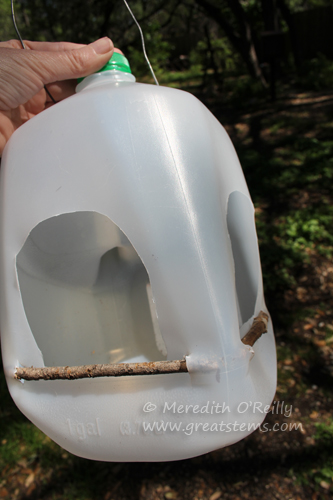
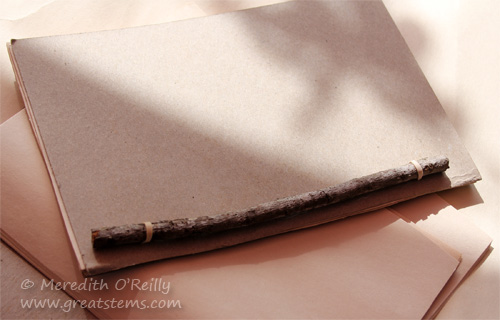
 Another option is to create a long perch that goes through the corner. Cardinals especially appreciate this perch style (as seen in one of the first photos above). Again, glue it into place.
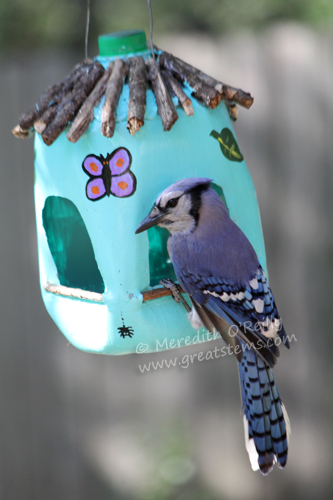
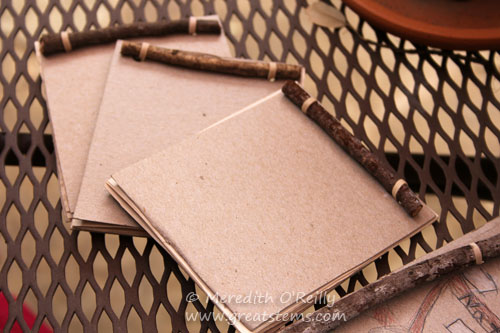
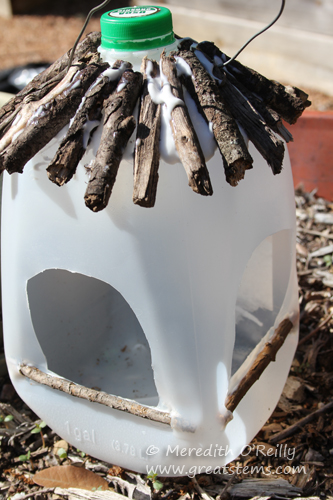 6. Before adding paint or other colors to your feeder, glue on any materials you desire. You can add a roof with small sticks, as shown, but be warned that it’s a challenge to adhere the sticks to the milk jug. You have to use a lot of glue, which can substantially add to your activity time because you have to wait for the glue to dry, possibly overnight. If you have the time, then go for it. We used Outdoor ModPodge to glue these sticks on.
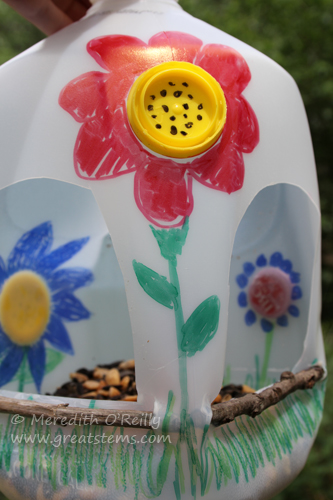
 To adhere caps to the milk jug, consider using adhesive dots (such as Thermoweb Zots). To apply, press the cap first onto several dots (don’t touch the dots with your fingers); the dots will naturally lift off the paper. Then press the cap into place on the jug.
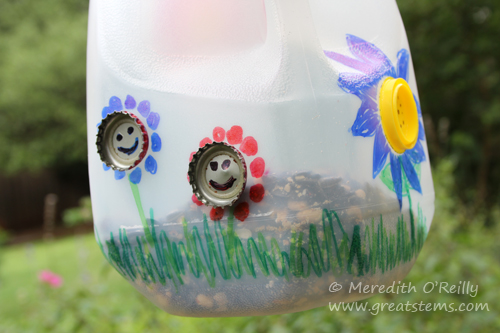
 7. Decorate your jug with stickers, permanent markers, or paint, letting everything dry in between stages (note: Sharpies and other permanent markers will eventually fade in the sun — if using these, keep your bird feeder in the shade).
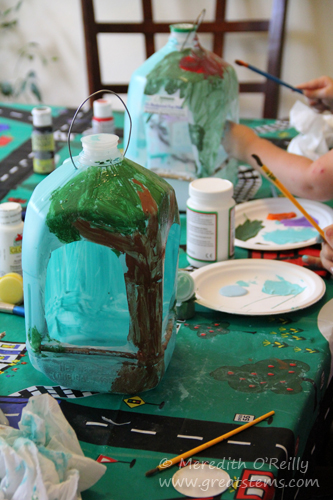
To create straight edges, use masking tape.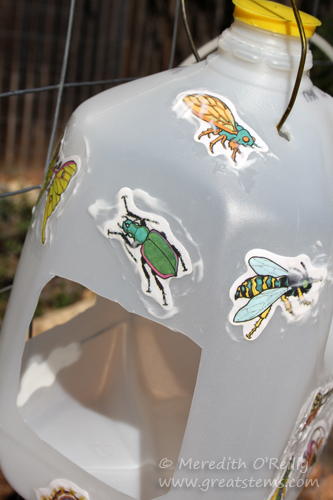 If using stickers, place a thin layer of outdoor white glue over them to help secure them — the glue will dry clear.
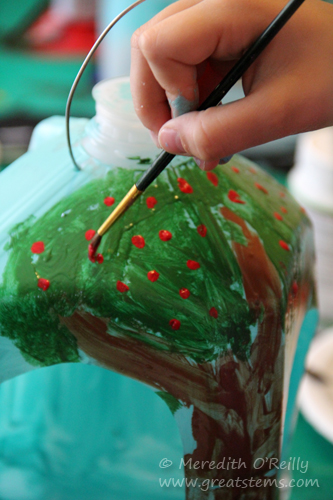
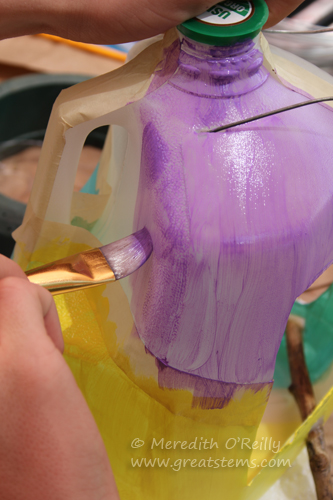
Because of the plastic used in milk jugs, adhesion is ever the challenge. For painting, we used outdoor acrylic paint with an Outdoor ModPodge layer over it to “seal” it — however, be forewarned that the result will feel mildly tacky to the touch. If you choose a different glue or sealant, be sure to check toxicity before using it with kids or letting wildlife near it. Also, younger kids might tend to go a little thick as they apply paint — this is fine but expect some of the paint to peel off when the feeder has been put to use by birds and squirrels.
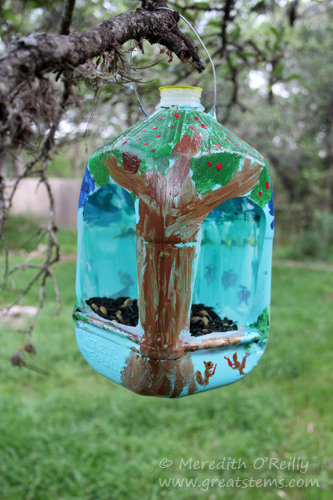
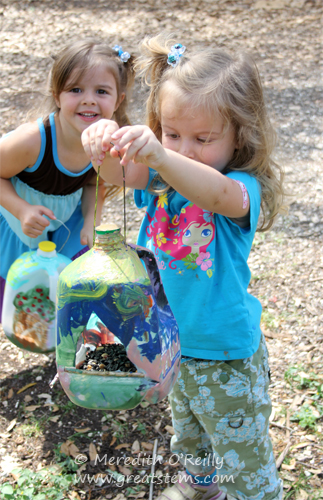 8. Finally, fill with birdseed and hang outdoors. It might take a couple of days for the birds to find your feeders, but squirrels might be happy to show them where it is!

Prefer a birdhouse instead of a feeder? To convert this project to an easy birdhouse, simply cut one circle window out of one side of the milk jug, rather than two windows. To make the inside floor less slick (for baby bird leg growth safety), adhere a few tiny twigs or a few pine needles to the bottom.
Interested in other nature/wildlife activities for kids? Visit this page!

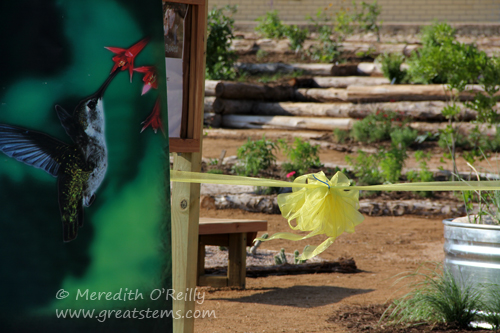
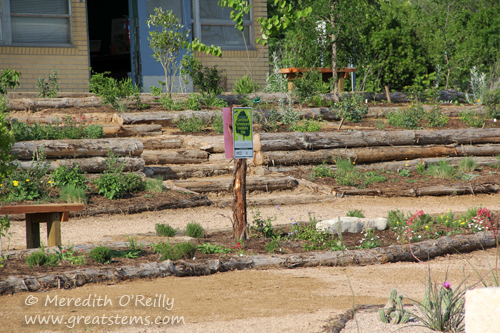
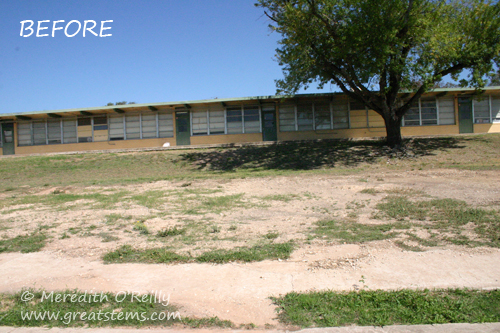
 The habitat was designed by Environmental Survey Consulting, an Austin company known well for their design of the butterfly gardens at the Wildflower Center.
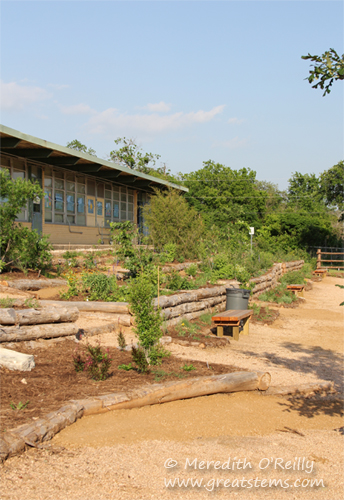
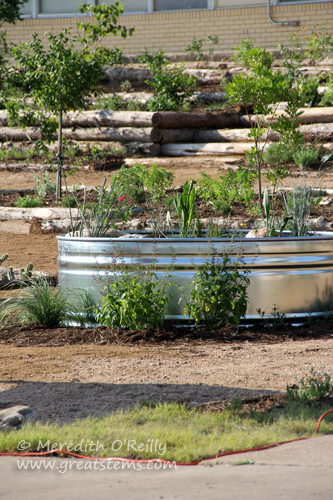
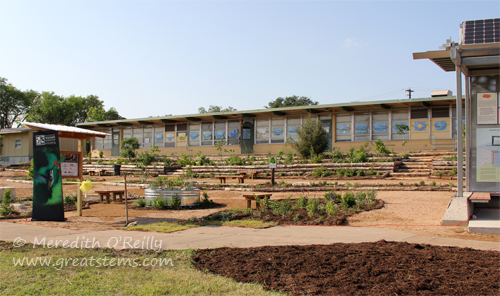
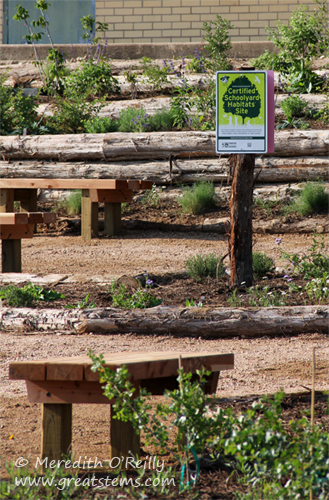 The list of native plants is long, and all the hardscape materials came from local sources. Different ecological examples are displayed, including meadows, woodland habitats, and even a full-sun xeric area. The site includes benches, a water feature, and a rain collection system. Already present was a solar-power learning station, making this quite the science center. Additionally, there is built-in space for educational signs and an additional shade structure, to be added in the future.
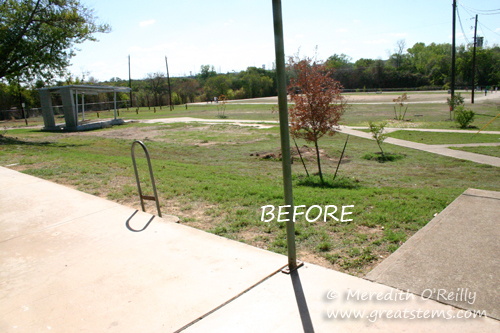
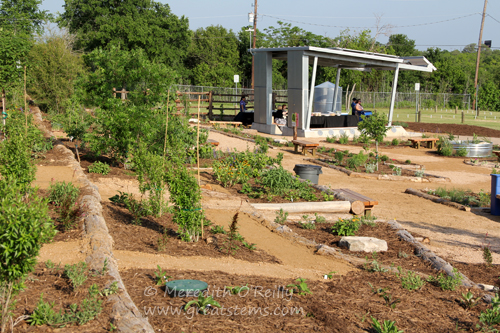
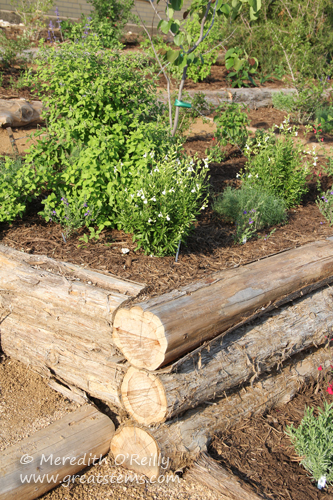 This project could not have been done without the work of dedicated volunteers. Over many workdays spread throughout several months, Habitat Stewards, Master Naturalists, neighbors, AISD, and other community volunteers tackled the challenge of creating pathways, moving dirt and rocks, planting hundreds of plants, and more. Additional work was provided by Environmental Survey Consulting.
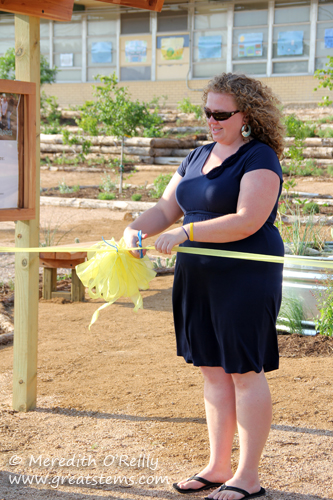
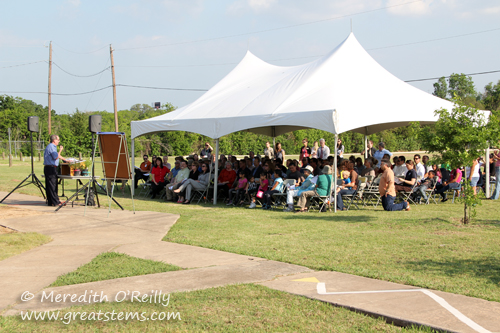

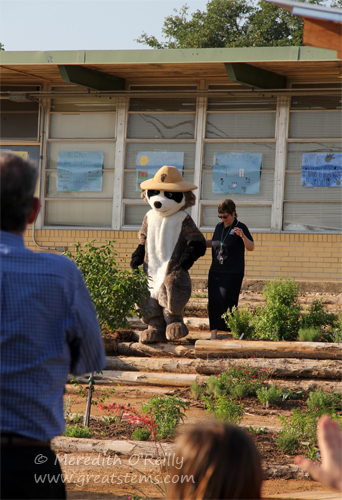
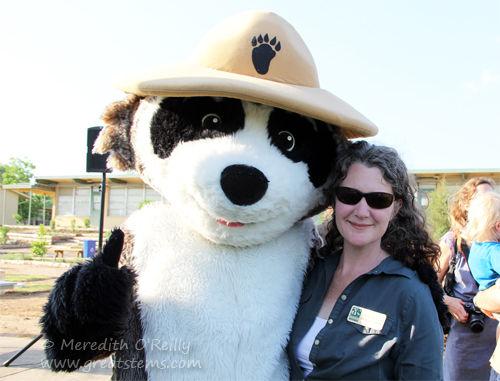
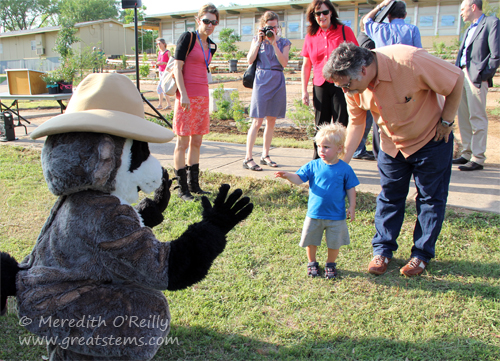 Even Ranger Rick made a surprise appearance!
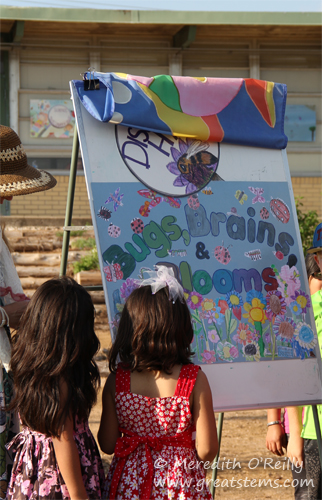
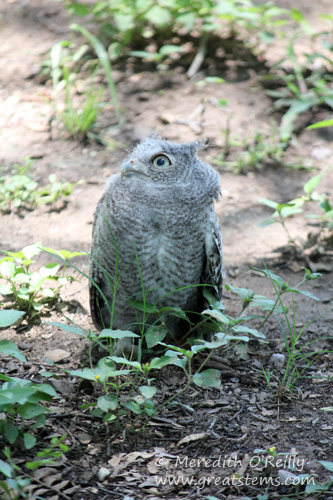
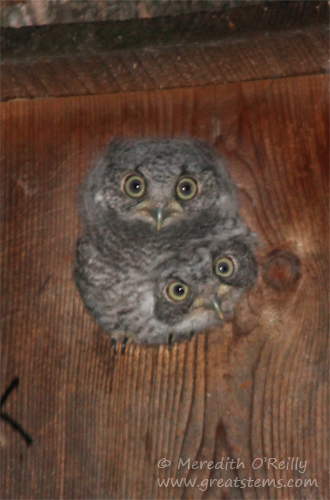 Let me show you the last few pictures we were able to get of the owls before they fledged, and then I’ll show you the big event of the day.
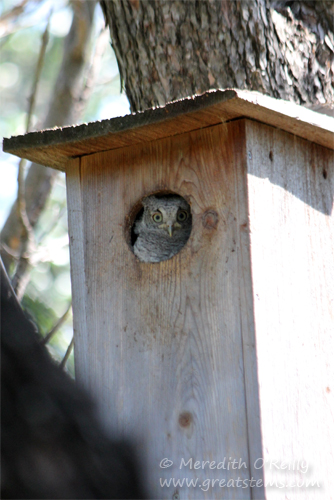 Taking an afternoon peek…
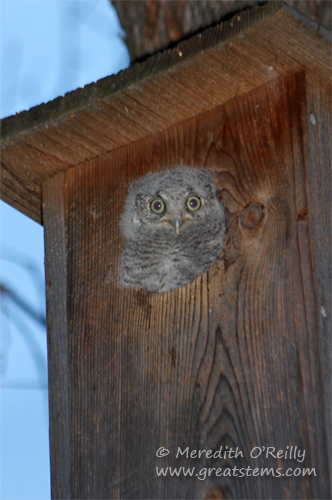
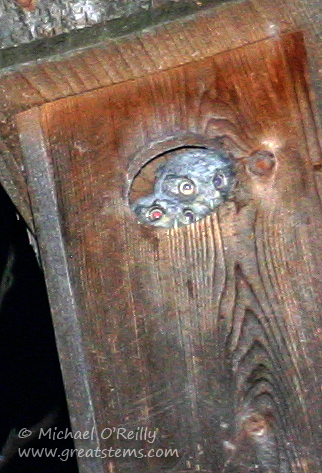
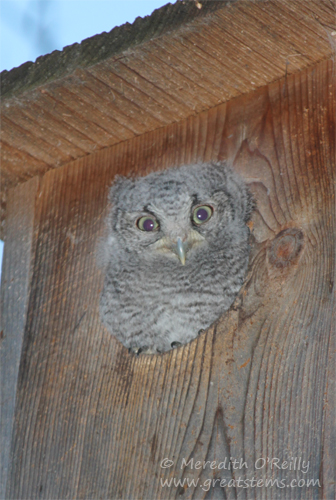 So used to my presence that I get to take a close-up…
 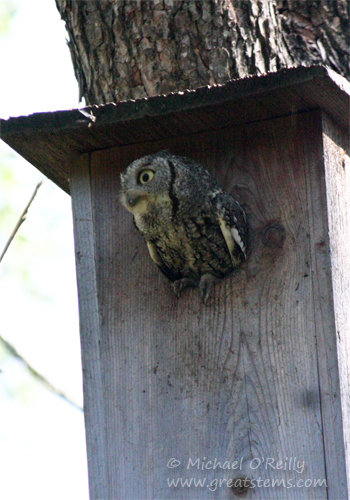 Parent leaning way out, moments from flying off…
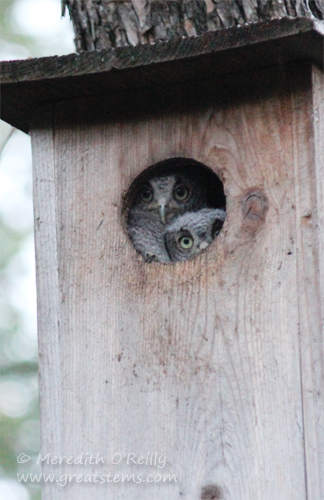
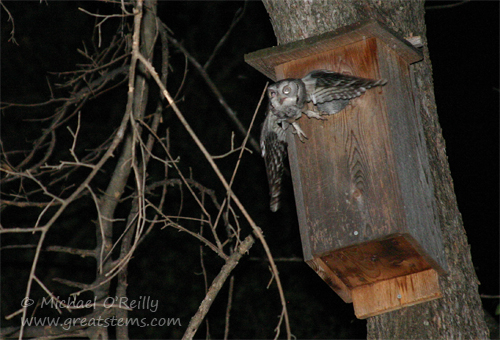 Dinner time, parents hard at work…
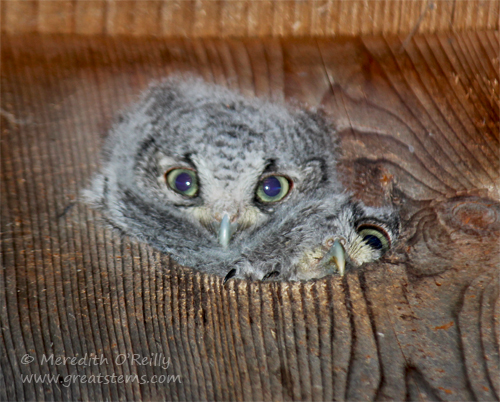
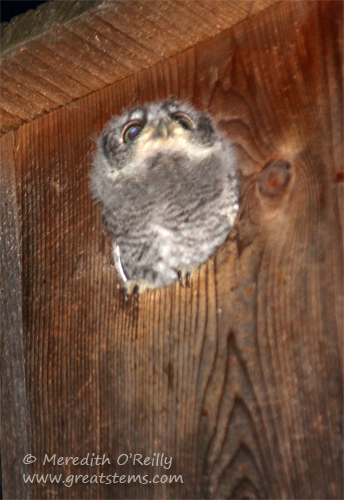
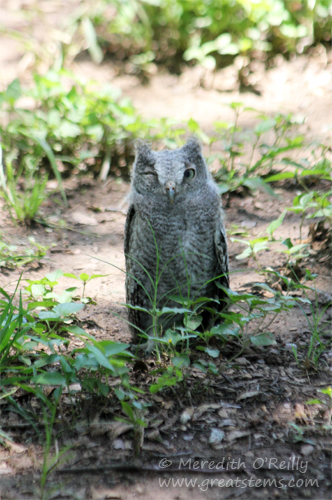 Normally, you’d let a healthy baby owl stay where it is so that mama and papa can continue to care for it. But when we looked at the little owl, we realized it was having trouble opening one eye.
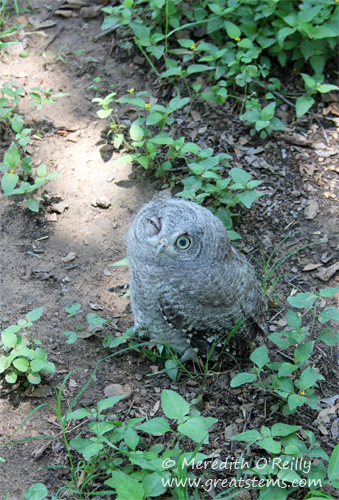
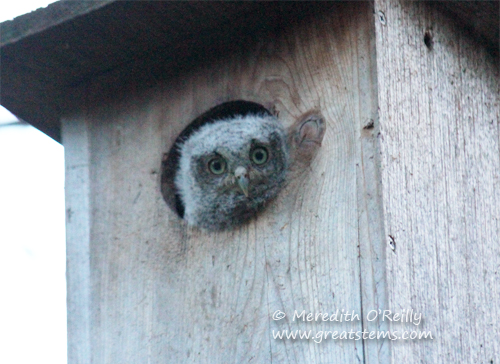
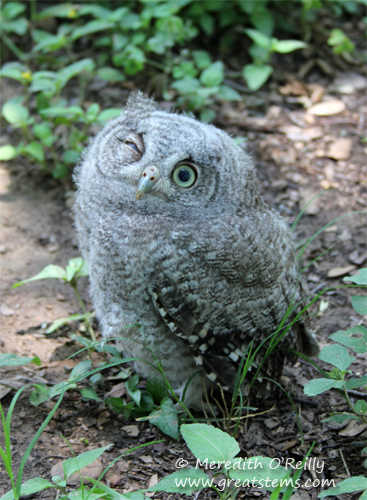 What a cutie, even with one eye closed!
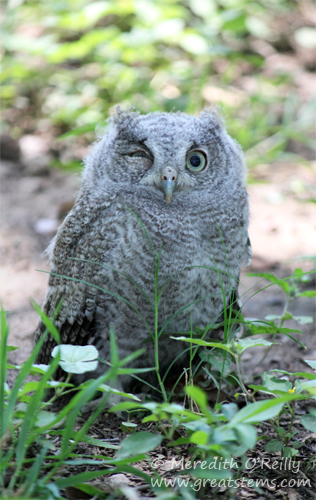
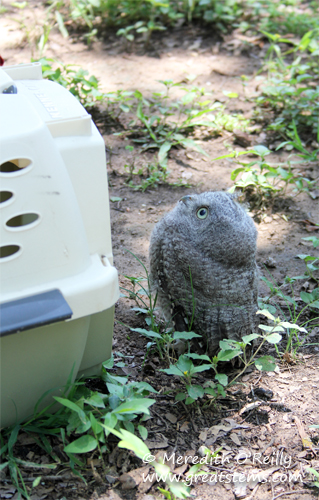 Then it was time to get all packed up and ready to go. I brought our wildlife carrier over (yes, yes, it’s a cat carrier, but don’t tell the birds that), and we placed it close by. Then my neighbor gently guided the little owl in — it simply walked right inside. How sweet was that!
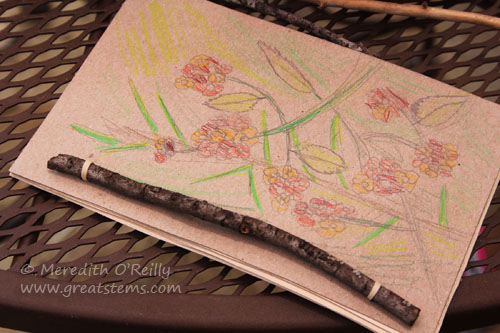
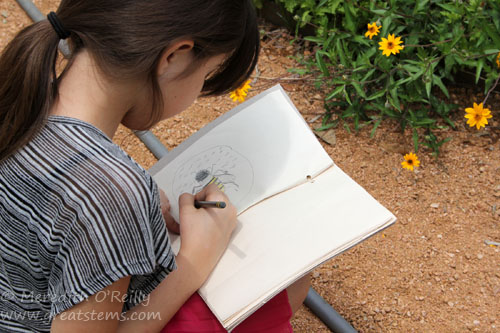
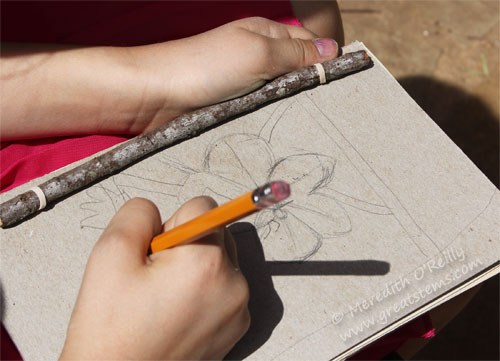
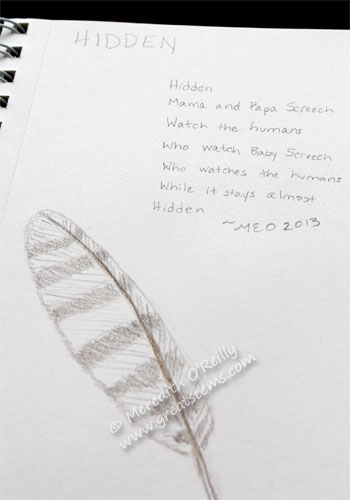
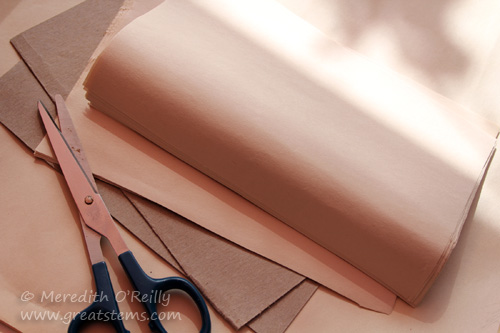 Start by cutting the cardboard and paper to the size you’d like the journal to be. If you need to, use a ruler and pencil to keep things straight.
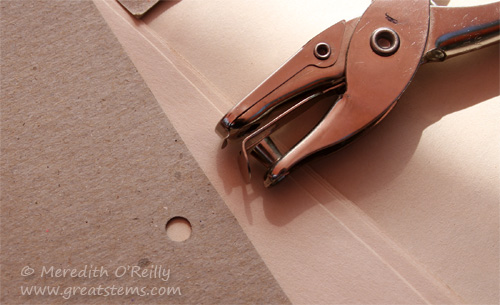


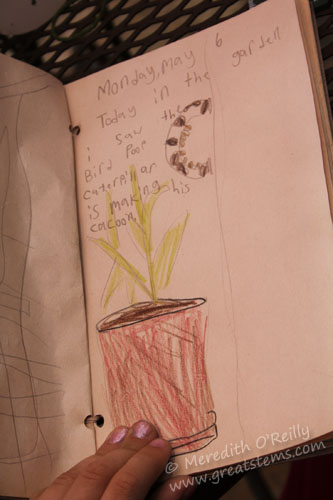
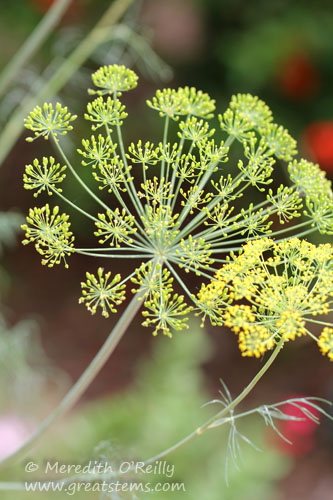 It being May in Texas now, this cool-season herb is overgrown in our garden and not as pretty as it once was.
 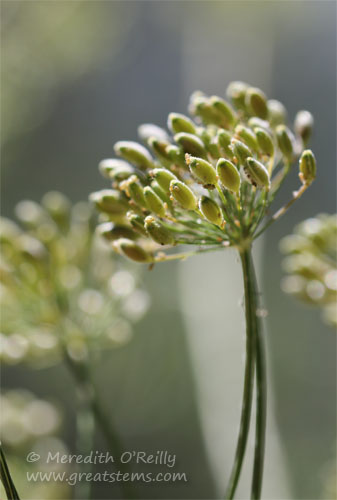 The blooms are giving way to seeds, but that’s not the problem. Aside from being long and lanky, much of it is now covered in aphids.
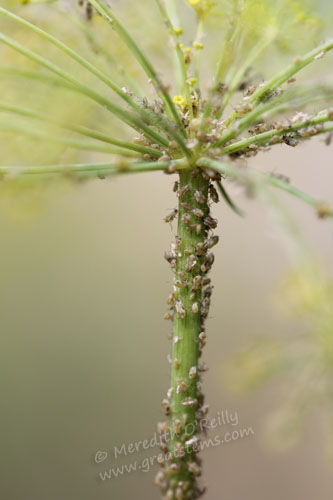 These pest bugs seem to suddenly show up by the hundreds, thanks to females that can produce live young without the presence of a male (when fall weather approaches, the females will produce males to allow the formation of eggs for overwintering). The aphids aren’t noticeably affecting the dill, but the tiny pests and plant legginess made me long to at the very least give the plant a good trim. But as soon as I took a closer look at the plant, I ceased the consideration of that idea — the dill is supporting a beautiful population of wildlife I do want.
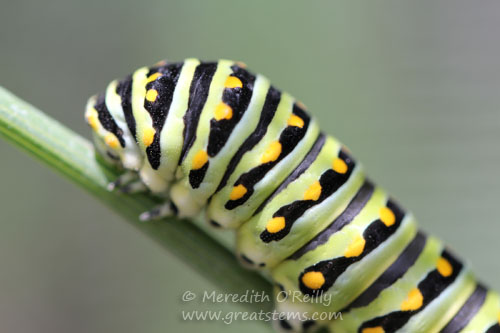 The biggest are the Black Swallowtail caterpillars. Gorgeous, they are.
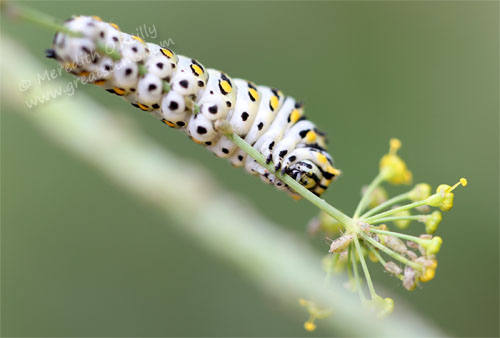
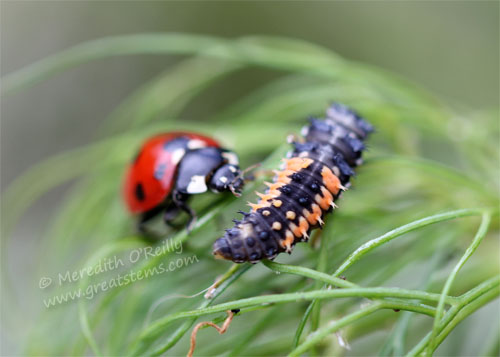
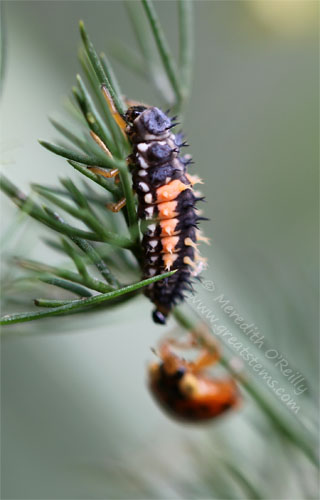
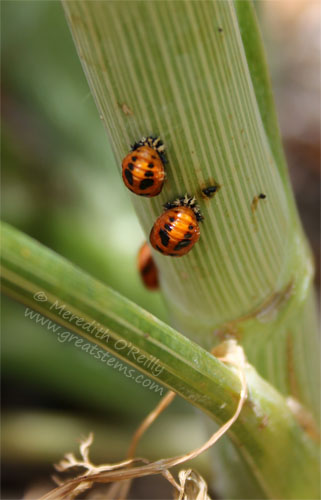
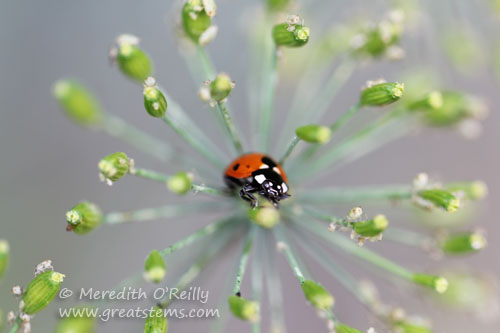 Lady beetles, popularly called ladybugs, dominated the rest of the dill. They are fierce consumers of aphids, and they have found quite the feast on my overgrown herbs.
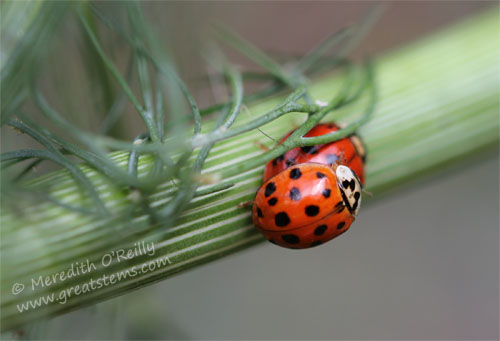 Many male and female lady beetles have paired up, and “in the mood,” they’ve been busy.
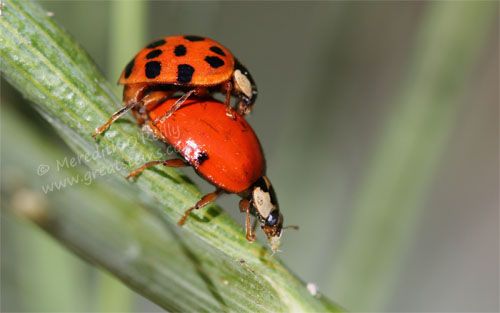 Actually, the females didn’t really stop to mess around, so to speak. The one above, for example, kept eating aphid after aphid, regardless of the male attached to her.
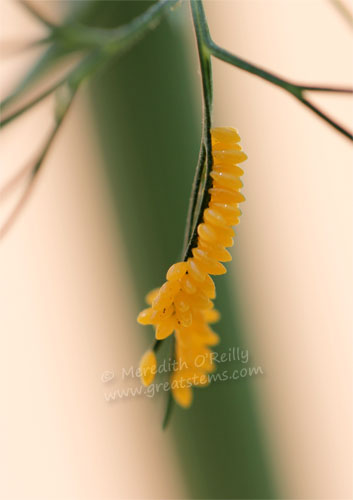 The result of happy lady beetle love? Happy lady beetle eggs, and lots of them.
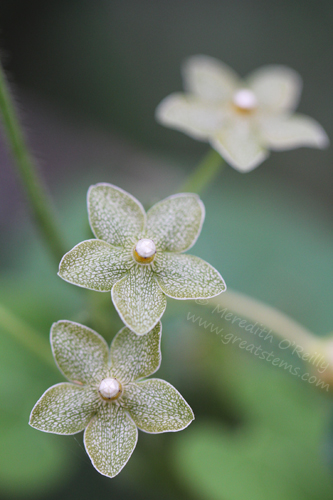
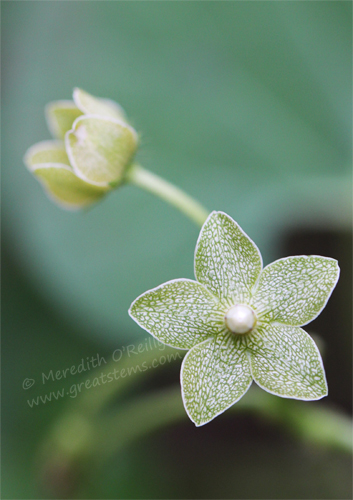
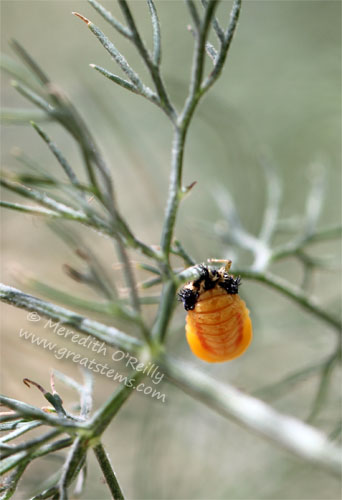
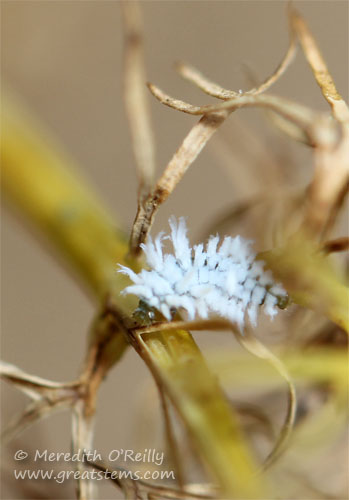
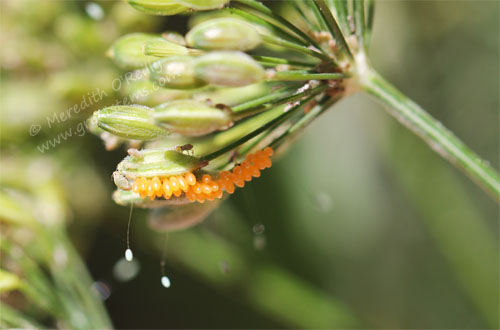 Here you can see both lady beetle eggs (the orange ovals) and lacewing eggs (the individually placed white eggs dangling from threads). I hope the lady beetle larvae emerge first and then skedaddle away before the voracious lacewing larvae arrive. But I’m not too worried, as there are plenty of aphids for them all.
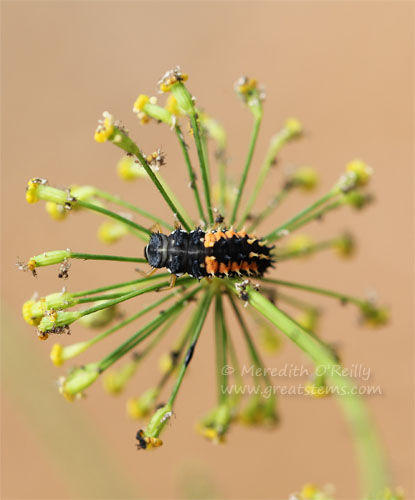
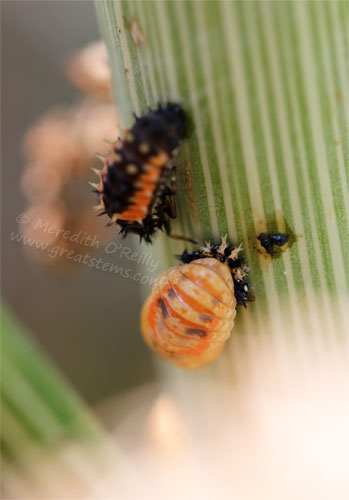
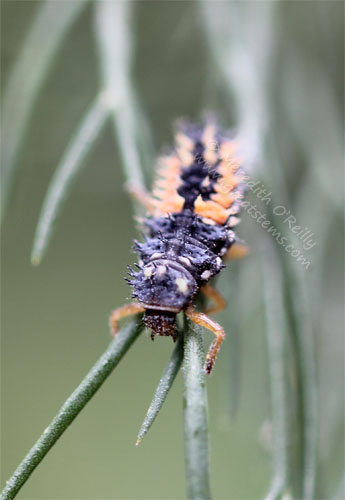 Ladybug larvae are rather alien-like in appearance, but they are gentle little things — well, not to aphids.
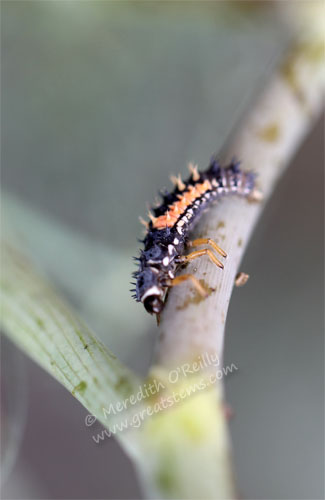
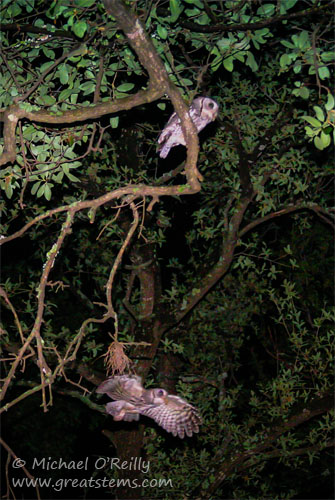
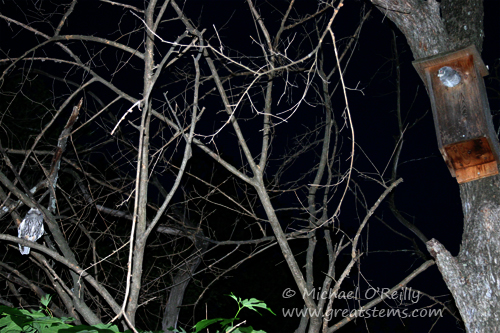
 Taking pictures of owlets is an interesting process. We have to be very careful to start by taking pictures far across the yard, in case they get skittish and disappear as we approach. We also have to be fast but discreet as we take pictures, and we just have to hope they don’t come out blurry. As the sun goes down, we’re challenged by the decreasing available light, and then comes full darkness. All the while, you can’t move very quickly, or the owls will hide themselves away in a flash.
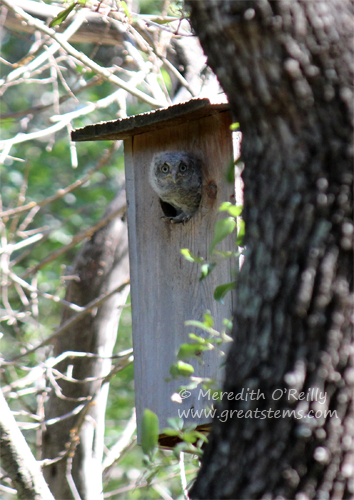
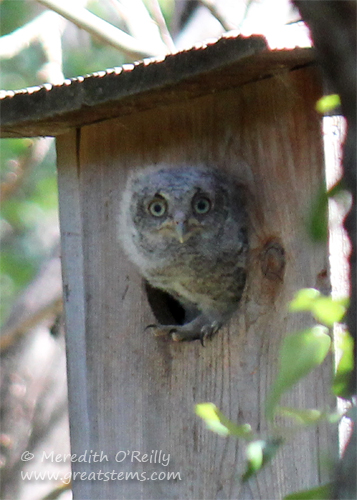
 At this point in the photo sequence, you can see that the sun is going down. After a late afternoon nap, one of the owlets peeked out to start looking for mama. Its eyes would track everything that moved — birds, bugs, dogs, and us.
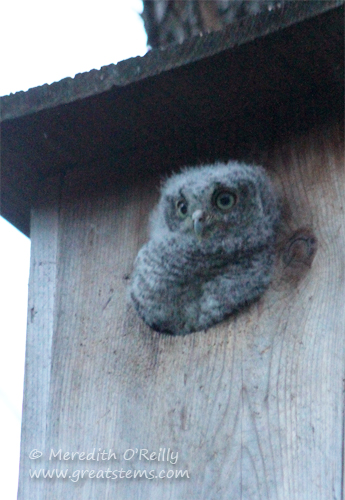
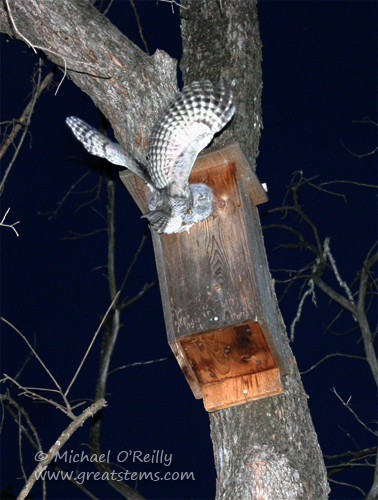
 This time, Mama/Papa has brought what appears to be a cutworm. Yum? Well, I suppose cutworms are to baby owls as chocolate is to me.


 One final note — have fun!