
I know I continue to be slow on the blog posts, but life just isn’t slowing down enough for me to get to them like I used to! But with the cooler weather, I’m at least making sure to spend time outdoors, making progress on the garden when I can. Luckily, lots of wildlife and the dogs have been happily keeping me company. But this post isn’t about them!
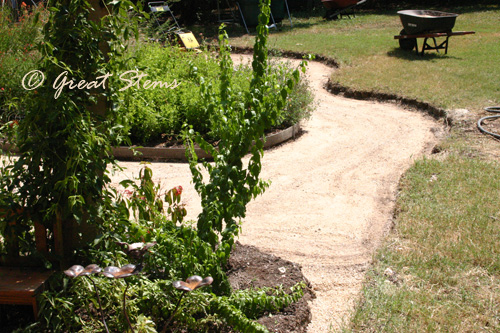
 I’ve long wanted a pathway that winds around the back of the backyard. But a path 66 yards long — 200 feet — was a daunting endeavor. I worried about effort and cost and time, and as such kept putting it off, but as it turns out, the new pathway was a relative breeze.
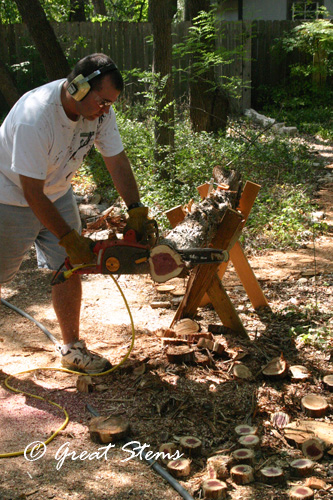
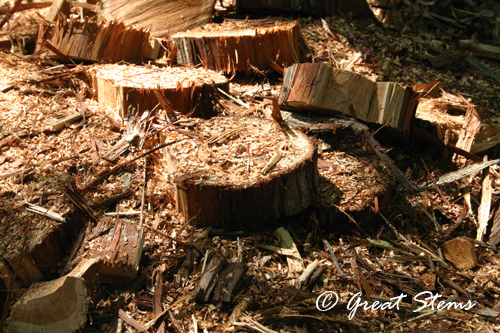
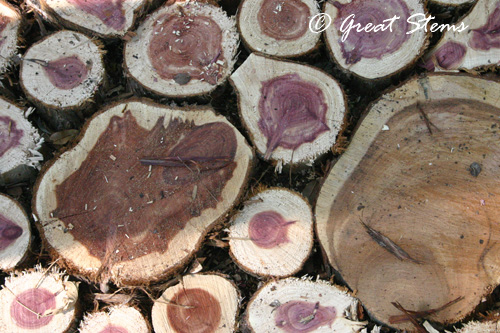
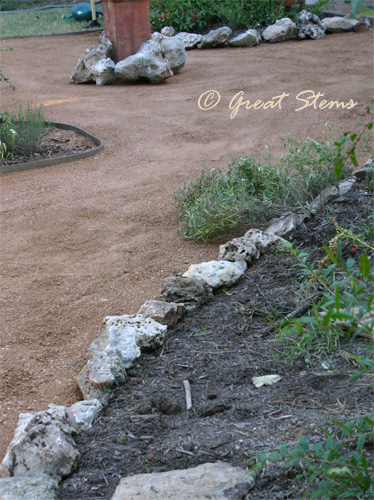
 To build the pathway, I used materials I had on hand. It was a perfect use of the remaining cubic yards of single-grind mulch I bought late last spring. I also took some cedar posts I’d intended for a different project and lined them up end-to-end to form the pathway borders.
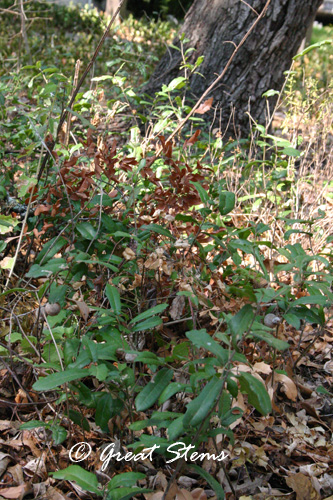
 To prep, the boys and I did a little weeding in the pathway area, taking the time to transplant precious natives we wanted to keep, including Meadow Sedges and an Alamo Vine that had sprung up on their own.
 The boys created little sedge gardens in areas formerly empty, and some earned names such as Sedge City and Sedge Metropolis.
 As an added barrier to weeds, we made use of old brown cardboard boxes, one of the most useful materials ever for a sustainable garden. The boxes will break down easily over time, but they block light for a nice long time, and 3-4 inches of mulch on top is plenty to help keep weeds at bay.

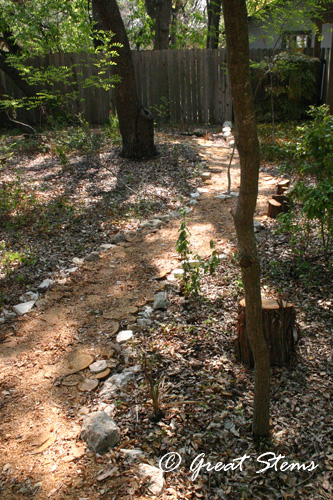
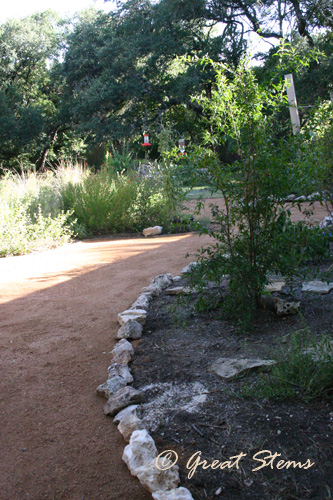
The nice thing about finally having the pathway laid out is that I’ll be able to build the understory plants on either side, finally getting the attractive woodland walk I’ve always wanted. The birds and I already like it, of course, but now it’s going to get to grow even better!
 Side note: I seem to be in the minority on this most of the time, but I consider scorpions to be garden friends. They play such an important role in the ecosystem — both as a very beneficial predator (keeping insect populations naturally in control) and as a food source for birds, lizards, and amphibians. I go so far these days as to gently escort any house visitor out to the backyard, but house scorpions are pretty rare these days given that they have a nice environment in the wildlife garden outside. Every once in a while, I see a scorpion under a rock while I’m gardening, but I just cover it back up and let it be. They are nocturnal, so I don’t usually run across them unless I’m turning over a rock, which I always try to lift carefully.
However, my friend Kelly doesn’t share the same feelings about scorpions. Quite the opposite, in fact. It’s become a bit of a running joke whenever the boys and I run across anything scorpion-related that we should get it for Kelly (but we don’t for fear that she never talks to us again). But yesterday Kelly delivered some spare boxes for me to use in the new pathway, and they came with a surprise. Our afternoon conversation went like this:
Meredith: This morning I was working with the boxes you dropped off. You were most likely unaware of it, but you delivered to us a big a–ed scorpion in those boxes.
Kelly: ok, that’s not funny
I’m going to assume it crawled in after I set them by the tree
Meredith: Well, you can think that…. All I can say is that it seemed happy to get out of the box and crawl off into the back woods.
Kelly: srsly – NOT FUNNY
Meredith: And it was definitely the largest scorpion I’ve seen in a long time. You grow them well, Kelly!
Kelly: now I have to go have Darin sterilize the van
nope nope nope nope nope
Meredith: On the plus side, your boxes helped me get to a great stopping spot on the back pathway. Just before the weeds got dense. Thanks again.
Kelly: http://i.chzbgr.com/completestore/12/4/25/beHLacCLJUGEdcoH1sW1ZQ2.gif
Meredith: hehe
If only I’d had my camera with me, I could have immortalized it for you!
Kelly: shudder
I’m never going into our garage again
Meredith: What’s funny is that as I went through them, I was thinking about how you have had Brown Recluses over there and wondered whether one would have been in the garage. So I was proceeding with caution as I opened the boxes, but when the scorpion came out, I was all “oh, hello, scorpion.”
Kelly: and I’d have been “oh hello brown recluse” and smash smash smash on the scorpion
ok, actually “RUN AWAY” on the scorpion…
Meredith: And yet the brown recluse is so much more dangerous! Your priorities, Kelly….
Kelly: my phobias have their own priorities
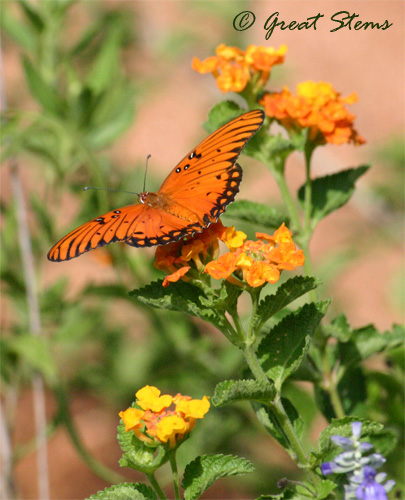
 Somehow I think that is one lucky scorpion to have made it down to our garden…. Note: the above photo was taken earlier this year, at another location. Clearly I need to get a photo of one of our special backyard buddies!
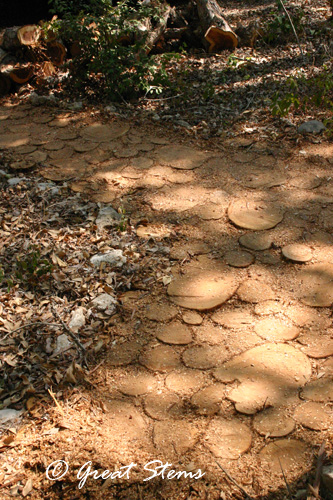
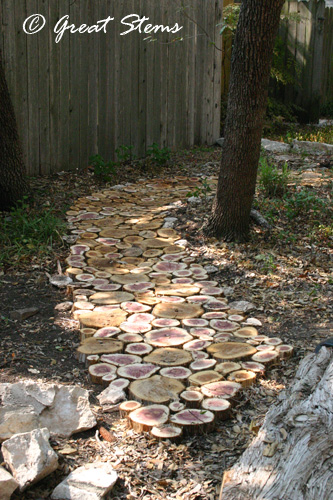

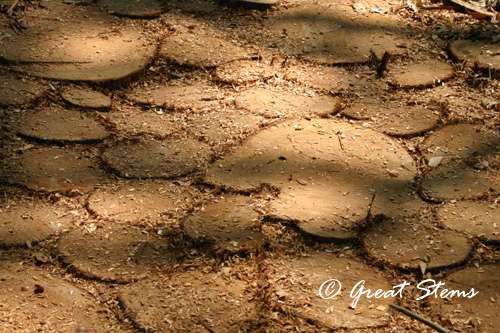 The logs are staying nicely in place, human- and wildlife-tested. Were this path in our backyard, I’m certain that our big, rambunctious dogs might test it to its limits, though.


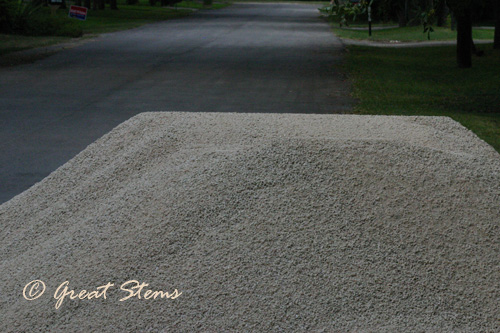
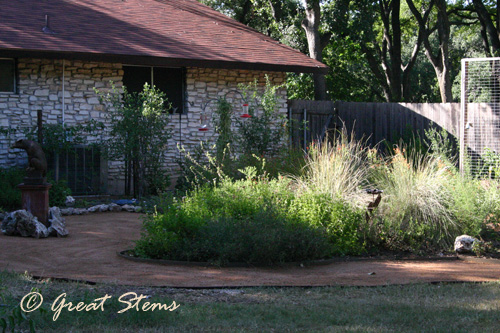 One might think that August in Texas is not the best month to create a large garden path in the full sun, and that person would be right. But there are some plus sides to creating a new path in August, even in the 100+ weather. One, hiring for some of the work we couldn’t do meant helping out other families in need of some income during what is a slow month for many workers. Two, landscape supply companies were very open in terms of delivery availability and quite eager for business. Three, the heat certainly wasn’t slowing down the growth of Bermuda grass and Nut Sedge, so why let the weeds continue their world takeover by waiting until autumn to work on the path? And four, if we went ahead and tackled the path in August, then come fall we could actually focus on enjoying the garden, instead of crying about the weeds and miserably wishing we had a real garden path.
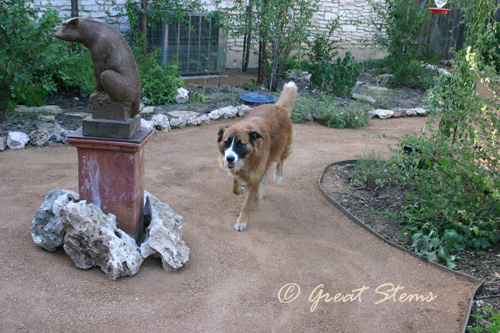
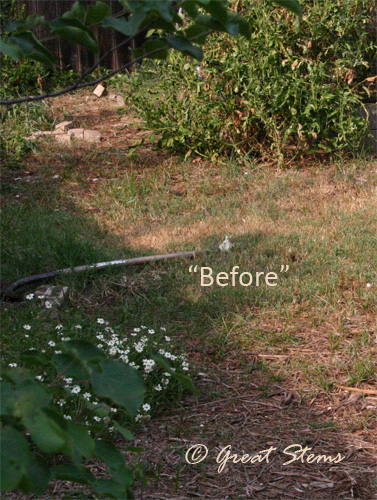 Mowing had become a joke, and the fact that mowing was even required made me all the more annoyed. You can see why we needed to do something drastic.
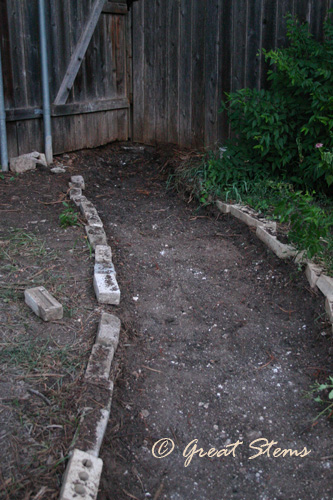
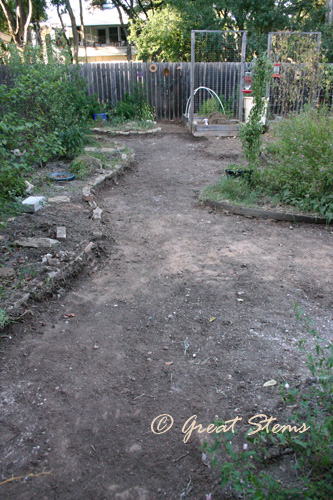

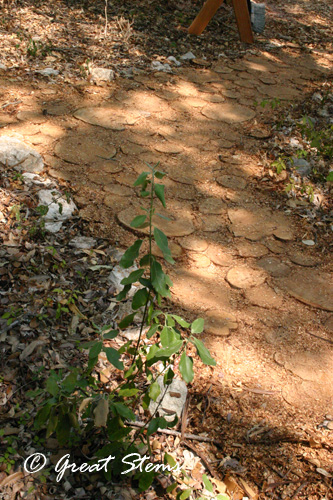
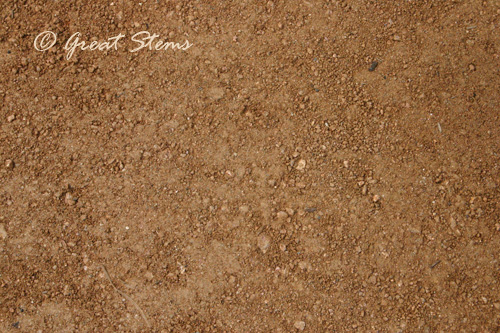
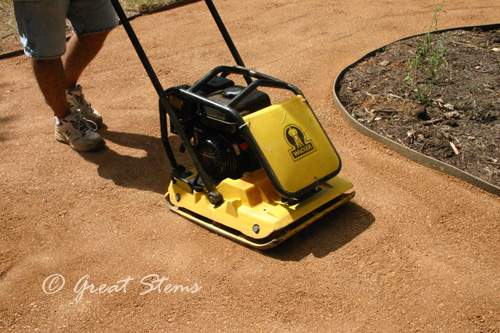
 The first layer of aggregate base further helped us to visualize the path to come.


