Oh, how I love making nature journals! A nature journal is simply a place to record one’s observations of nature. It might include sketches or drawings, written descriptions or notes, poems, photographs, natural objects such as leaves or flowers, or scientific data such as lists or wildlife tallies. There are no rules when it comes to nature journals! This activity is great whether you are a kid or an adult. We should all keep one. Trust me on this.
Nature journals help us see, understand, and appreciate the natural world around us. They help us tap into our senses, develop our observation skills, and discover our creative side. Very importantly, they help us slow down and relax, and that can be hard to do in this busy world, no matter your age. Kids might be kids, but they experience stress, too. Often their schedules are so packed with school, homework, studying, dance classes, music classes, sports, and other activities that they don’t have much downtime — many parents put a lot of pressure on their kids to always achieve. Some kids stay indoors because of their parents’ worries, and they eventually develop these same fears. Of course, many kids are inside glued to their televisions and video games. Point being, kids today often don’t get much time to be outside to just explore.
Time spent outdoors helps kids develop an appreciation for nature that will last a lifetime. We want them to love and respect the Earth so that they will protect it as adults. But time spent in nature also helps kids relax and enjoy themselves and just be kids!
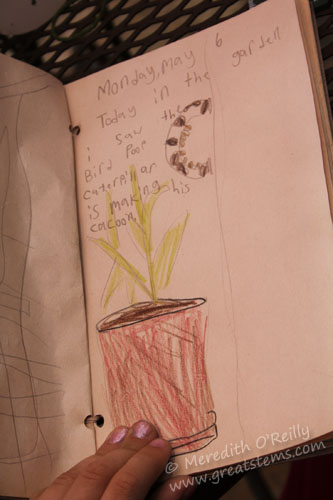
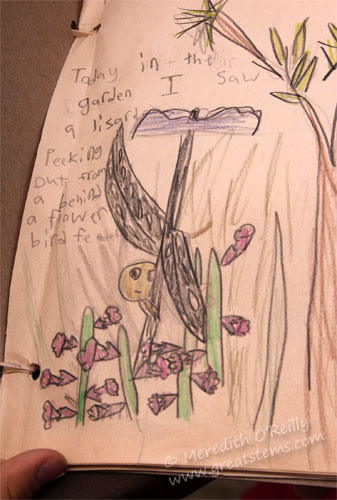
Journals are a way to encourage this deeper love and understanding of nature. For kids, they can be a place to draw pictures of or write about what exciting things they have seen, such as an insect with unusual markings, tadpoles swimming in a shallow creek, a woodpecker tap-tap-tapping, or a fragrant bloom that they caught a whiff of.
Grown-ups see nature journals as having multiple benefits for children — sparking imagination and creativity; giving a “secret” boost to academic progress and scientific thinking; helping children make connections between their lives and the natural world around them; helping them study interactions between wildlife and flora or between animals of the same or different species; and giving opportunities for reflection on what was observed in the past to what is being observed now. Plus, it gives children a chance to slow down or even sit still. Parents might have a different reason for wanting that, of course, but when children slow down, they can engage their senses and awareness (and keep from startling nearby wildlife away!).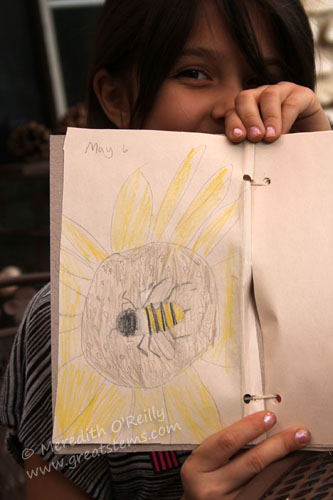
But frankly, nature journals just plain make you feel good. You observe and record, and you accomplish, while at the same the experiencing the fascinating, exciting, and simultaneously soothing natural world around you.
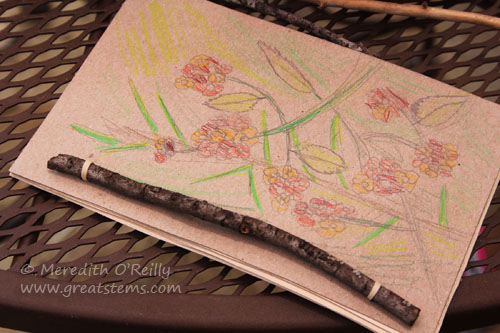
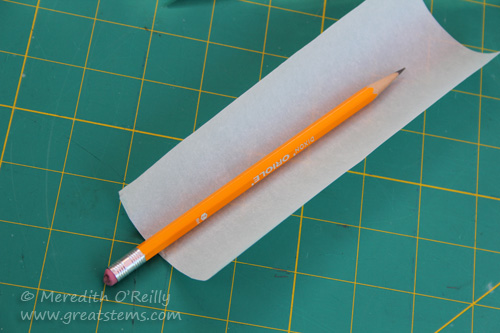
Nature journals are super easy to make with a just a few materials you likely have around the house. All you need is some paper, thin cardboard or a thick paper such as cardstock, a rubber band, a stick (appropriate for the size you make your journal), scissors, a hole punch, and possibly a ruler or pencil if you need it.
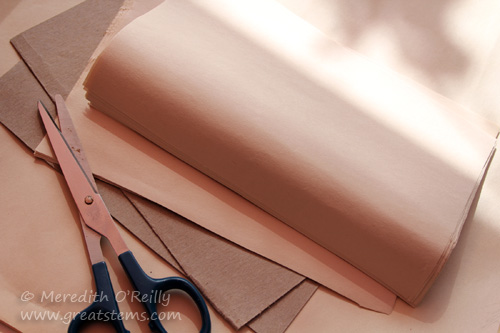 Start by cutting the cardboard and paper to the size you’d like the journal to be. If you need to, use a ruler and pencil to keep things straight.
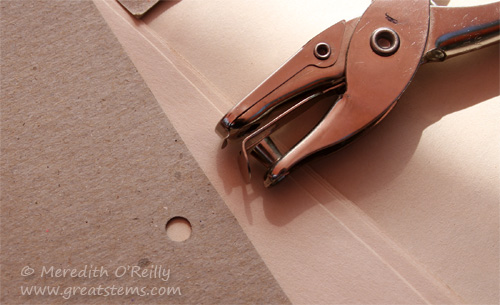
Next, punch two holes on one side of one piece of cardboard, where you’d like the hinges to be. Don’t get too close to the edge, but don’t go too far away from it, either, else you have trouble opening and writing in the journal. Then align the cardboard with sections of paper and/or the other piece of cardboard to punch matching holes on the rest of the journal pieces. You want everything to be lined up as perfectly as possible, especially the holes (you can always trim edges later if you need to). When you are done, stack everything up with the cardboard on the outside as the cover.
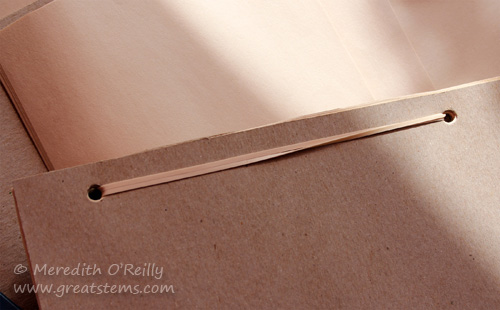
Take the rubber band and loop one end over the stick, then through a hole. Stretch the rubber band along the back and through the other hole, looping it on the other end of the stick.
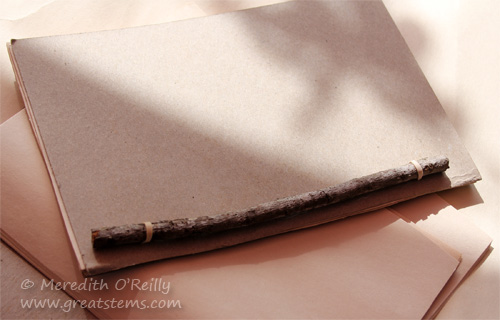
And that’s it! Time to gather pencils and other drawing tools!
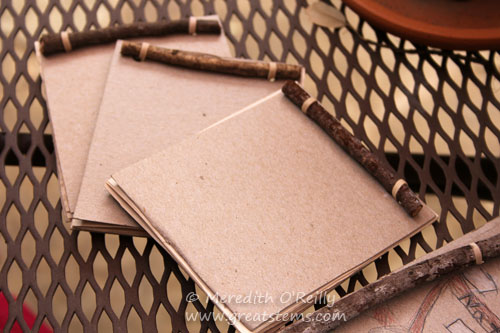
By the way, journals don’t have to be large. Perhaps it would be handy to have one that fits in a pocket. Younger children might find it rather fun to have a mini-journal.

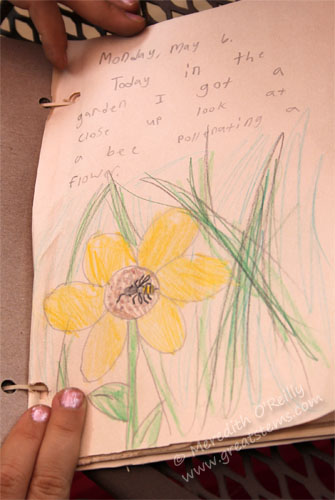
Let kids decorate their nature journals how they’d like, and give them the freedom and encouragement to spend time outside, letting them put whatever they want inside their journal. It might be easier for some kids to get started if you point out things they might not see at first, such as a tiny spider on the tip of a flower or the heavy pollen sacs on a busy bee. Note details, such as lobes or veins on a leaf or long antenna on an insect. Once you get them started, they’re likely to see things you didn’t notice!
Be encouraging as kids explore art — some might feel frustrated at first. It’s all about fun and not perfection, but not all kids see it that way. Give them positive comments about about their work, pointing out details you especially like. To advance their skills (and possibly yours!) teach them how to create simple sketches that they can color in or add detail to later if they like. Kids might need your help with vocabulary, too — whenever you can, teach kids the names of plants and animals they see (it’s okay to tell them when you don’t know the names yourself — perhaps you can find out together!).
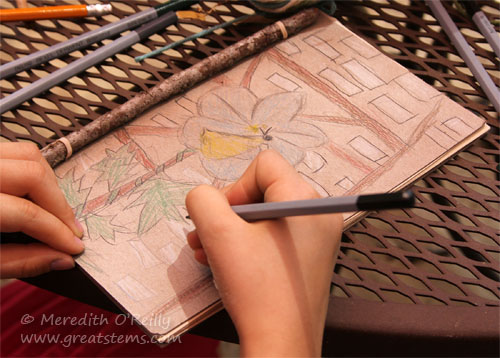
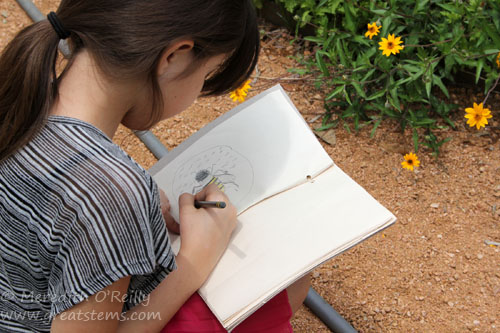
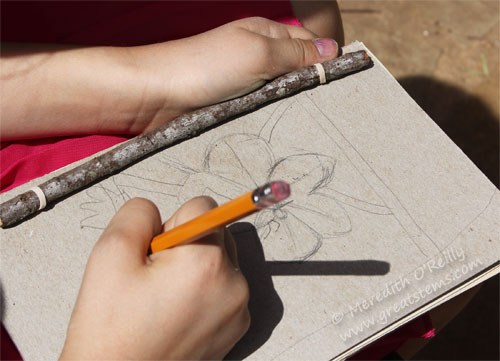
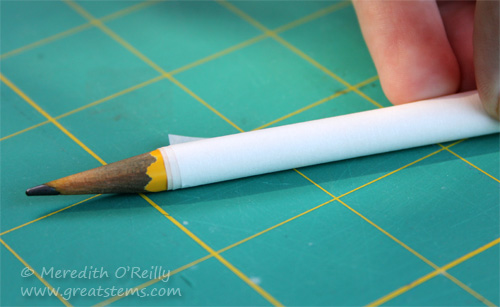
If you go hiking or camping, be sure to take your journals with you! Sometimes it’s easier and quicker to just take a single pencil with the journal, do simple sketches and notes, then finish coloring or adding details at home (or inside the classroom, if you are doing this activity with students) — whatever works for all of you.
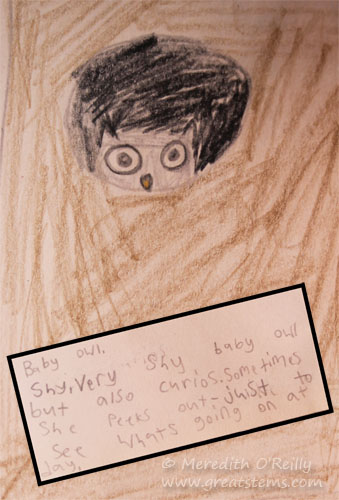
Remember, there is no set way to use a nature journal. Kids can take notes or draw, write a poem or song, make a list, tape or glue in an object they found — whatever moves them. How does that moment in nature make you feel? Write it down! Kids also might have fun using their nature journal to make a field guide. It’s a great way for kids to memorize and share the names of plants and animals, simply by writing them down as they learn them and including a drawing for the ID. They can even include a map, if appropriate.
Some kids might want to do tree or leaf rubbings in their journal, or press and glue down a flower or leaf. Kids with access to a camera might want to include some of their photographs in their journal. In fact, kids often surprise adults with their keen eye and photography skills — if you haven’t done this, give kids a chance to use a camera. Some people feel using photos takes away from the purpose of a nature journal, but I think that a nature journal should be anything you want it to be. Yes, I do love the inspiration and creativity that comes with pencil and paper, but a nature journal is personal. Let kids decide how they want to use the journal, and rejoice in what they do, learn, see, and share.

I keep a nature journal, too, as do my teens. Mine is a spiral-bound one, a straightforward sketch pad. There are prettier ones out there, but it’s all a matter of personal preference. If kids want a sturdier journal, take them shopping to let them pick out their own. Some might prefer lined paper or blank paper or a particular journal size. Even a 3-ring binder works.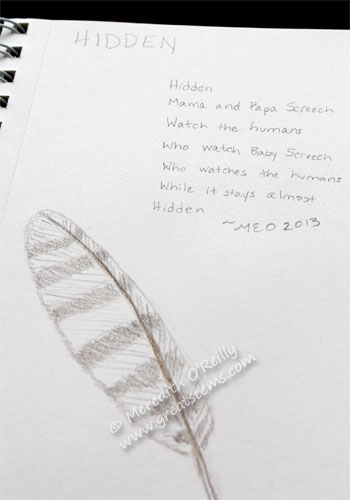
Finally, encourage kids to add something to their journal regularly. They are creating something memorable, a valuable keepsake that lets them experience again and again joyful or remarkable moments in nature. I know naturalists who still look back to journals from their childhood. Hang onto those journals long after they are all filled up!
Interested in other nature/wildlife activities for kids? Visit this page!

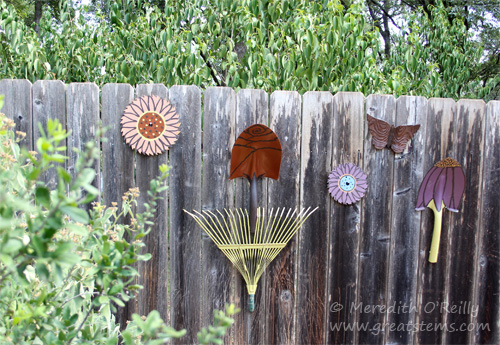
 How about a shovel that becomes a rose, with a rake as the foliage? The rake is actually painted a light green, but in the sun it looks more yellow than lime, I admit. Someday, if I happen to have a different color of leftover paint, I might paint over it, but part of this endeavor is utilizing what I have at home, not going out and buying something.
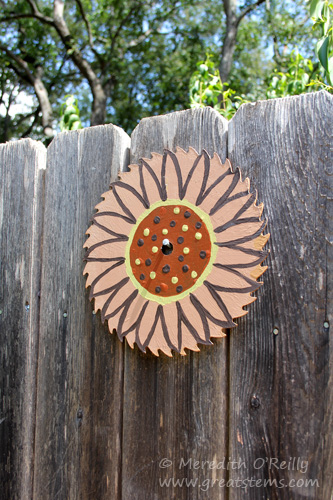
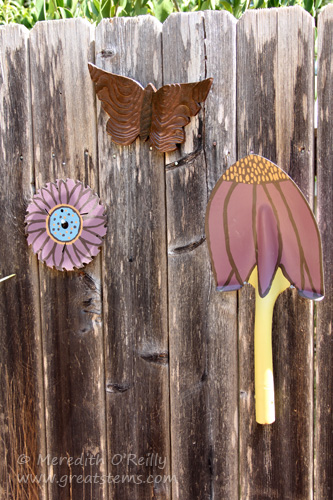 A smaller sawblade gave an opportunity for another bloom, and a second shovel blade became a Purple Coneflower. The coneflower might be my favorite of the tool bouquet, honestly. The butterfly isn’t a leftover tool, obviously, but a gift from sweet friends.
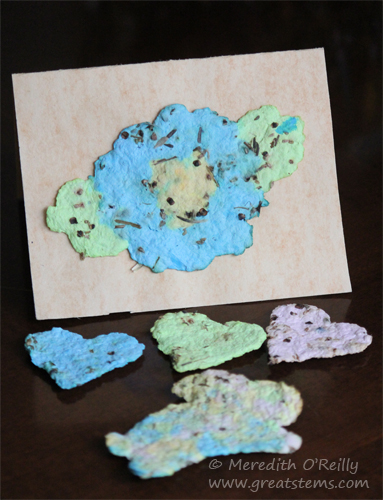
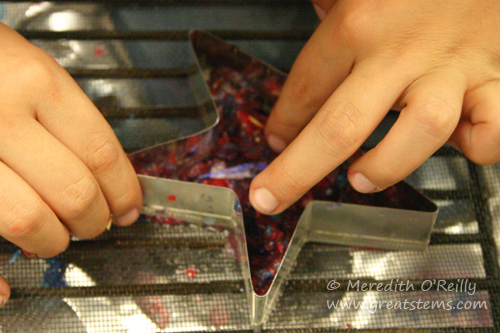
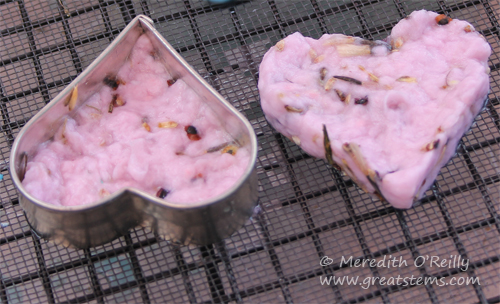
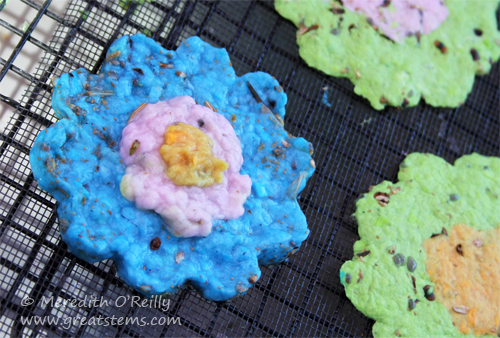
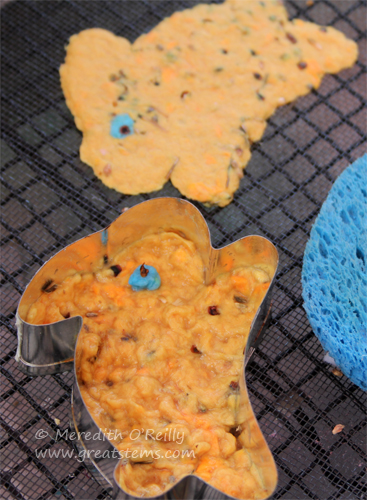
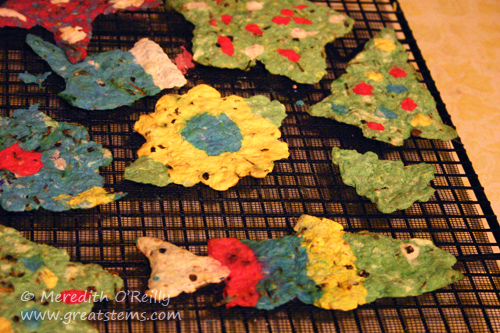 We’ve made bunnies, stars, airplanes, holiday shapes, and even a rainbow trout for a fisherman. Technically, you don’t even need the cookie cutter — if you want to make a lizard or a dragon or a bumblebee but don’t have a cutter for it, just create one by hand!
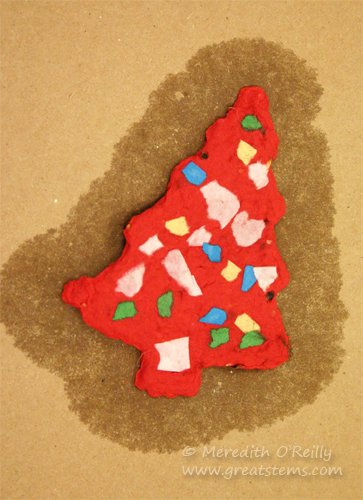
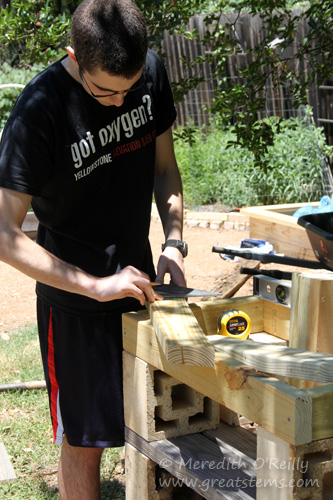
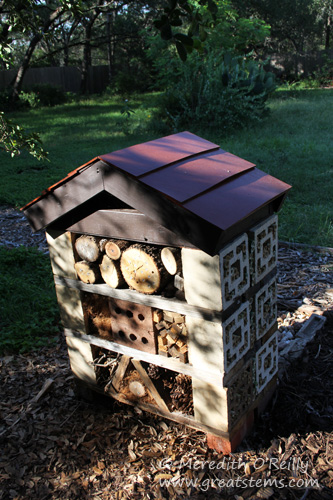
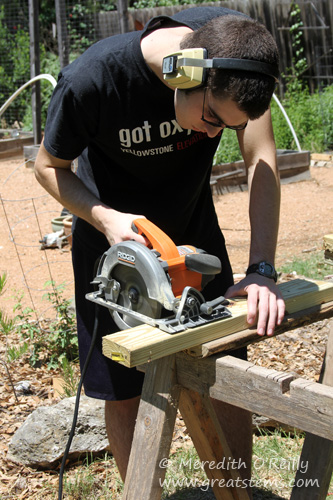 The roof was the only part where we used new wood, that 2×4 plywood I mentioned, plus some scrap wood lengths we had in the garage.
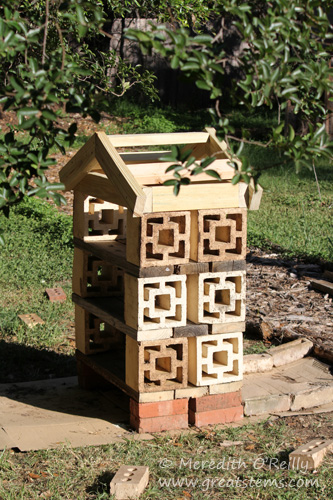
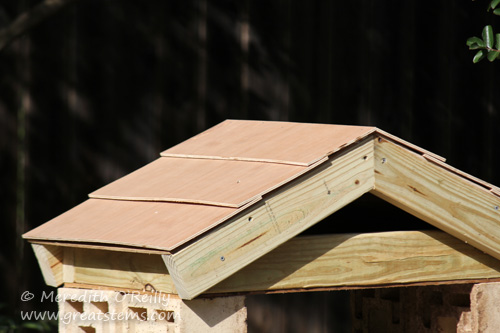
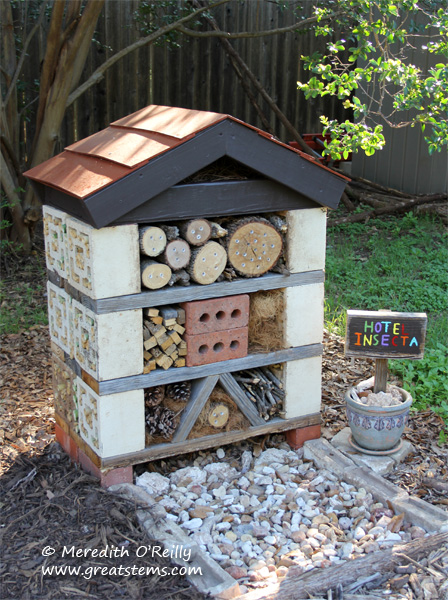
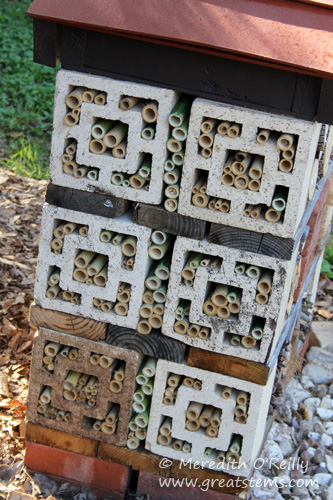
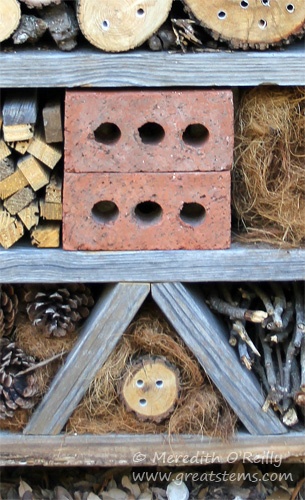
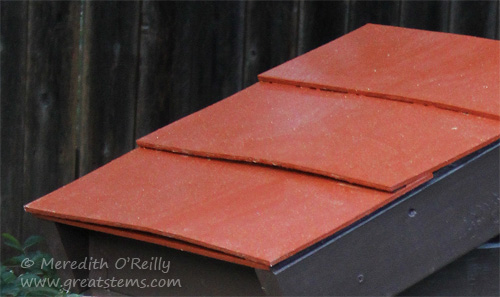 I painted the top section using leftover paint from our house’s exterior — this makes the insect hotel fit the setting nicely, as it matches our house and the color scheme of our garden’s decorations. Of course, it rained that very night, so in the picture it looks dirty. Rain came again for a few days after that — I was so glad the roof was done.
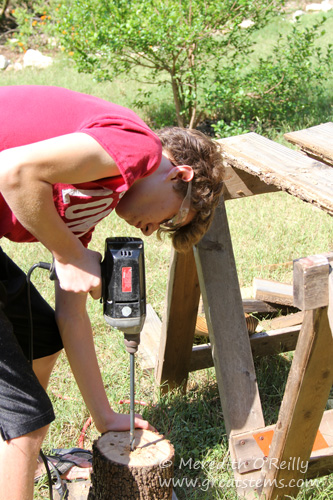
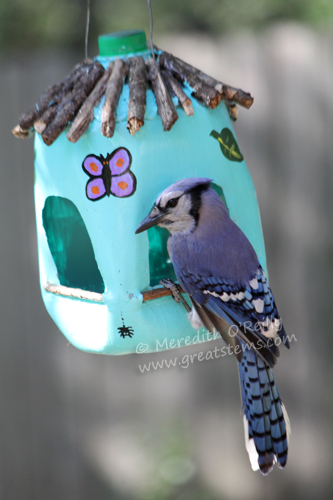
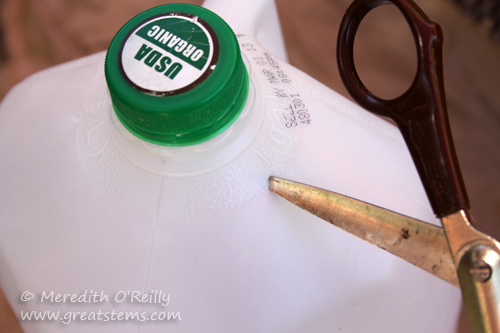
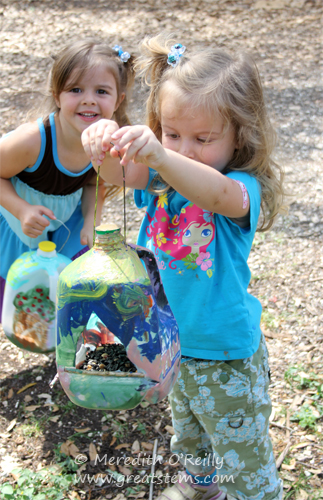
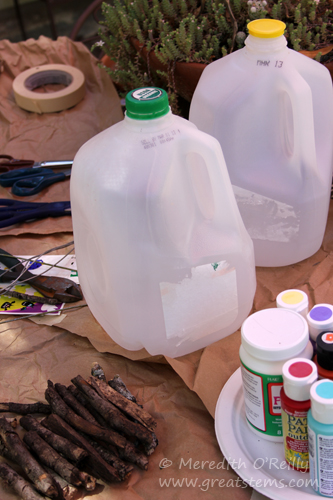 Materials can vary, depending on what you have on hand and how you want to decorate your feeder. The one thing you’ll need for sure is a milk jug. Oh, and birdseed!
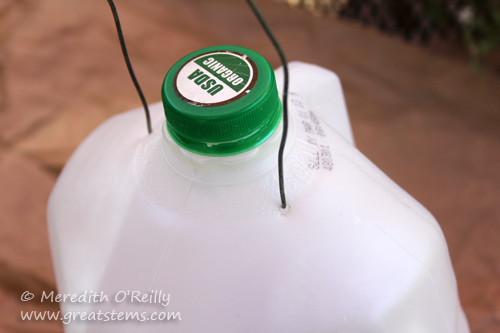
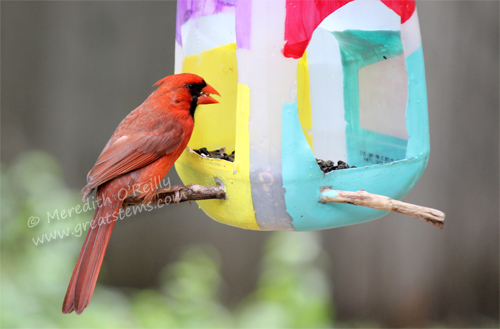
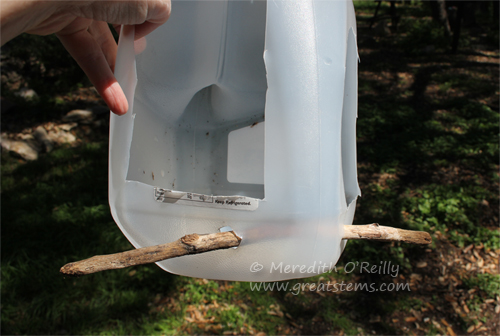 Another option is to create a long perch that goes through the corner. Cardinals especially appreciate this perch style (as seen in one of the first photos above). Again, glue it into place.
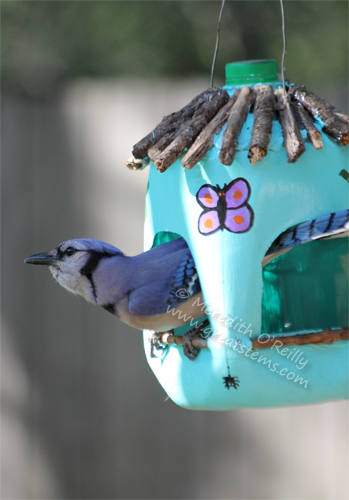
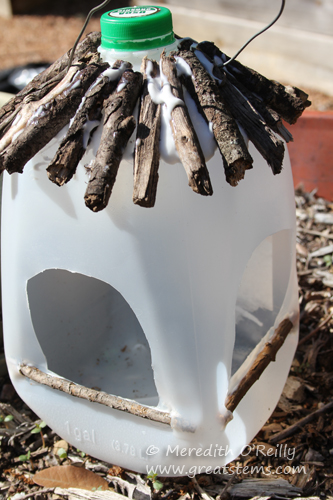 6. Before adding paint or other colors to your feeder, glue on any materials you desire. You can add a roof with small sticks, as shown, but be warned that it’s a challenge to adhere the sticks to the milk jug. You have to use a lot of glue, which can substantially add to your activity time because you have to wait for the glue to dry, possibly overnight. If you have the time, then go for it. We used Outdoor ModPodge to glue these sticks on.
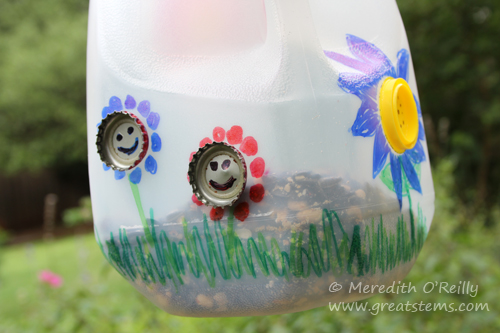 To adhere caps to the milk jug, consider using adhesive dots (such as Thermoweb Zots). To apply, press the cap first onto several dots (don’t touch the dots with your fingers); the dots will naturally lift off the paper. Then press the cap into place on the jug.
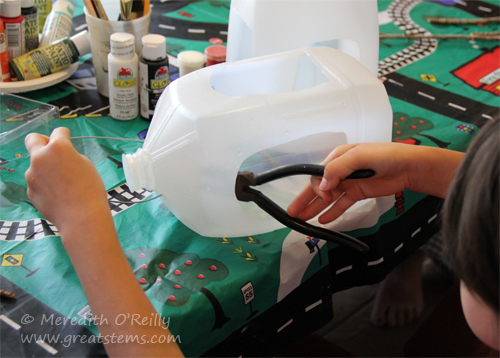
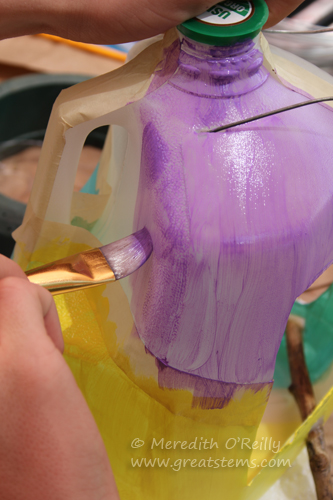
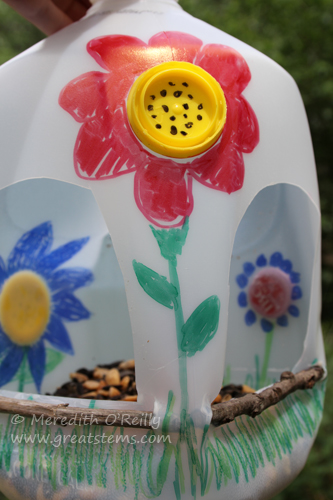 7. Decorate your jug with stickers, permanent markers, or paint, letting everything dry in between stages (note: Sharpies and other permanent markers will eventually fade in the sun — if using these, keep your bird feeder in the shade).
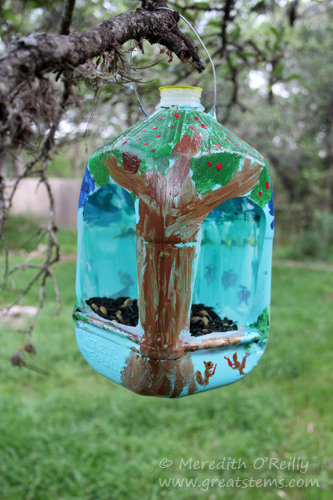
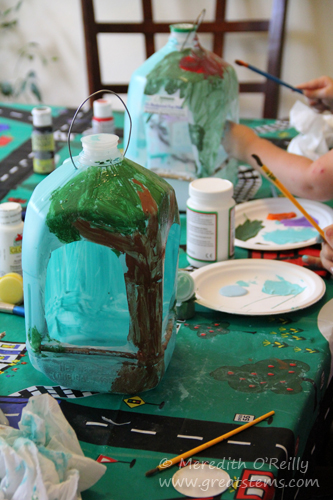
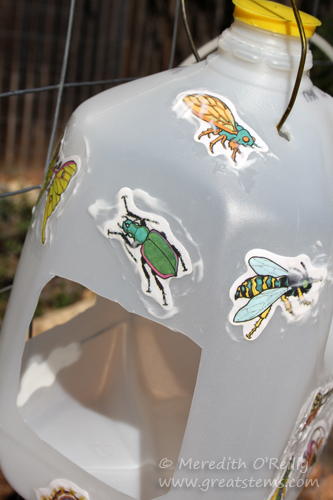 If using stickers, place a thin layer of outdoor white glue over them to help secure them — the glue will dry clear.
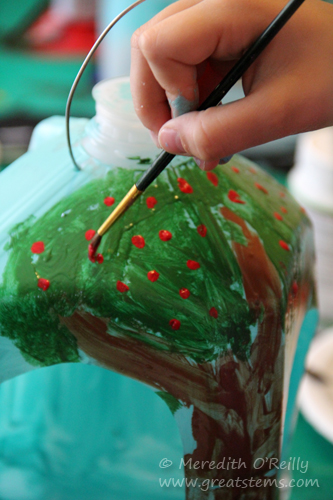
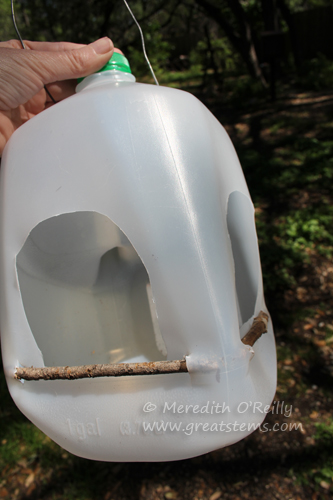
 8. Finally, fill with birdseed and hang outdoors. It might take a couple of days for the birds to find your feeders, but squirrels might be happy to show them where it is!


 One final note — have fun!
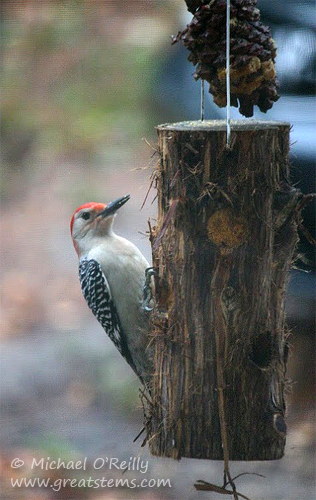
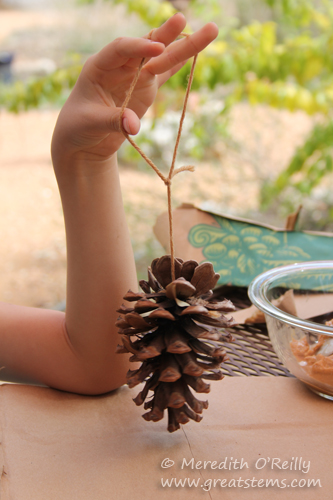
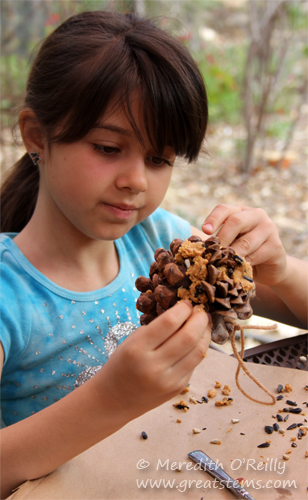
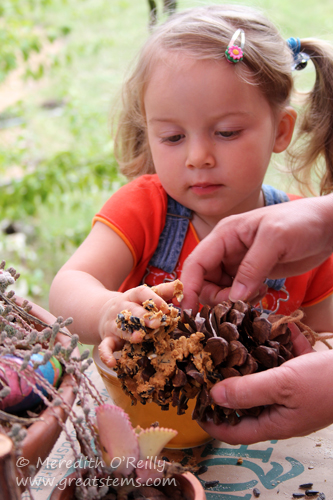
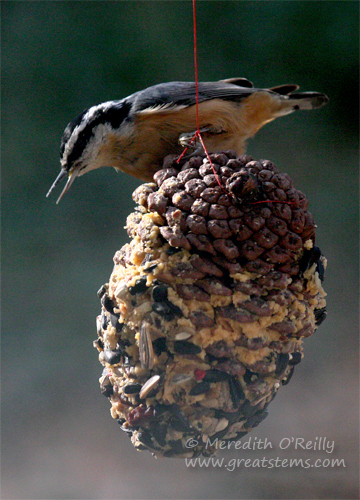
 And that’s it! Hang your feeders outside a window so that you can watch the birds as they feast. It might take them a day or two to find the feeders. Don’t be surprised if a squirrel gets interested, too — but the squirrel might just show the birds where to find the pine cone!
 You can also cut one end off a large orange and remove the pulp (give it to the birds!), then create a bowl from the remaining rind by adding a hanging method and filling the rind bowl with the peanut butter mixture.
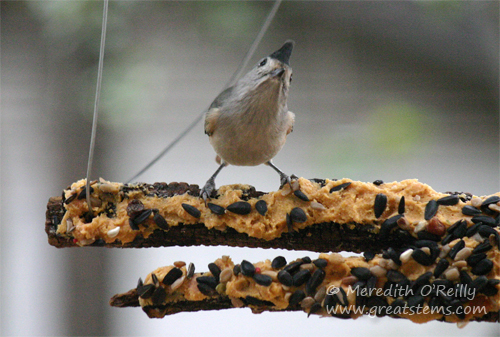


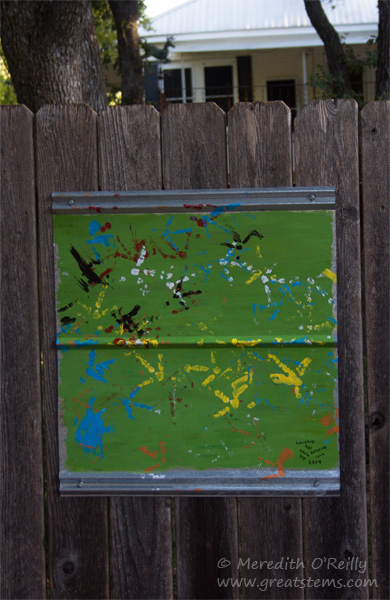
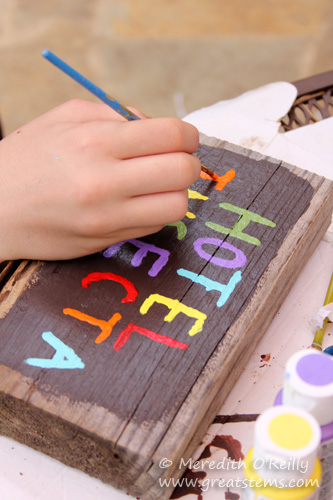
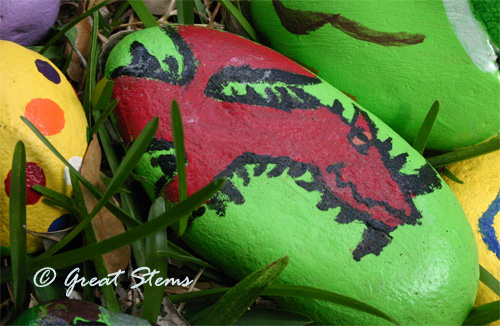
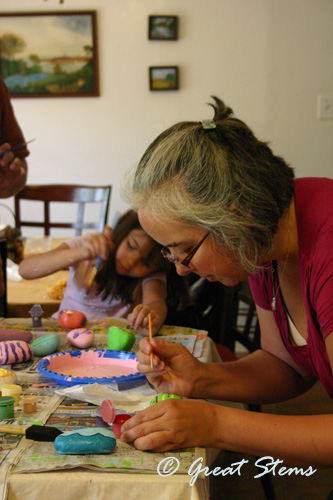
 The painting party was a delight, as were each of the participating AGE clientele, and the results are better than we ever imagined. Each marker is hand-painted and unique, making them all very special, but the best part is how heart-warming every part of this project has been.


 Never underestimate the power of plants!
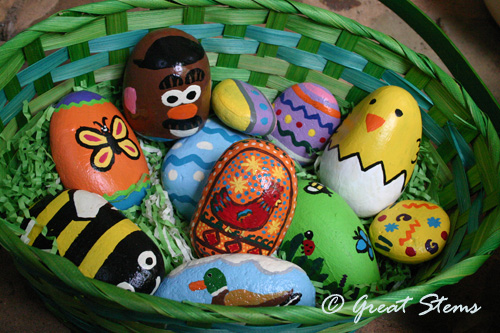
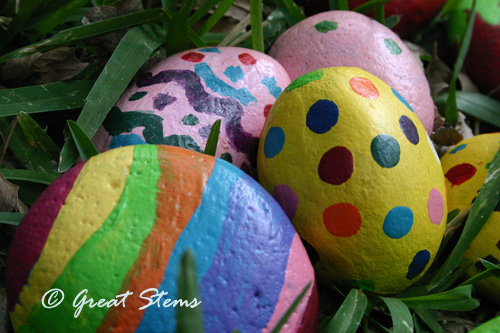
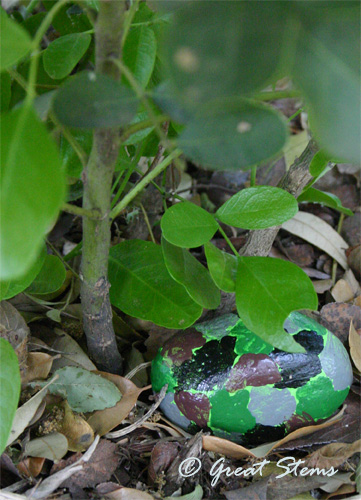

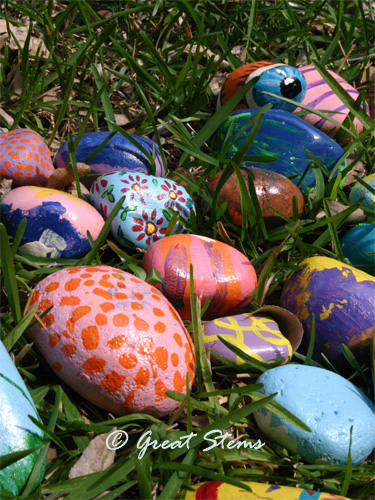
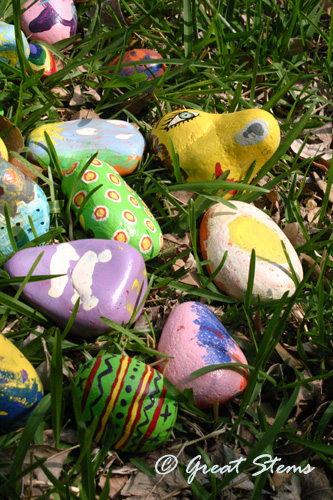
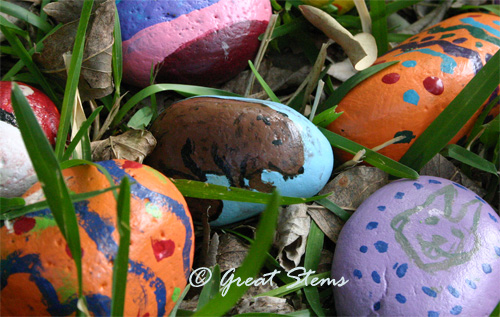
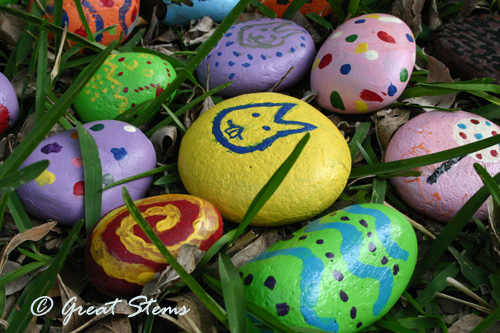
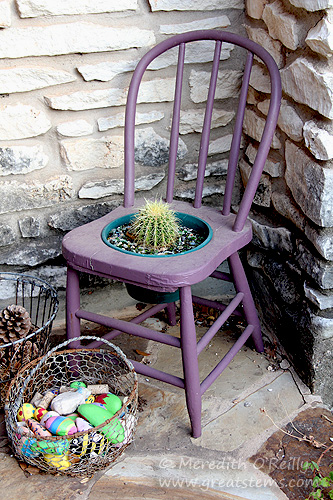
 Between our two families, we painted 77 rocks. That’s only a mere bucketful, mind you!