At long-last, my neighborhood got some long-needed rain. I say my neighborhood because in all honesty and selfishness, I have no idea what happened elsewhere in Austin. I was too busy out in the rain doing a little happy dance. I guess the gardening gods felt sorry for me and let the rain fall. I shall pay proper homage later.
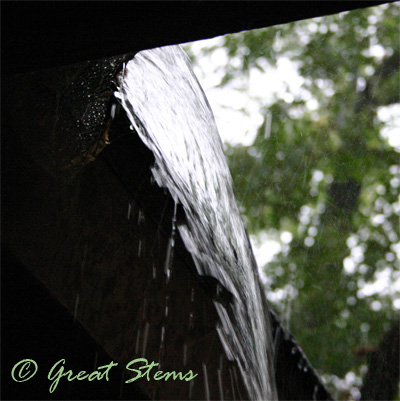
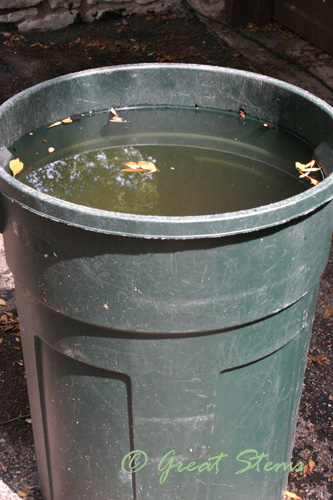
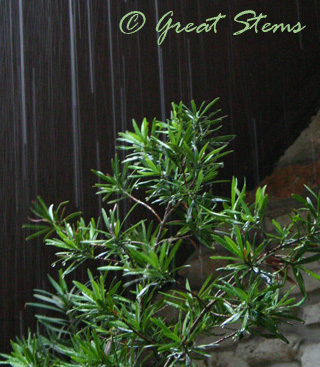
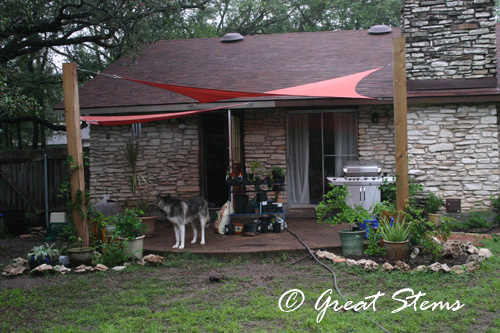
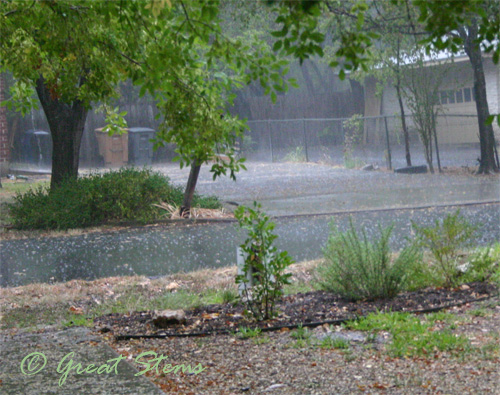 And it was a good long rain. Long enough to give a deep watering to the trees, gardens, and scorched earth. Long enough to fill my mock rain barrels and get the toads ready for l’amour. See this massive spout of water? We’re in the process of painting and have no gutters up, so no rain barrels, but I put out two plastic bins to catch as much water as I could. They overflowed, so much water fell. Yay!
 Even the entryway’s crazy-tall Japanese Yew, planted 20+ years ago by some previous owner, got some water. You can’t see much of it from this picture, because I was taking pictures of the rain!
 Hey, I just now read that the Yew is quite toxic. Why am I not surprised? It seems everything I want to plant or is already here is toxic (except the key lime tree I bought today. Wheee! Oops, hubbie, ignore that. But if you don’t ignore it, blame the wee one; he insisted on getting it. It was only $20 and quite large! Key limes, honey, key limes! Just think of the money we’ll SAVE!).
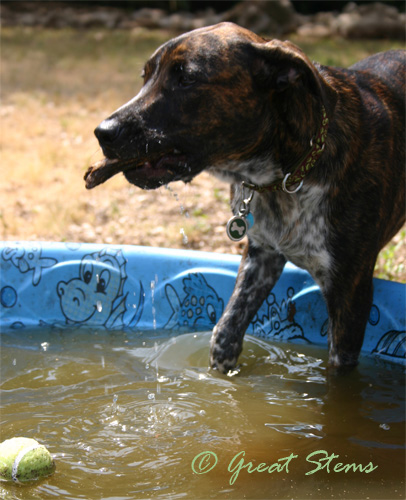
So what does rain have to do with this odd title, “Creature from the Black Lagoon”? Well, I’ll tell you. It all started when I woke up at 6-something this morning and let the dogs outside. When I tried to get them to come back inside, the puppy was standing in the dog pond (a.k.a. wading pool) and not moving.
Grover wasn’t moving because, as it turns out, he was surrounded by several toads in the water. They weren’t very happy with him in there, and I guess he didn’t quite know what to do, either. I didn’t get a picture, as I decided to rescue the toads and move them toward the main pond. Here’s a picture of Grover later, with a stick he’d found.
But Grover is not the Creature from the Black Lagoon. And it turns out that two of the many toads were actually double — mating toads foolishly thinking that the dog pond was a good place to hook up. Even as I rescued the toads and helped them find their way to the crevices of the main pond rocks, those silly boy toads kept a tight grip, making the females lug them around. I could hear the toads croaking last night and this morning — I guess rain brings out toad passion. Water’s here — let’s get together, baby!
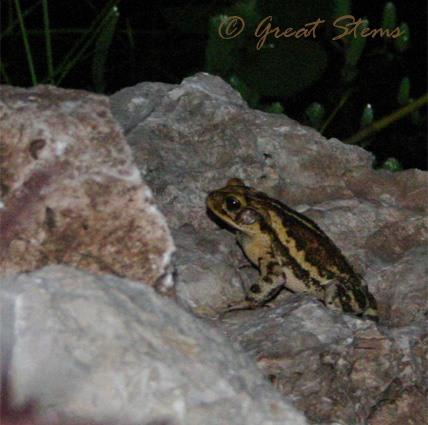
While I was outside, I realized that the waterfall in the pond had become a trickle, which meant that the pump was clogged with something. So I decided to go ahead and deal with the pond right away. The rain might have sent some tree debris into the pond. While I got ready, I grabbed the camera and caught a picture of a toad on a pond rock. All those toads aren’t Creatures from the Black Lagoon either.
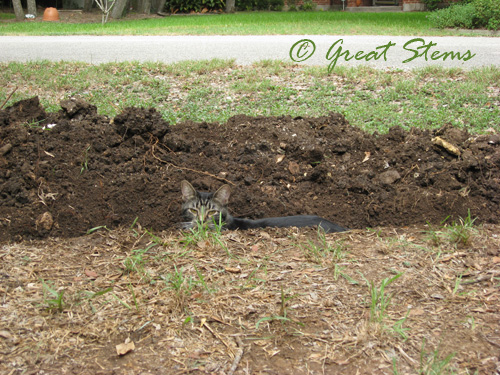
 If it wasn’t rain debris clogging the pump, there was a chance it was something messed up from the last time Sheba got in the pond. I’m still trying to get a good picture of this pretty dog, but she truly tries to hide from my camera. I have to be sneaky.
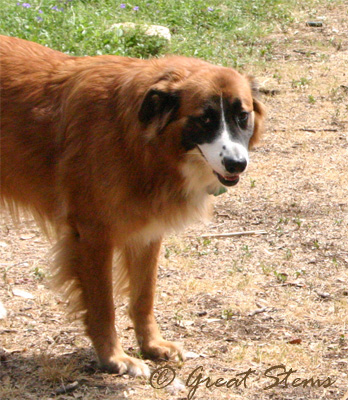
She might be camera-shy, but she’s not the Creature from the Black Lagoon either.
So I get in the pond and begin my work. Sure enough, the filter was slightly tilted, letting debris get in. And there was an umbrella plant that had been knocked to the bottom of pond. Amazingly it was fine and had new growth. Is it the creature? No. Nor are the snails I found (the dwarf puffer in my aquarium will be most appreciative when I feed those to him!).
Since getting in and out of the pond is an annoying chore, I decided to make the most of my time in there. I threw out any leaves and sticks I found, got sludge that had collected below the pump, trimmed the dwarf papyrus, and gathered pea gravel that had fallen out of knocked-down plants and put it back in the respective pots. While I was working, two pairs of mating toads hopped up the pond rocks and joined me in the pond. I guess mating takes priority over being scared of the human. And amazingly I didn’t drop the camera in the pond during these pictures.
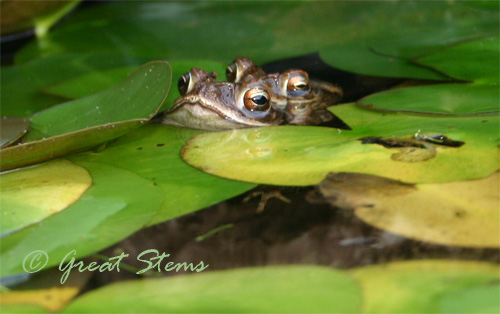

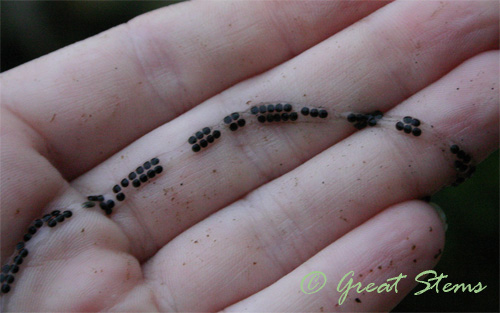
The mating toads aren’t Creatures from the Black Lagoon. Nor are these toad eggs I found while working on the plants in the pond. Pretty cool — I hadn’t seen eggs before. Suddenly I realize how many eggs are probably in my pond. Hopefully it won’t affect the fish, or vice-versa! The fish aren’t the Creatures either. But they gave me little goldfish “kisses” in the pond while I worked. Hey, I can pretend they were kisses!
I continued working, even sitting down in the water to collect some hair algae that was growing in various places in the pond. It had become a problem after the last major time Sheba got in the pond, when she knocked half the plants into the depths of the pond. Lots of spilled soil and whatnot had been added to the pond, and the hair algae went wild. We added a barley block and more submerged grasses, and the pond is back on track. The hair algae? Not the Creature. But you’re getting closer.
I found lots of nasty sludge in the filter pot. I scooped much of it out with my hands and tossed it into the nearby garden bed. Some sludge is ok, but not in my filter pot. I opted not to take a picture with my nice camera while having sludge in my hand. Sludge? Not the Creature.
You can see in the second mating toad pic the dwarf papyrus I trimmed back. It’s trying to bust out of its pot now, but today wasn’t the day for me to deal with it. So I trimmed back the parts that were drooping into the water. There were a lot. The monster “dwarf” papyrus, before or after its haircut, isn’t the Creature.
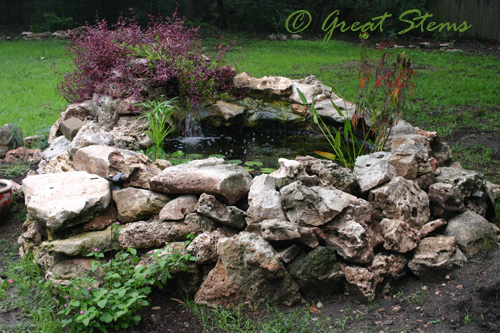
Here’s the cleaned-up pond.
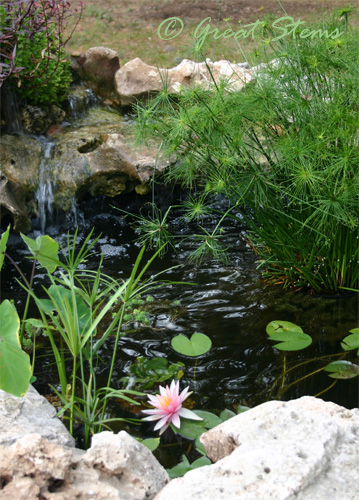 Hmmm, after looking at this picture, the dwarf papyrus still looks like it needs a haircut. Reminds me of my husband on our wedding day, when his hair looked exactly the same after having paid for a haircut… you know, before wedding pictures… sigh.
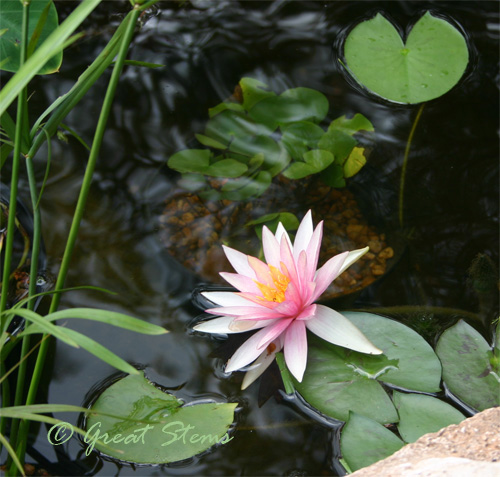
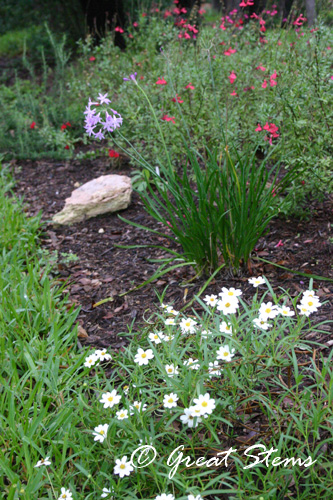
So the “dwarf” papyrus isn’t the creature, nor is the baby dwarf lily I decided to lower slightly into the water to let it grow taller. Not the Pink Sparkle flower, either.
I decided while I was out there to go ahead and plant the swamp milkweed I’d grown from seed, not realizing that Asclepias incarnata was actually swamp milkweed (It didn’t say it on the package! Not my fault…). As the name implies, it likes water, and I had a dilemma of figuring out where to put it, as I really didn’t want to plant something that wasn’t drought-hardy. I finally figured out that if I plant it next to the dog pond, their splashing was likely to give the plants the extra water they’d need. I already cart the dirty dog water to my plants all over the the backyard, before refilling the wading pool. It’s a pain, but I do it. Can’t waste the water and can’t leave it in long enough for mosquitoes.
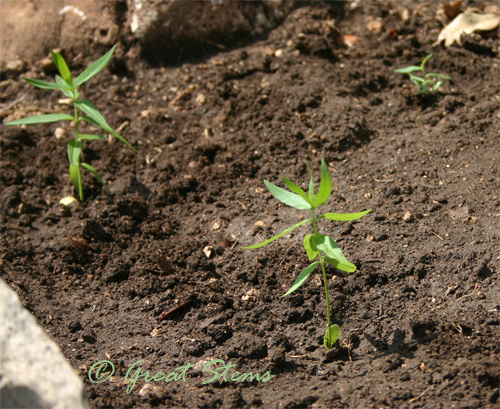 Aha, Swamp Milkweed, you say — with “swamp” in the name, the milkweed has to be the Creature from the Black Lagoon. Nope, wrong again.
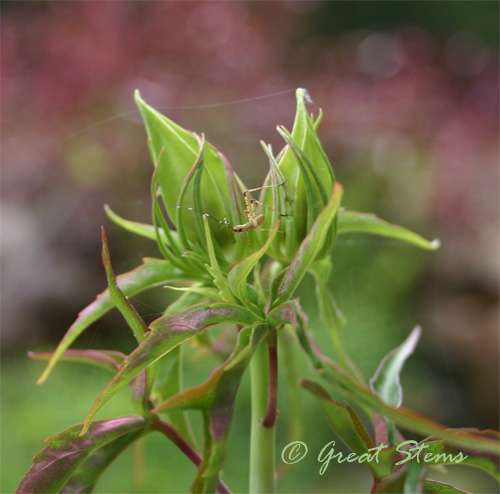
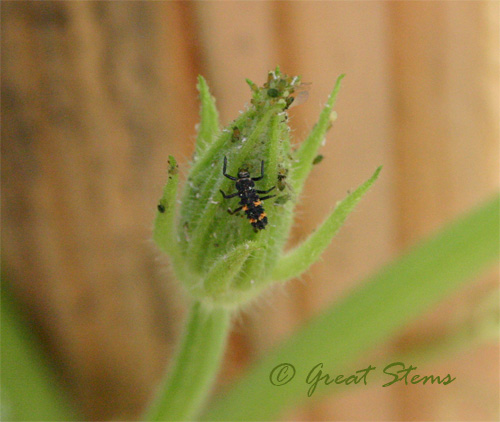
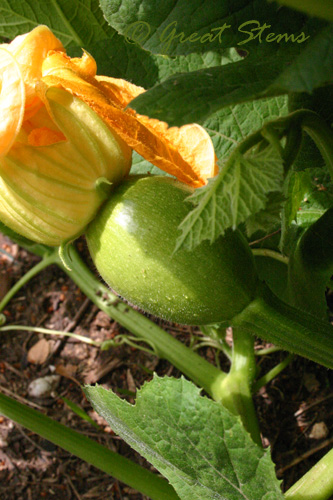
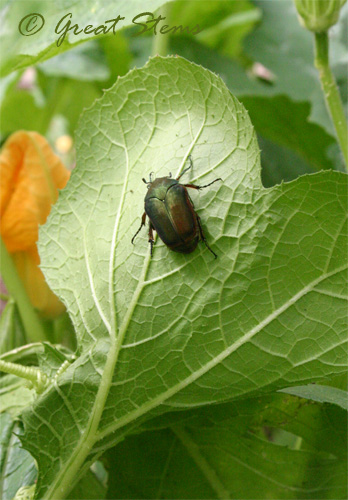
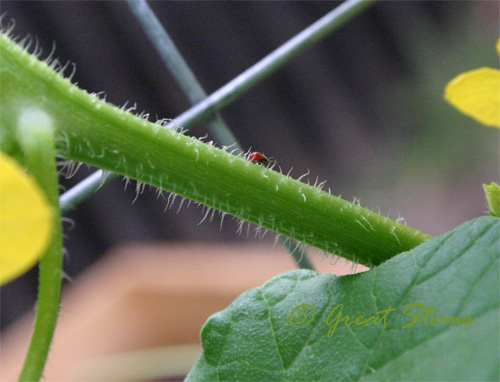
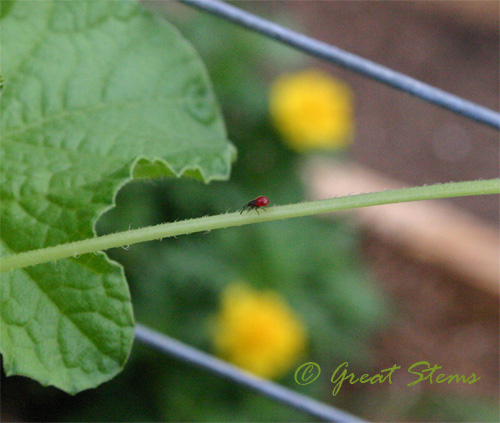
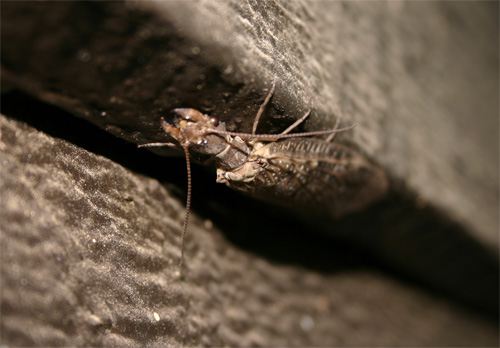
It’s not this bug I found on the buds of my Texas star hibiscus, which apparently likes its spot in the pond. I can’t wait to see the flowers!
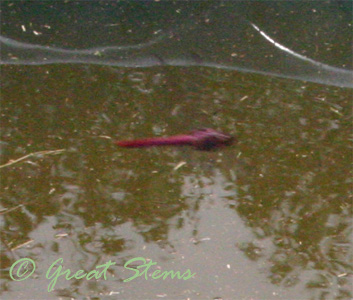
It’s not any of the dragonflies that were flitting about the yard and the dog pond. I couldn’t get a good picture, they zoomed so fast; but I think they were Roseate Skimmers. The male was a gorgeous pink/fuscia. The females (if they were the same species) were brown/orange/black.
Ok, then what in the world was the Creature from the Black Lagoon in this story? ME, it was me. Picture if you will a woman wearing an old t-shirt and some old, too-short shorts (It was still just before dawn when I got in that pond! Who’d be watching?), who gets in a pond to do some maintenance. After sitting in the depths to gather sludge, hair algae, debris, gravel, and whatnot, I was rather a solid wet, gross mess from head to toe, and having the waterfall turned back on while I was in there guaranteed that more silt was churned up to collect on my clothes. Oh, but the story doesn’t stop there…
When I got out of the pond, I figured that since I was already filthy, I might as well plant the swamp milkweed in the wet soil nearby, as you know. What’s a little more mud? Nothing, until I went to the backdoor to go back into the house to take a shower. It was LOCKED. Locked by my husband, who so generously let me stay working in the pond by taking the boys to camp for me. Locked, perhaps out of habit, just before he left the house. And there I stood, now about 8:30 in the morning, looking like the Creature from the Black Lagoon. And then the realization that I was probably doomed to walk through the neighborhood looking like that to find someone to let me either call my husband or help me get into my house.
Fortunately, a spark of brilliance came to me (thank you again, gardening gods… or house gods) and I was able to get inside the house without having to show up on a neighbor’s doorstep, ring the doorbell, and <shudder>. If I hadn’t found a way inside, this story might be called “The Black Widow” instead of the “Creature from the Black Lagoon,” if you get my drift.
And no, I did NOT take a picture.

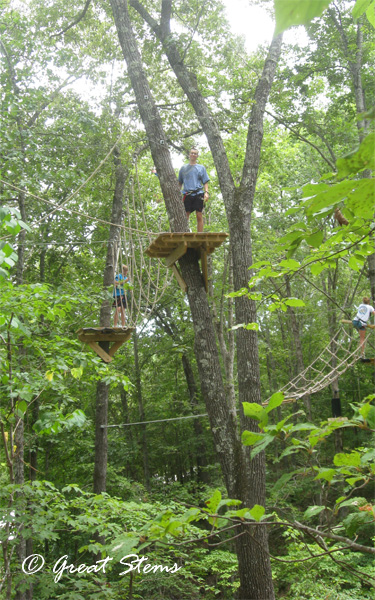
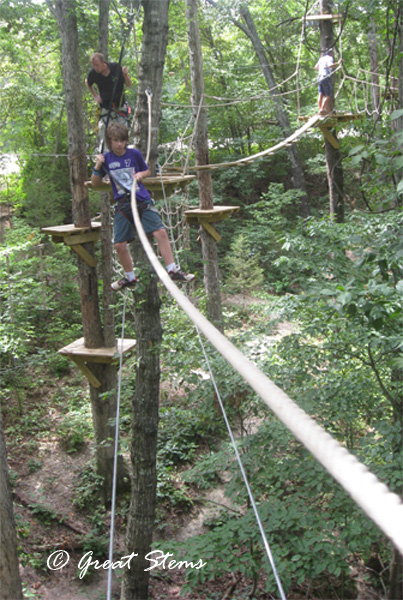
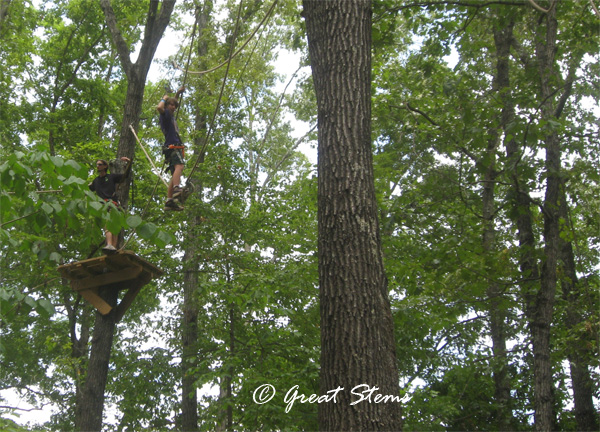 Was it Loco? Yes! But absolutely fun, challenging, scary, rewarding, and memorable, too. The boys are eager to go back, and so we will one day.


 There’s a lot more to our yard than what you see here, and I invite you to


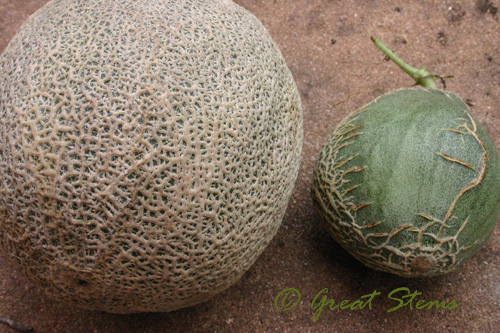
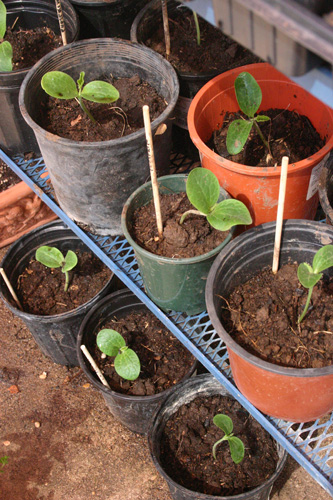
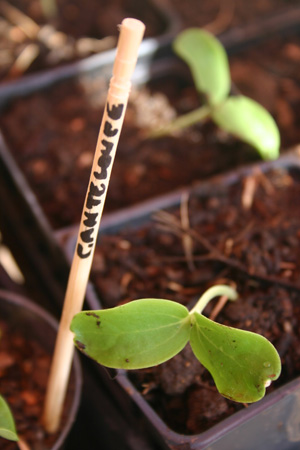
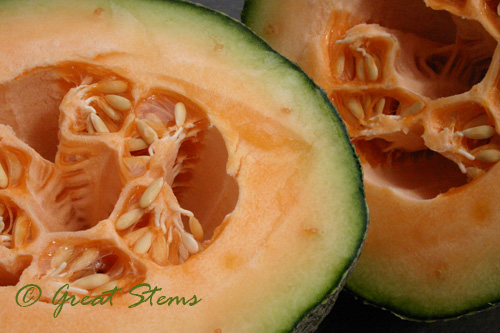 So I began the process of cutting up the fruit for the compost bin. By the way, ever wonder what the inside of a young cantaloupe looks like? Pretty cool.
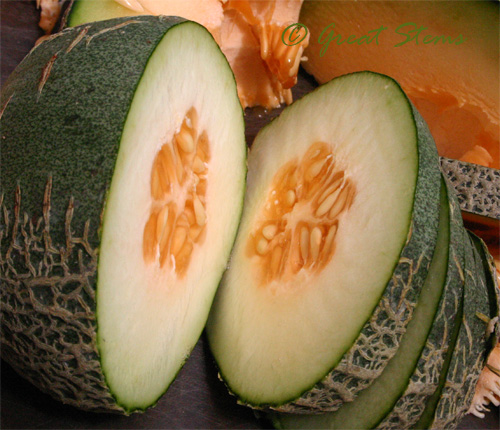


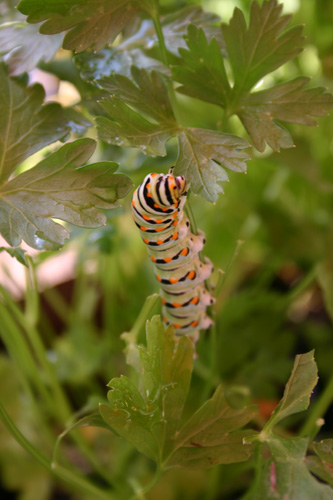
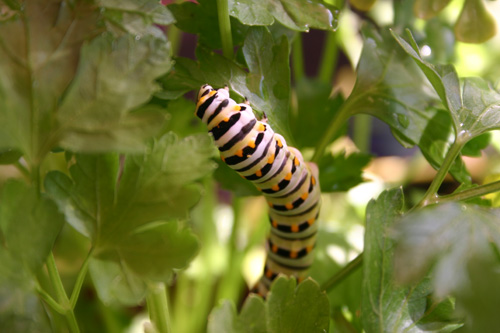
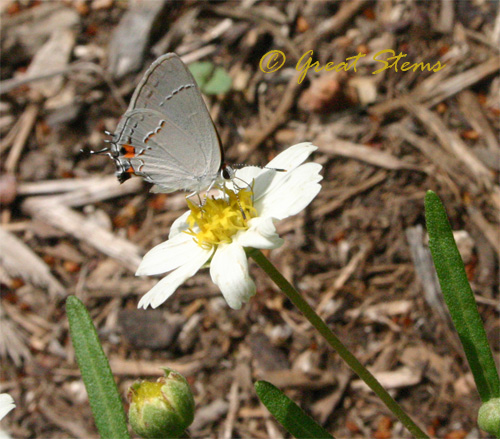
 And of our three swallowtail caterpillars happily munching away before we left, we found one chrysalis, so we’ll try to monitor it for butterfly-ness. Of course, it’s in a place that is very hard to get a picture, and it’s also in a place that the butterfly will have a hard time getting out of without our help.
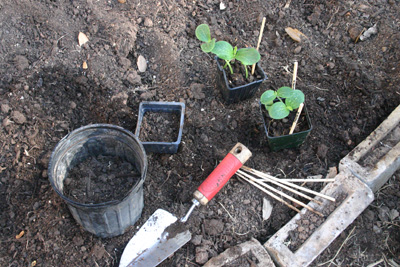
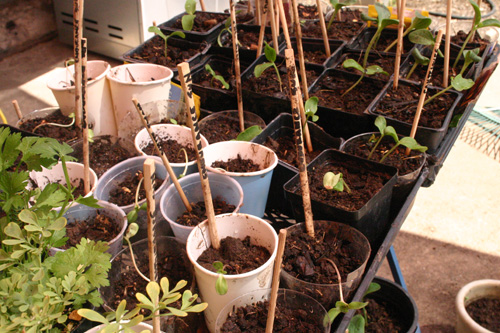
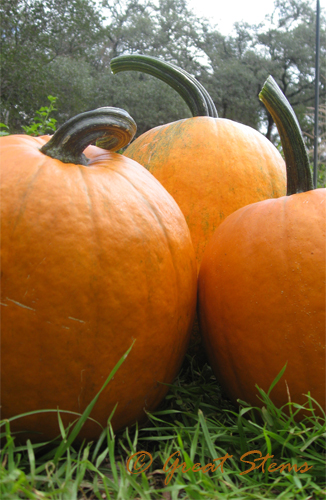
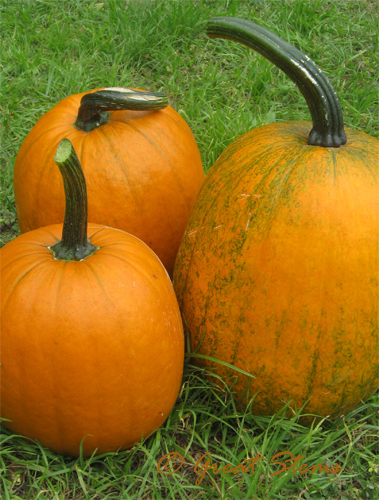
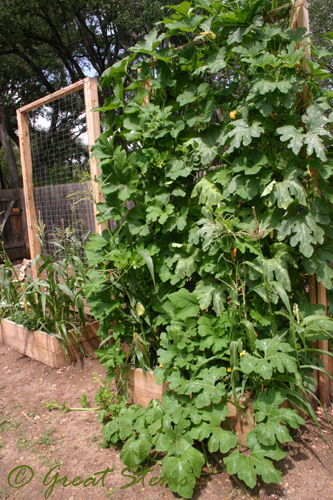
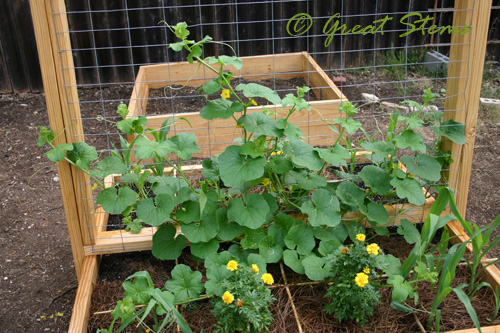
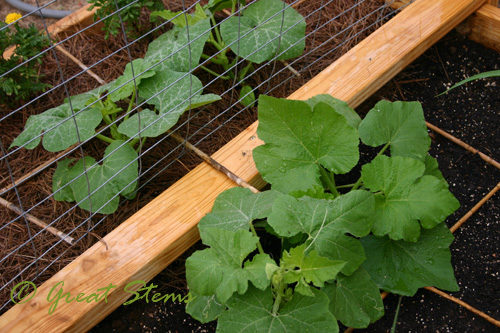
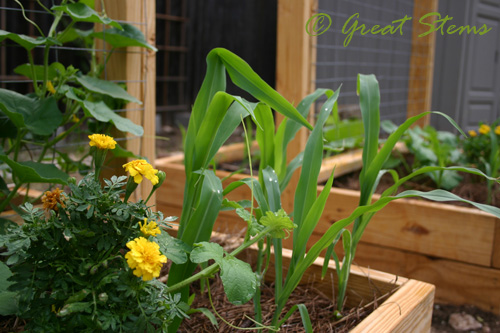
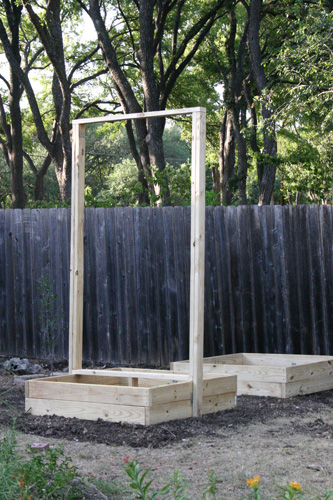
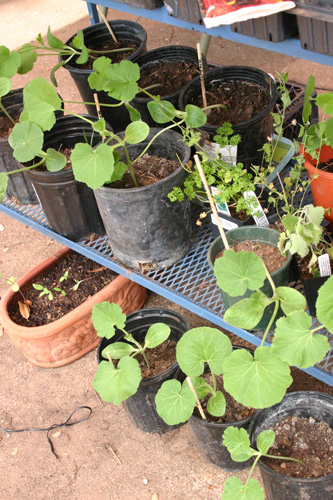
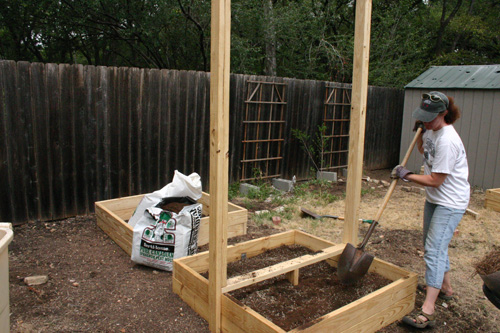
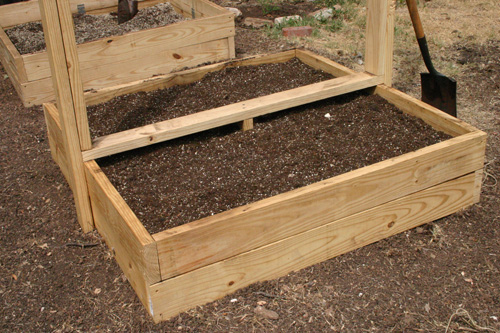
 The cantaloupes will be in a raised garden bed, grown vertically on a trellis. All in all, we’ll have three raised veggie beds (for now, haha). The cantaloupes will be in one, along with corn and some marigolds, and sugar pumpkins will be in another, with some more corn. The third bed will be prepared for yummy fall planting goodness. The third bed was made for me by my kids this weekend, their first project working with drills and saws and whatnot!
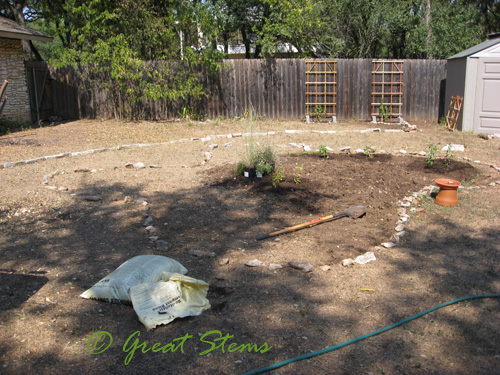
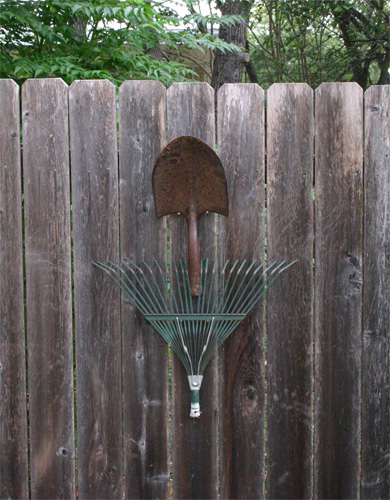
 To prepare the area, we dug out the grass. It was dead, so other than dealing with the hard soil, it was no loss and only somewhat of a pain. Then, with the frames in place, I mixed in compost into the existing soil. I expect some plant roots to extend into that soil, so I wanted to enrich it somewhat. How hard was the soil? Casualty, one shovel.
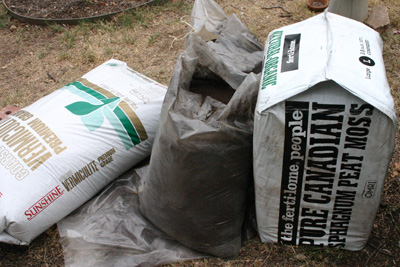
 Because someone at NG told me that peat moss can be a pain to get wet at first, I decided to wet down the soil well and plant tomorrow. Sure enough, I had to work with the peat moss in a big soup of mud to get it to soak in the water. Then I really did feel I was creating a magical potion! Tomorrow will be a good planting day. First I’ll get the trellis wires in place and the grid. Then in will go the cantaloupes and marigolds and some corn seeds.
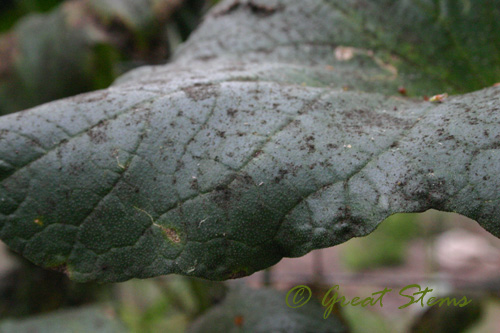
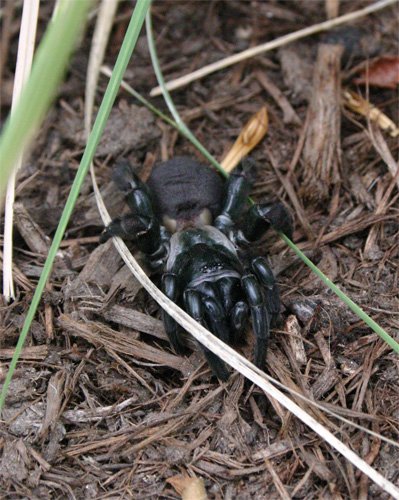
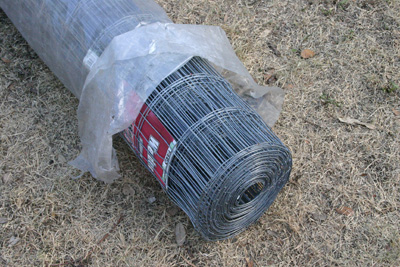 Side story… While I was digging the soil for the frames, I found a weird, soft little tube. At first I thought that it was, pardon me, some old dog poop. But then it split open, and a spider carcass fell out. Squeal. And then lots of little spiders came out and crawled over the spider carcass. Shriek! While I was wondering whether they had eaten the spider, more horrors awaited me… the legs of a gigantic spider appeared. And they MOVED. And more baby spiders crawled out and over the legs… By now, I’d made loud enough noises that the kids came running over. And finally the whole spider slid out, and it was the biggest spider I’d ever seen in my yard. Yes, tarantulas are even bigger, but I haven’t seen one as a resident yet. Despite my startled reaction to the sudden appearance of this spider and her babies, I find her beautiful. Can you see some of her babies in this picture?
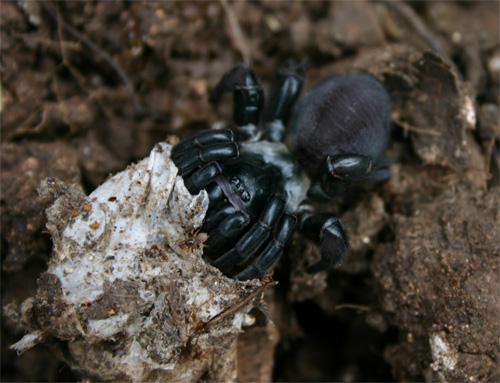
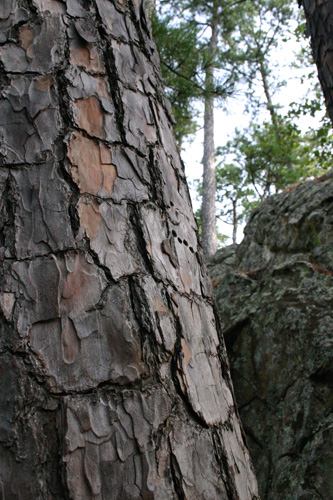
 I loved the bark of the pine trees at Robber’s Cave.