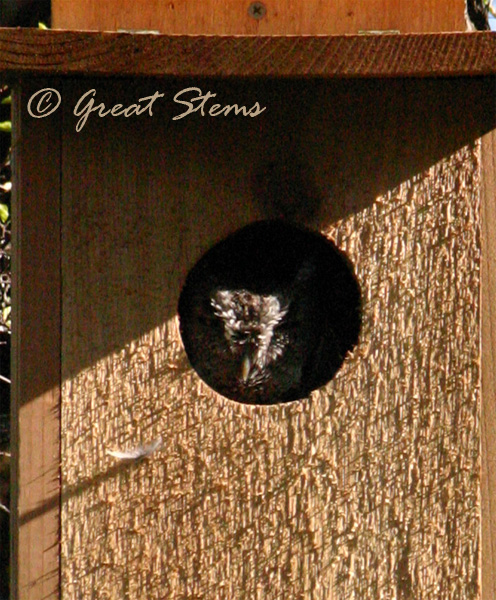
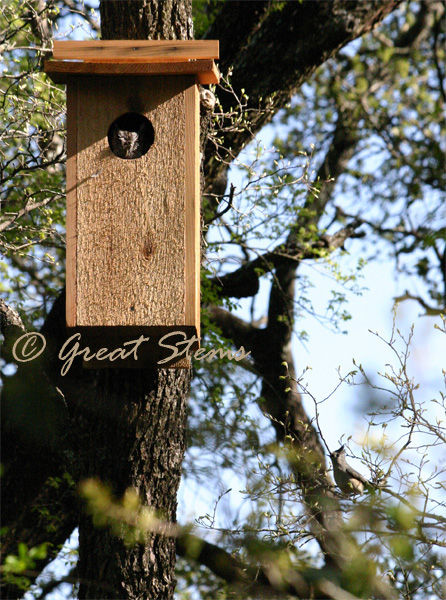
When the fall migration of hummingbirds begins, many people all over North America feel sad that their little friends will be absent from their gardens for a few months. But down south, the mass migration results in opposite, delighted feelings for the dedicated residents of Rockport and Fulton, Texas. To them, fall migration along the Central Flyway means that the little buzzing flyers will make one more major pitstop in the tiny coastal towns to rest and refuel before beginning their 500-mile flight nonstop across the Gulf of Mexico toward their winter habitats.
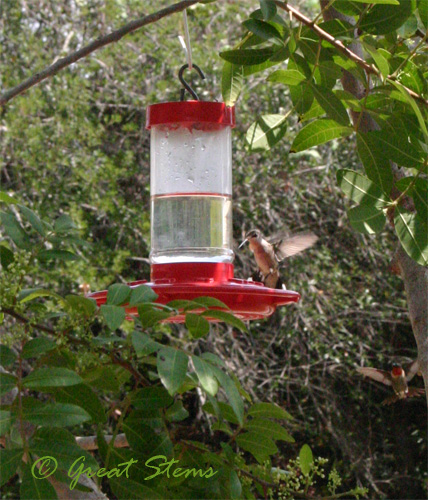
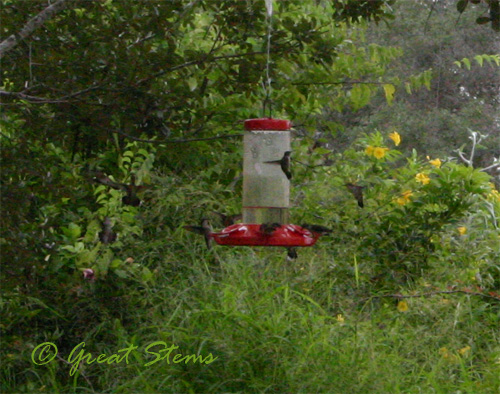
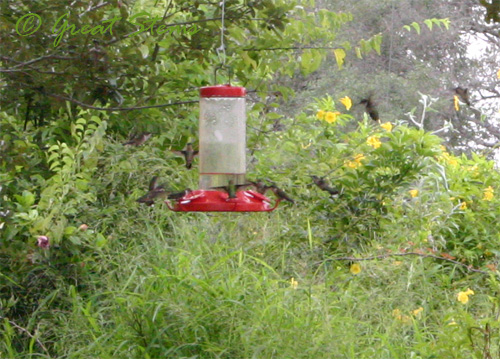
(A word about these photographs — try to find all the hummingbirds in each photo. Some of them are sneaky! Look for the vibrant throat colors to distinguish the males from the females.)
The town of Rockport is so enamoured with their feathered visitors that many years ago they began an annual event, the Rockport Hummer/Bird Festival, held each September unless a hurricane shows up and causes a cancellation (like Ike in 2008). This year was our first time attending the festival, and it was quite a relaxing, pleasant day (with an exception, noted farther down in this post). The event included many speakers and vendors, but the highlights were the hummingbirds themselves, and many kind Rockport residents opened their yards to festival visitors for hummingbird viewing. This year there were 25-homes on a self-guided tour, and for a fee, visitors could take a guided bus tour to many other private homes and grasslands areas.
A birdwatching festival is quite interesting and different from the perspective of one who’s been to all sorts of festivals, from family-filled celebrations of peaches to flowers, to Renaissance times, to chaotic state fairs. For one thing, it’s very quiet, as it should be if one hopes to observe the little birds without scaring them away. And another is that birdwatchers, while all ages, boast a higher percentage of an older crowd. My boys were two of the four children I saw at the festival, though to be honest we were there only on the last day of the event.
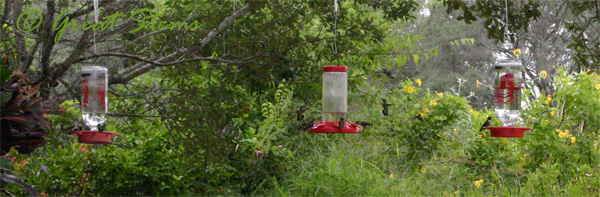
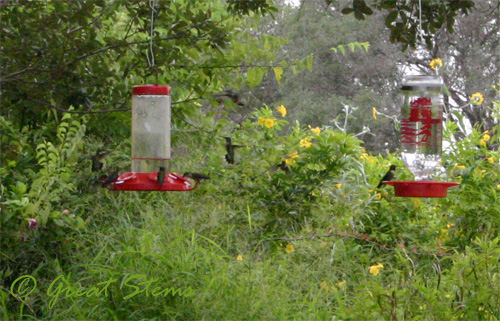 Rockport isn’t just about hummingbirds — hundreds of species of birds are year-round residents or migratory passers-through, and birdwatchers excitedly converge with binoculars in hand to enjoy the sheer numbers and to hopefully catch a glimpse of a rare species. At any given home on the hummingbird tours, there might be as many as 100 or more hummingbirds zooming about the feeders.
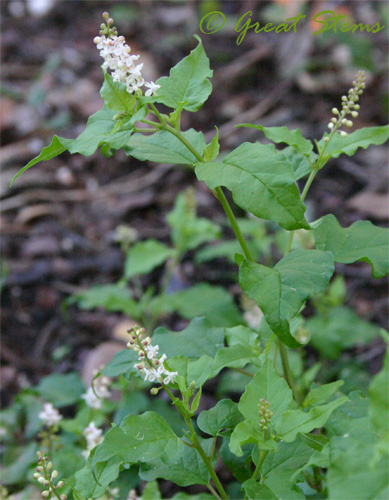
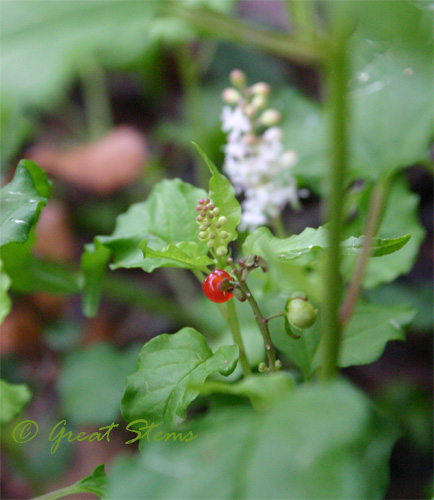
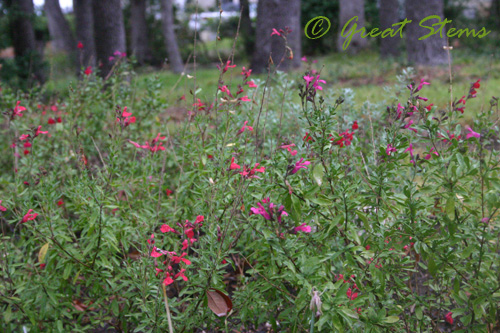
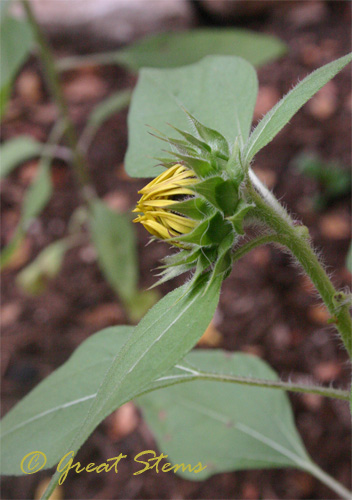
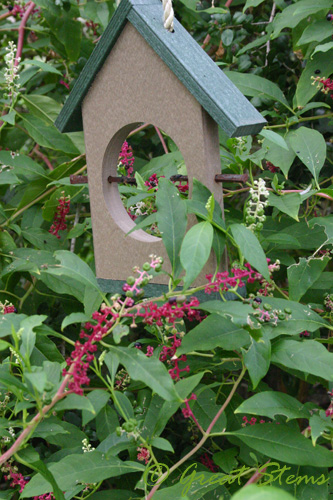
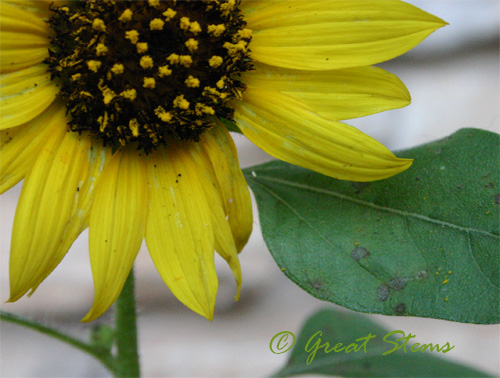
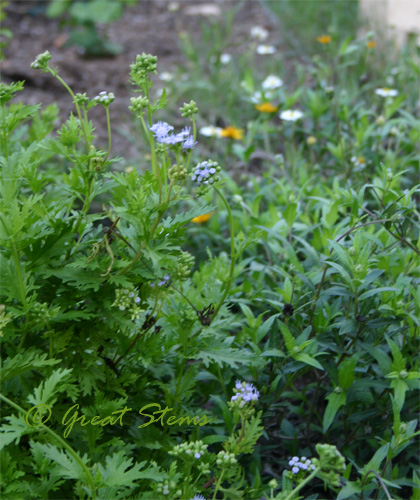
To help attract the birds, the town encourages residents to plant bushes and vines that are hummingbird favorites. There are a lot of Esperanza, for example. And there are other native plants, such as sunflowers and this pokeweed, that are enjoyed by other birds. If you look closely, you can see a remaining berry or two — the plants have been well-stripped by visiting birdies.
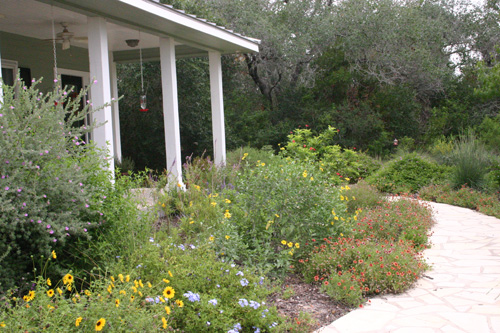
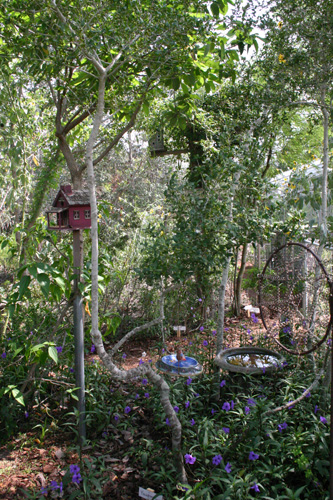
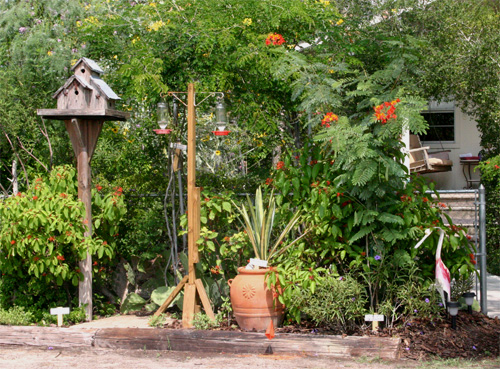
Along the self-guided tour, I felt drawn to those homes with wildscapes — native, flowering plants and small or large ponds helped draw in the wildlife. Of course, they had many a hummingbird feeder as well. At one home, my son counted 19 feeders, just in the backyard.
 But there were a variety of landscapes on the tour, and there was even a school garden, planted and maintained by students and teachers.
Experienced birders would sometimes call out when they spotted a particular species or another type of bird, such as an oriole. And we saw a beautiful Great Blue Heron, a Great Egret, and a large duck family, among other birds, scouring residential ponds for food.
At the festival, we enjoyed learning about the art of feeding hummingbirds from expert Sheri Williamson, author of an excellent field guide called Hummingbirds of North America. Sheri also went with a few of us to select homes on the tour, and it was wonderful to have a hummingbird expert on site to describe features and behavior of the hummingbirds and to answer any questions, of which it’s just possible that I might have had one or two… or three.
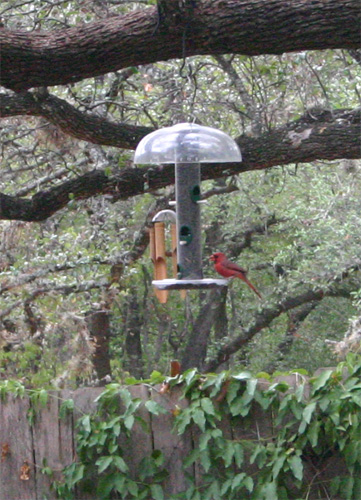
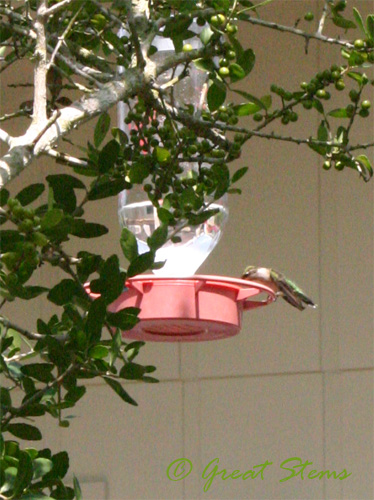 It was thoroughly entertaining watching the antics of the territorial hummingbirds. Their behavior is different at migration time — because the birds need to build up their energy stores, there is more willingness for many, but not all, of the birds to share a feeder from time to time. Despite the many feeders about a yard, the hummingbirds might swarm a particular feeder, as if they think that because others are that feeder, it must be good food. But territoriality is hard to resist sometimes, especially for the males. The vibrant color of the throats of the male birds was impressive, though Sheri said that these feathers are post-mating season, and thus less vibrant than at other times. Pretty cool.
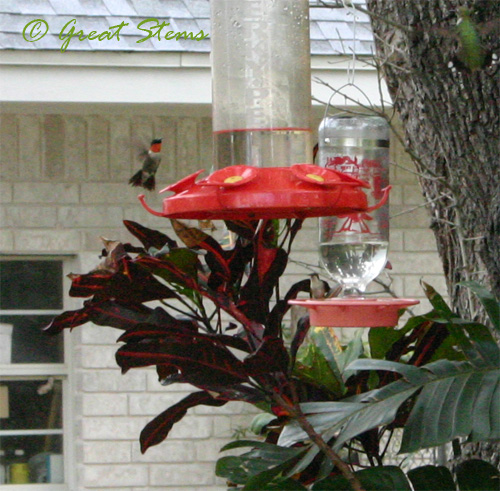 Sometimes the camera captured behavior my eye didn’t notice at the time. In the photo below, you can see two males squabbling, while another bird moves in to get some nectar.
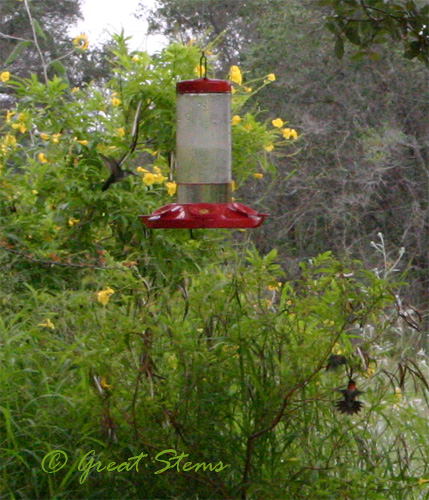 The majority of the hummingbirds that pass through Rockport are ruby-throated hummingbirds, but several species have been sighted, and in all more than 500 species of birds have been documented.
 There was another creature that threatened to bring downfall to the festival this year, the heat-seeking, blood-sucking, mass-attacking mosquito. It was unbelievable the numbers of mosquitoes everywhere, and they swarmed every person by the hundreds. The mosquitoes were so bad at the very first house we stopped at that, that our hummingbird viewing would have come to an end before it started if we hadn’t decided to just go ahead and use some loaned icky chemical spray that I would never touch at home. But we were having to do a ridiculous and constant “Mosquito-Slapping Dance” until we finally used the spray, and if a green person is going to that extreme, you know it’s bad.
After using the spray, we could actually focus on the hummingbirds, until we went tried to get back in the car. This act required particularly quick moves and skill to minimize the number of mosquitoes that joined us in the vehicle — they hovered around the nice warm car until we showed up and opened the door, thinking we wanted them to join us inside. At one house at least fifty mosquitoes flew into the car, and we couldn’t get them out until we were on the highway and could roll the windows down enough to send them out, if we didn’t manage to smush them first. Note to self — avoid coast just after the first fall rain, haha.
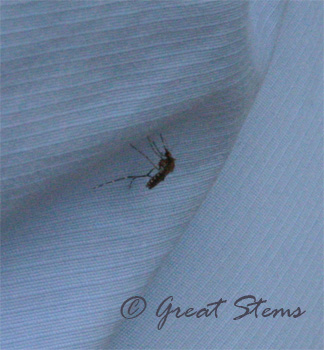 I have a much more disgusting picture of a mosquito, but I decided it wasn’t nice to share it on a garden blog, so I think I’ll gross out family members on the family blog instead.
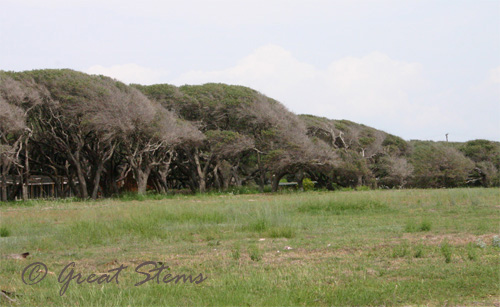
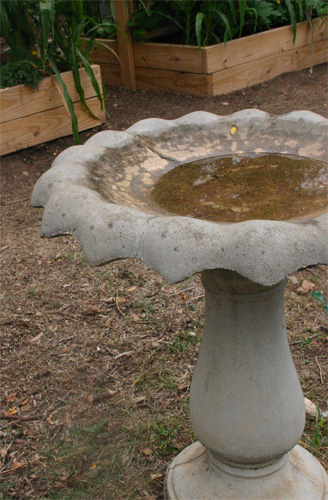
Rockport itself is an interesting coastal village. Near the water, the strong ocean winds have shaped the oak trees into quite the odd shapes. You can tell that salt and drought have taken their toll on the health of those trees.
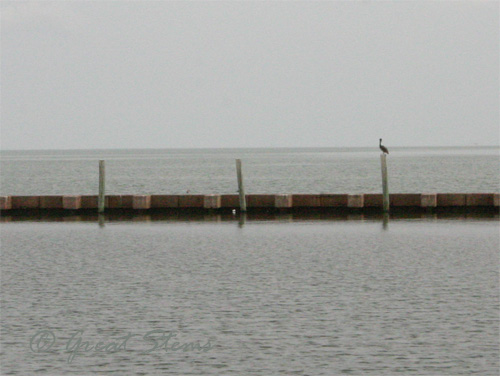
 Outside of Moon Dog, where we had lunch, a lone pelican rested peacefully. It was quite the contrast to the zooming hummingbirds at the inland homes.
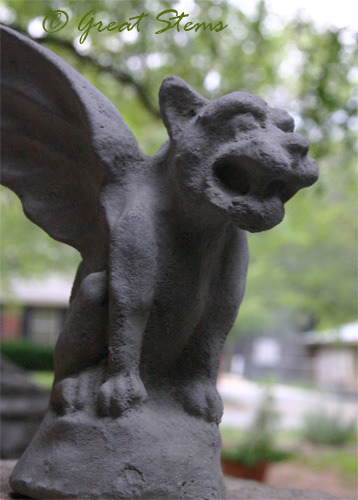
Back at the festival mall, we enjoyed visiting the vendor booths, but my grand plans to buy a couple of hummingbird feeders fell through — after looking around, I decided to stick with my favorite brand, HummZingers, but they didn’t have any there. I did get Sheri Williamson’s field guide, though. There were many jewelry, art, and other vendors, but we were looking for something that just “spoke to us,” as my husband put it. So we bought a buzzard, because that’s what one really goes to a hummingbird festival for, right? But even my husband wanted this buzzard — its head bobbles a bit in the wind.
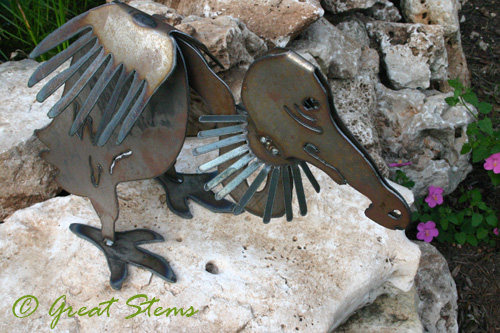 We’ll stick it somewhere particularly ominous for visitors passing by.
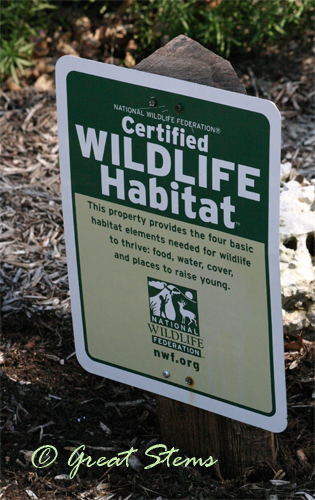
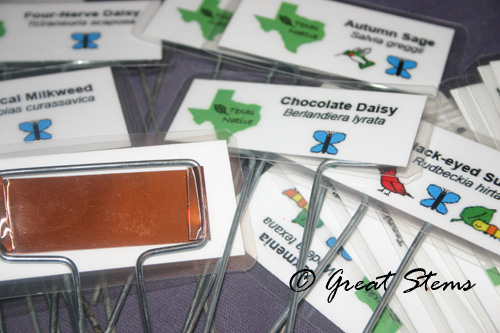 Each plant is identified with common name and scientific name. The labels have a variety of symbols on them. The Texas symbol, of course, is meant to show people which plants are native to our fine state. For the few non-natives, the plants are identified with an herb symbol or a sun for “drought-hardy.”
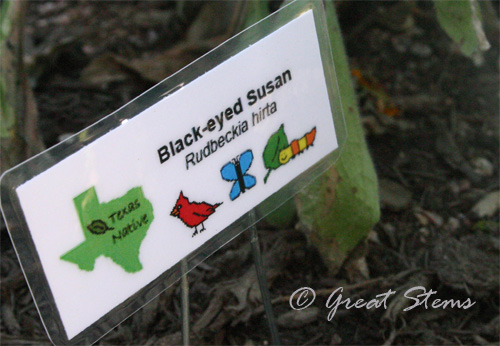
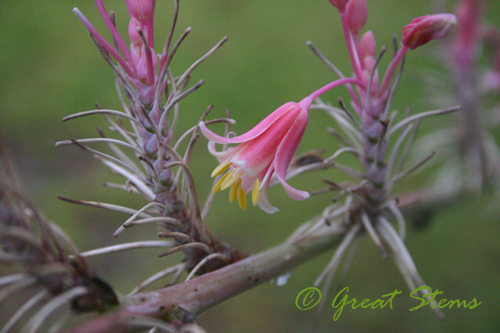
 Which of our plants had the highest wildlife value?
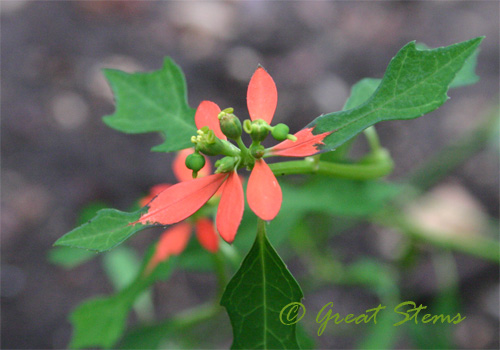
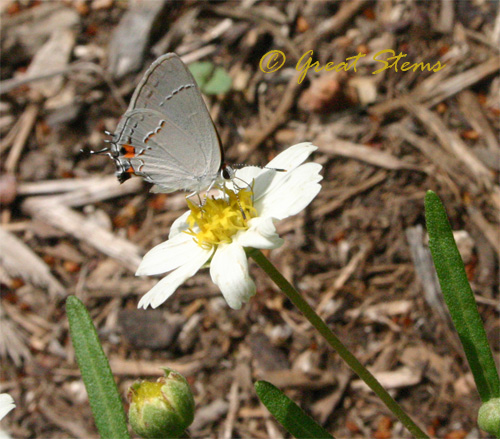
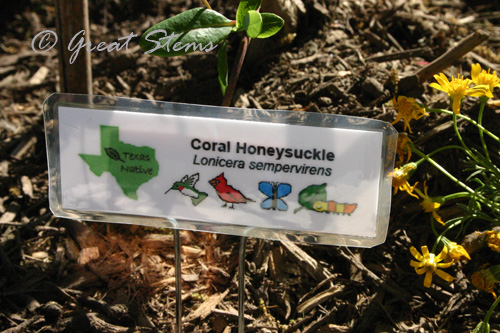 Coral honeysuckle wins — not only is it a hummingbird and butterfly/bee plant with its red tubular flowers, but it’s a larval host to the Spring Azure butterfly and the Snowberry Clearwing moth, and it provides berries that birds enjoy.
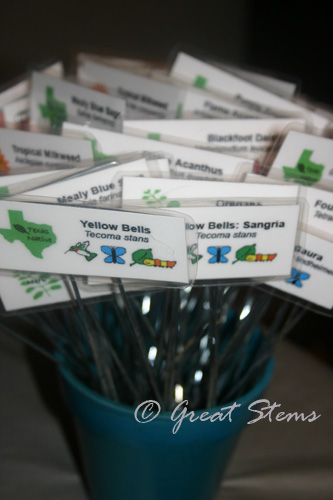 How long will they last? No idea. But so far I’ve created about 70 labels — a pretty cost-effective way to produce such large quantities.
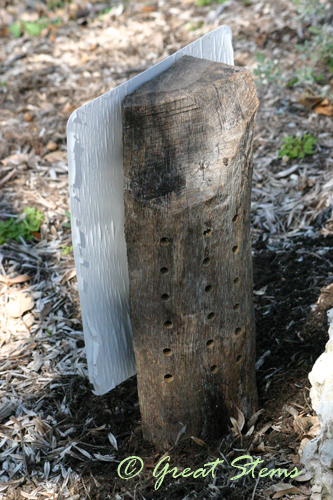
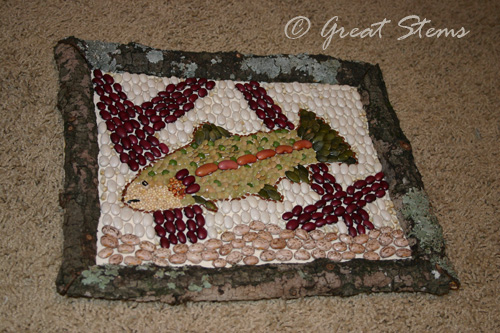
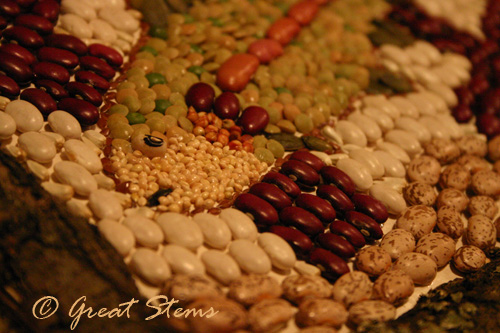
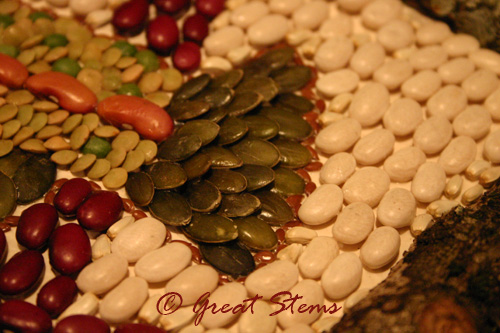
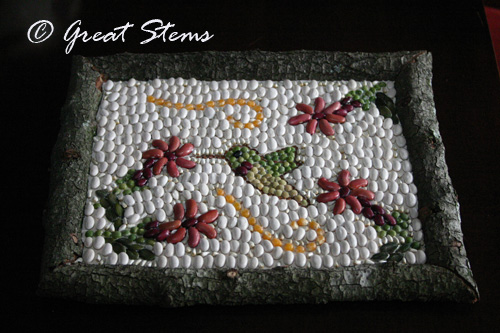
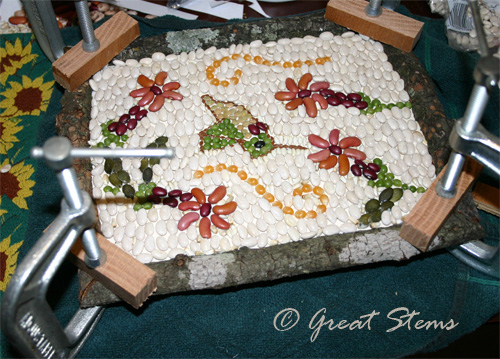
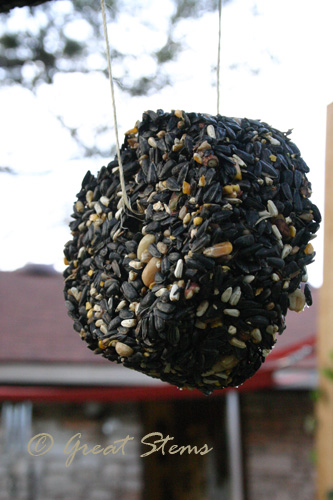
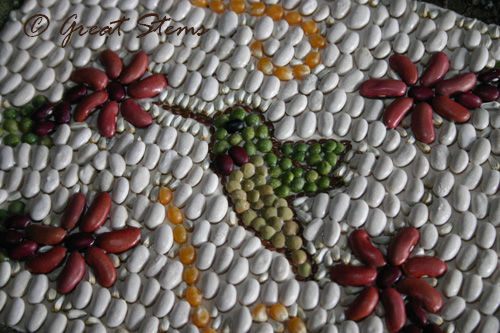 For other family and friends, we tried our hand at making seed ornaments, as often in the past we’ve enjoyed giving purchased seed gifts for others, to hang out for the birdies.
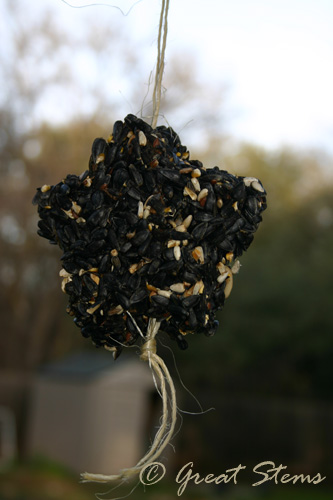


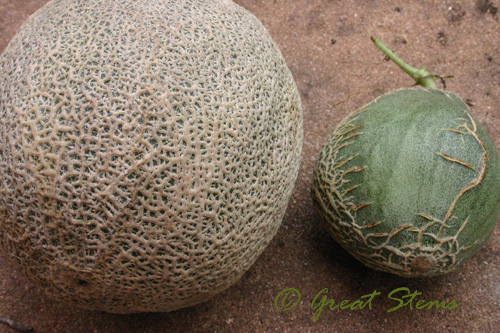
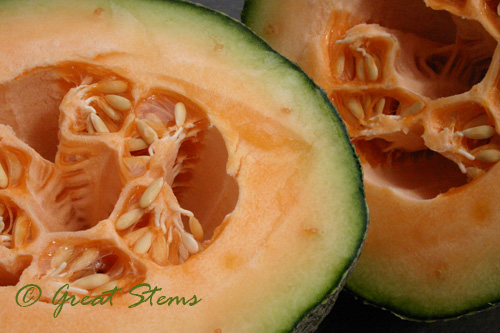 So I began the process of cutting up the fruit for the compost bin. By the way, ever wonder what the inside of a young cantaloupe looks like? Pretty cool.
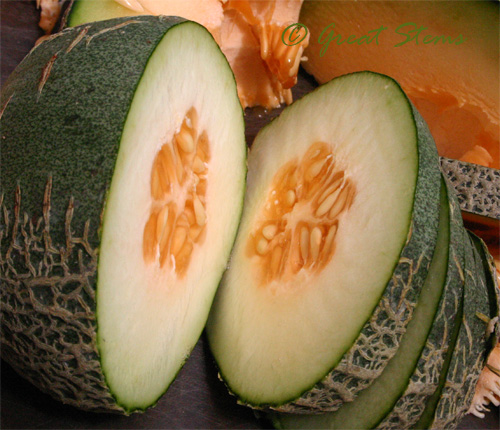
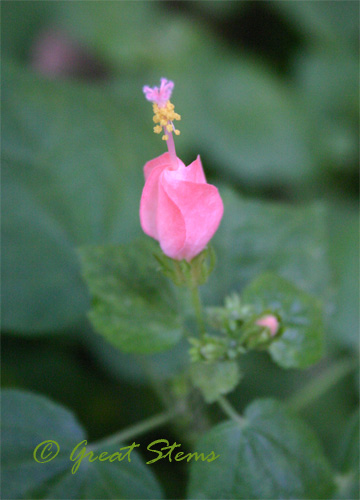
 The Pigeonberry plants are blooming like crazy. They berry, too, but the birds pick them off so fast.