 One might think that August in Texas is not the best month to create a large garden path in the full sun, and that person would be right. But there are some plus sides to creating a new path in August, even in the 100+ weather. One, hiring for some of the work we couldn’t do meant helping out other families in need of some income during what is a slow month for many workers. Two, landscape supply companies were very open in terms of delivery availability and quite eager for business. Three, the heat certainly wasn’t slowing down the growth of Bermuda grass and Nut Sedge, so why let the weeds continue their world takeover by waiting until autumn to work on the path? And four, if we went ahead and tackled the path in August, then come fall we could actually focus on enjoying the garden, instead of crying about the weeds and miserably wishing we had a real garden path.
As lovely as a flagstone path would have been, we couldn’t afford all the necessary stone for our large garden, so we opted instead for a decomposed granite path. The advantages were many — we could always add stone later if we chose, and because no cement of any kind was involved, it would be easy to make changes to the shape whenever we wanted. I knew that I wanted to add an artistic flair to the path later, at the very least, and going ahead with the granite would give me time to figure out what I wanted to do. And the difference in cost was tremendous.
I spent a lot of time doing research on how to create a weed-free, chemical free garden path. According to sources online, the key to keeping a path as weed free as possible is to dig out all the grass and soil about 6 inches deep, then adding in 3-4 inches of compacted road base, followed by a good 2-inches of compacted decomposed granite. The compaction is necessary to keep weeds from growing, but it still allows plenty of drainage after a rain. Note that there is no need for any sort of weed barrier, which is good because weed barrier is notoriously ineffective.
I couldn’t bear to take many pictures of the Before Path. It was so overgrown and too ugly to share, so here’s all you’re getting. Yeah, not pretty, and really embarrassing.
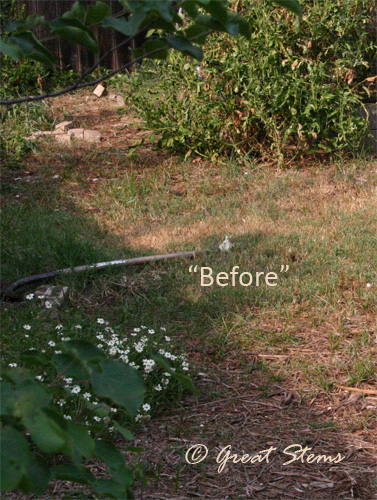 Mowing had become a joke, and the fact that mowing was even required made me all the more annoyed. You can see why we needed to do something drastic.
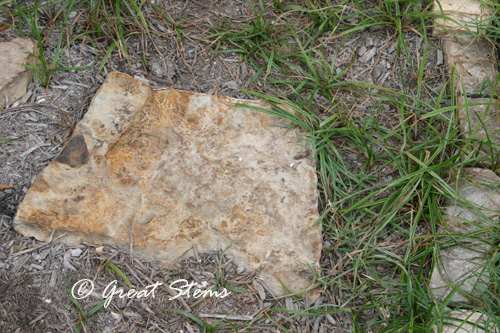
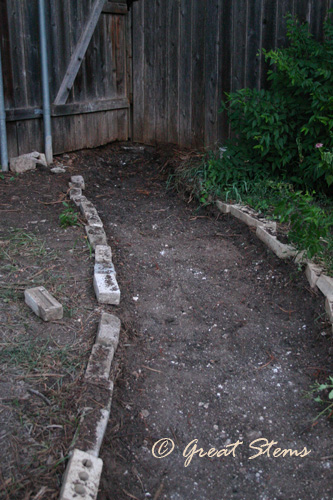
The first step was to scrape out all the weeds. Hey, look — something like a path was under all that grass!
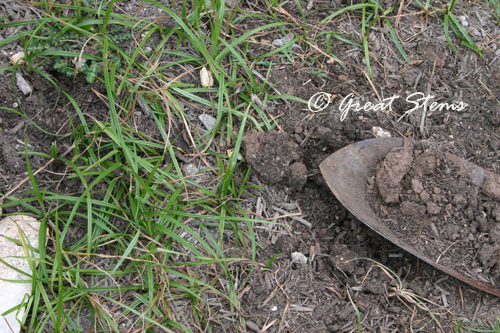
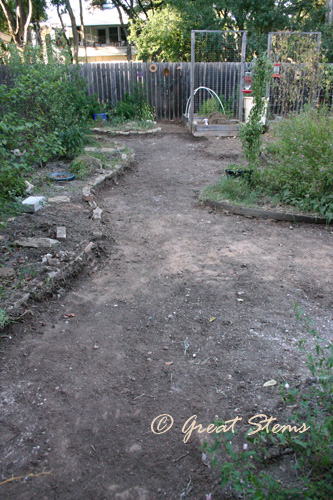
 And then the real digging began (this part we had to hire out). I am not even going to pretend that this was easy. Six inches of compacted clay- and rock-filled soil, thick with Bermuda and other roots, does not come out willingly. All that topsoil is now a big hill in the back of our yard, ready for a nice groundcover or vine to take it over — or perhaps we will find another use for it later. Right now it serves as a visual barrier to our wildlife-friendly brush pile.
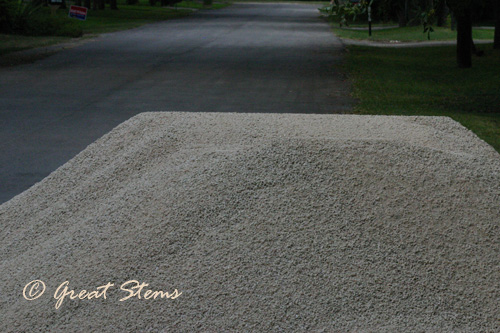
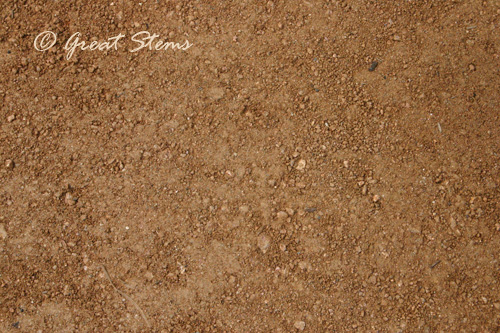
 During all of this work, the first round of material arrived. We ordered 3/8″ limestone dust, a fine aggregate base. The scary part was whether we’d accurately calculated the number of yards we needed. Fortunately, we were well on target.

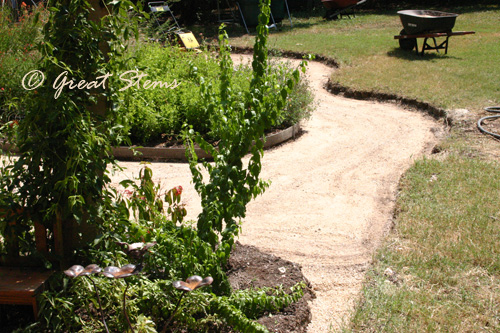
 The first layer of aggregate base further helped us to visualize the path to come.
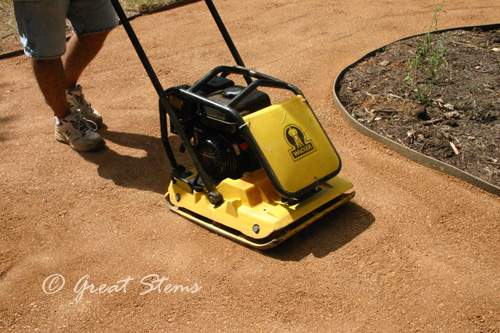
 We compacted the dust in thin layers as we went along, until we had about 4 inches of good base. There are different ways one can go about compaction — a tamper or a water-filled roller is an inexpensive option. However, we decided after much discussion that we would go ahead and rent a vibrating plate compactor to help us with our large garden path. It was unfortunately gas-powered, but it gave such amazing results that I don’t regret it. We did use a tamper from time to time as well.
Along the lawn side, we decided that we’d feel better about having some low edging in place. I purchased from Amazon some Master Mark brown composite edging — made of nearly 100% recycled materials. Not only was it SO much cheaper than edging found at the box stores, it is available in 5-inch by 40 feet lengths, and very easy to use. I did, however, get brown metal stakes from a box store, on recommendation from a reviewer. Good call. We’re very pleased. You can see it on the final shots.
If one plans on laying down flagstone, the next step would be to put in 1-2 inches of sand. We had decided against the stone, so we went straight to decomposed granite, aiming for about 2 inches of compacted material. Again, we compacted the layers in 1/2-inch increments, creating a very solid base.
 Compacting in small increments is so very necessary. The reason is three-fold — it keeps the weeds out, it keeps the decomposed granite tight and in place, and it minimizes potential mushiness after a rain.
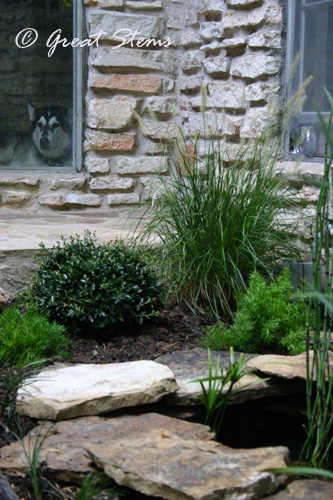
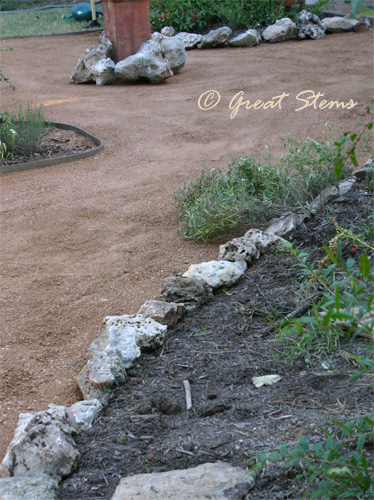
 And finally, we lined the beds with limestone, most salvaged from our own yard.
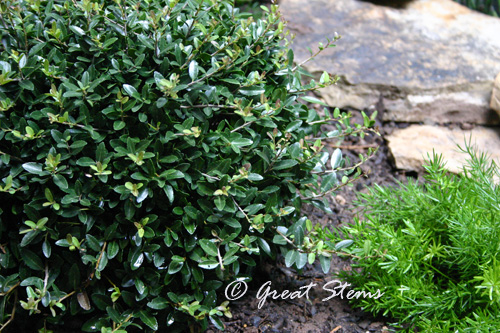
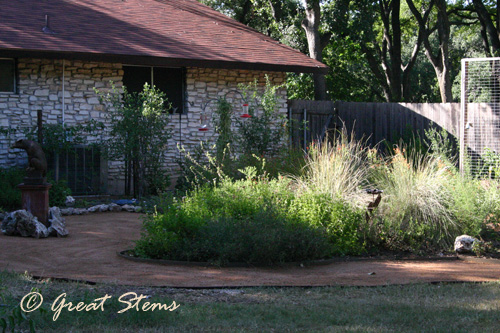
 We LOVE the results.
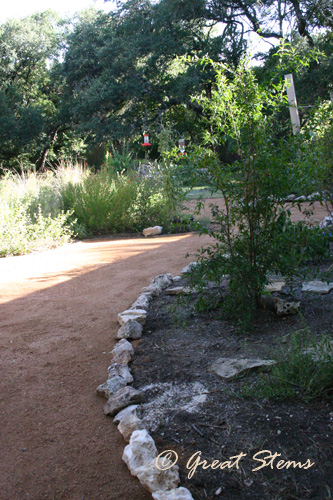
What a breeze it will be to take care of the garden compared to how it used to be. And we have had a major reduction in the size of the lawn, so less mowing.
 The veggie garden will be a much more pleasant place to work this fall. Excuse the lack of green activity while we wait for cooler temperatures.
 And there you have it. Would I recommend this pathway technique? Yes and no. If you are determined to stay weed free and don’t mind the work and extra materials, then absolutely, this is the way to go. But many kinds of casual pathways don’t need this kind of detail, especially if the area isn’t heavily prone to invasive plants. We, on the other hand, were in a war against major weeds in our full-sun garden, and we wanted to WIN.
Do I wish the pathway was fully flagstone or another kind of stone? Sure, a little bit, but there is a casualness to our limestone ranch house that doesn’t warrant so much “luxury,” though we do use a little flagstone in various locations. The way we went about creating the path adds to its pseudo element of formality. It is clean and defined, and mess has been minimized.
One very nice thing about our large pathways is getting to walk side-by-side with my hubby through our garden (and the dogs not tripping us as they run by).
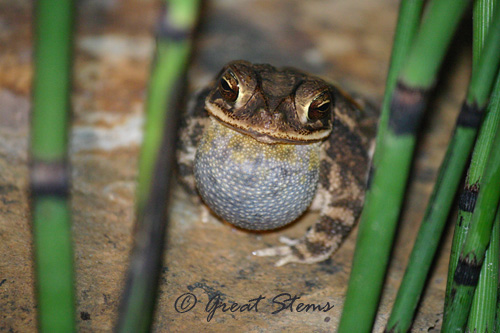
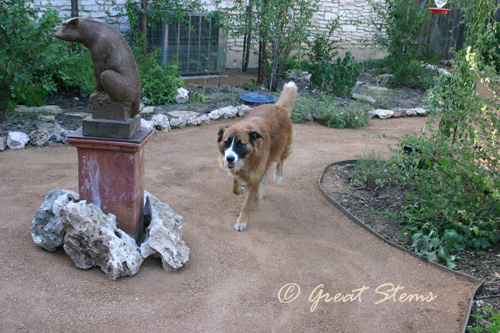
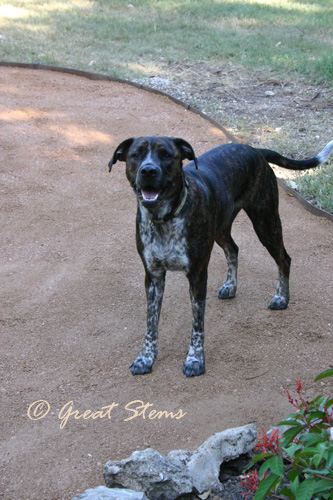
And Grimm is happy, too — our garden guardian, seen here in his new pathway spot.


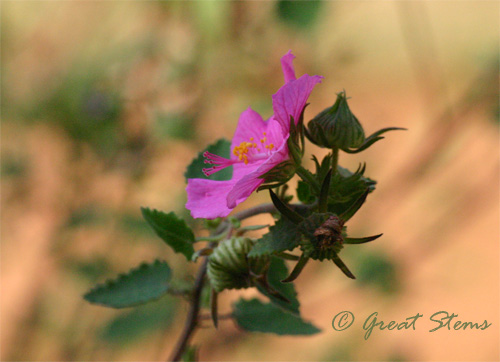
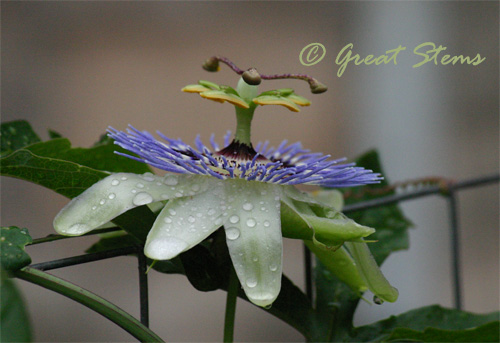
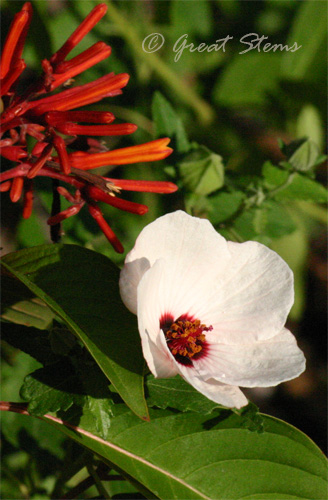
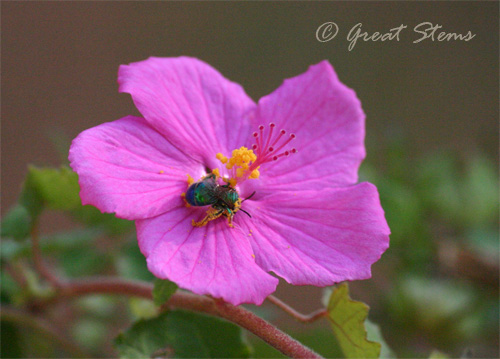 The Pavonia flower closes at night and reopens in the warm sunlight. I just love its closed state, like a little flower puppy or kitten all curled up and sleeping. Here is the Brazilian Rock Rose, Pavonia braziliensis, looking like a tiny peppermint-candy rose bud.
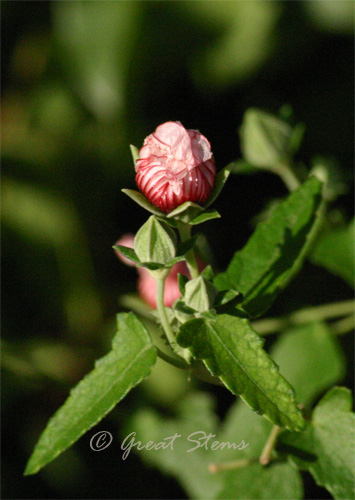
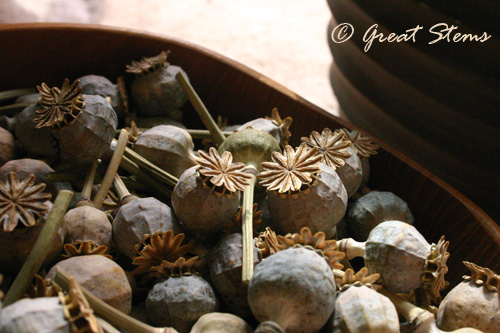

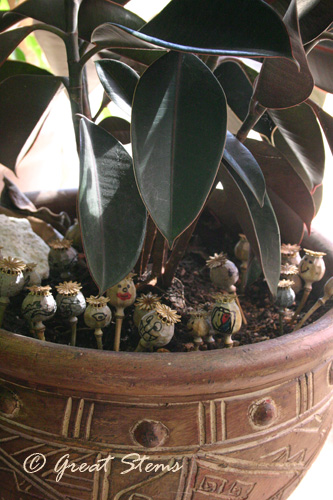
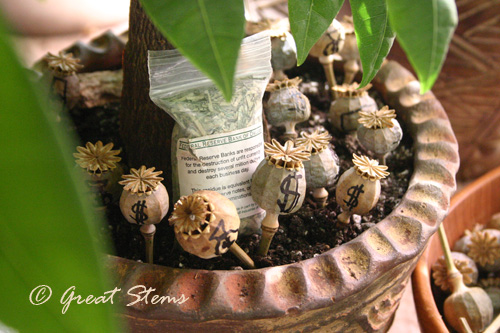
 They stay planted in their belief that goodness will always prevail.
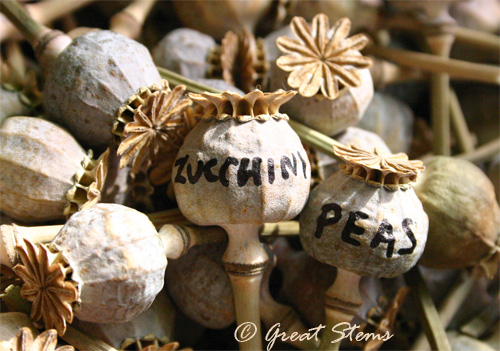
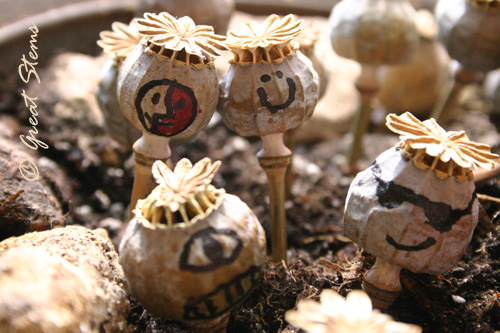 They encourage hope and inner peas to grow, and they root out evil.
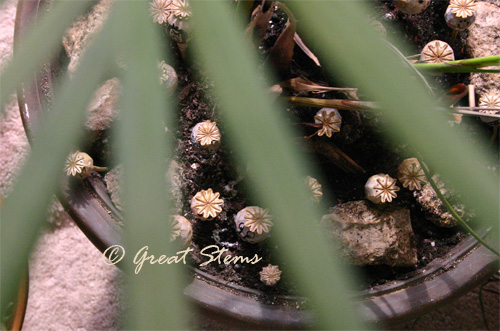
  Most importantly, they defend our indoor plants from the villainous doings of alternative-litter-box-seeking kitties. Yes, they are anti-poop poppy pods.