Meet the wood path that cost us nothing but time and the purchase
of a $50 electric chainsaw.
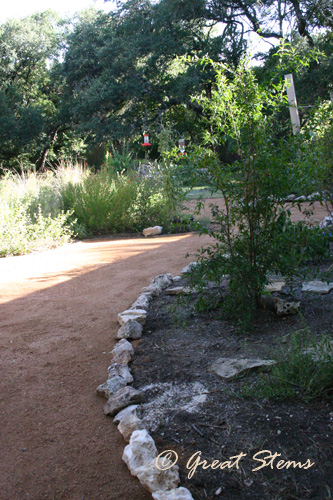
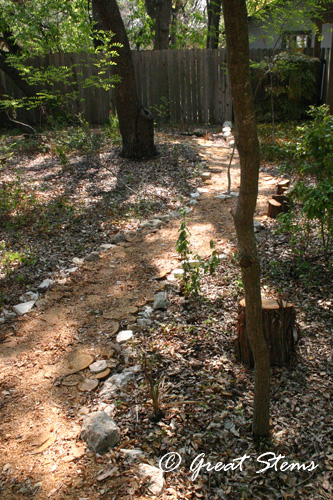
Our side yard has long been a wild mix of large trees, understory trees and shrubs, brambles, and a set of plants I'll just refer to as "miscellaneous." I consider it woodland despite the fact that it sits between two houses, and in fact it serves as a small habitat corridor that is very popular with the wildlife. I'm quite fond of this area, and I intend to fill it in with many more wildlife-friendly native plants to serve as a habitat, visual screen, and sound barrier (we live near a highway).
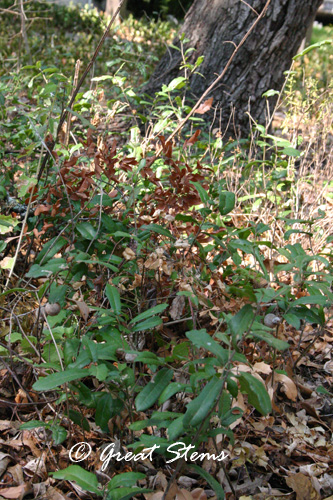
We've attempted planting a bit here and there. However, the Oak sprouts mixed with the prickly vines of Dewberry and Greenbrier have been, if you'll pardon the pun, a thorn in my side. I don't actually want to get rid of them, but I do want to control them so that I can increase other plant diversity. It was clear that I needed a better plan of attack so that I could successfully manage the area. A pathway was in order. But I wanted it to be natural, cheap, and nature-friendly.
I thought about just using cedar mulch. But I wanted something that would be clearly defined and easy to maintain -- mulch can spread beyond its original boundaries and will sometimes still let weeds through. Decomposed granite has its own issues. But thanks to a few cedar logs I had around from a previous project, I became inspired to slice them up to create mock flagstones. Of course, I needed a lot more logs, so I looked for free wood of various diameters on Craigslist. I think we used about three mini-van loads worth for this project (I'm so technical).
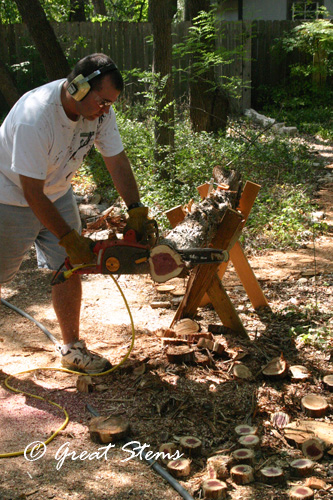
We realized pretty quick that it takes time to slice up a lot of logs. To make it easier, my husband built a little stand to hold the logs -- what a difference that made. While he cut the logs into roughly 1.25" slices, the rest of us cleared brambles and miscellaneous plants to create a pathway through the trees.
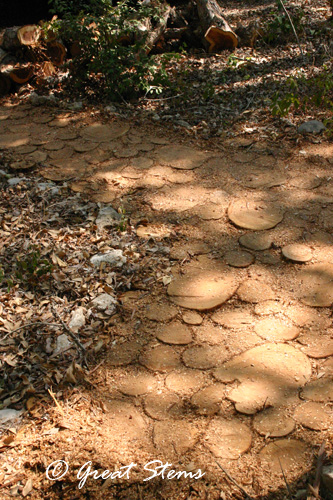
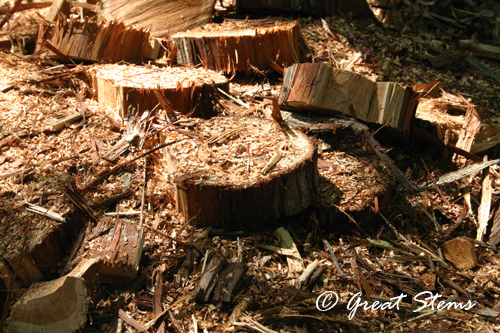 I had fun laying the path -- it was like working on a giant jigsaw puzzle. Of course, it was pretty easy to fit the pieces together on this one. You can see the red color of the freshly cut logs mixed with older slices that had already turned brown.
And rather than lay them in sand, which I never like mixing with clay soil if I can help it, I just laid them directly on the dirt.
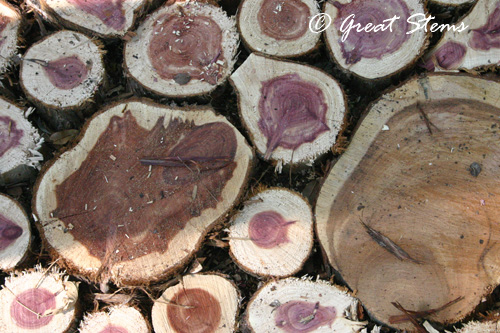
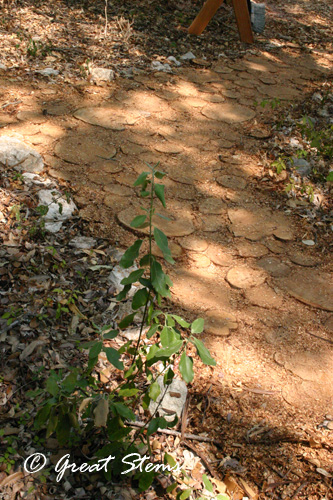
 The log slices follow the natural ups and downs of the soil -- I made no attempt to level the ground anywhere.
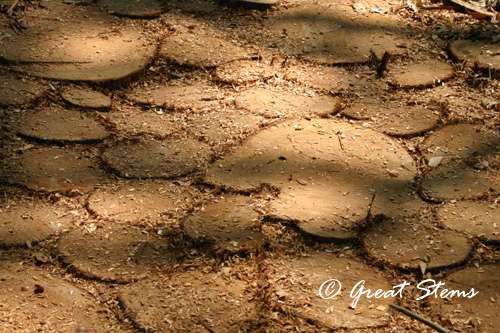
 After laying the path, I spread leftover sawdust to fill the gaps between the slices, like mortar -- except not like mortar.
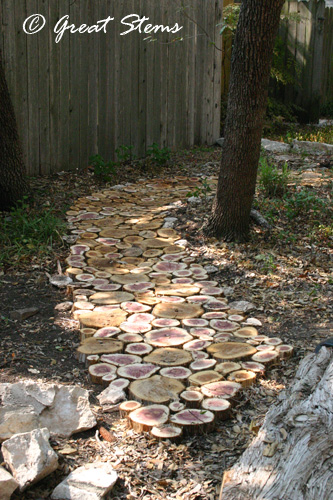
A view of a longer portion of the path, still covered in a cushion of sawdust
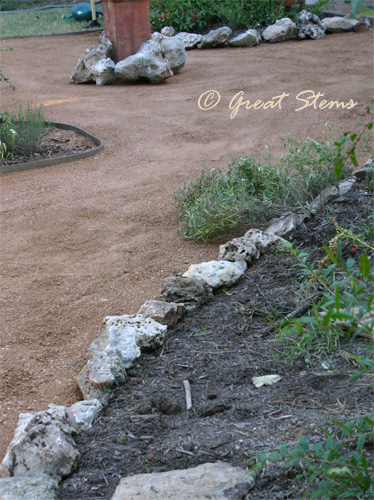
I also added a few small limestone rocks gathered from around the yard to give a casual border to the path. The path defines the future planting areas for the tree-covered area. I envision an assortment of understory trees, shrubs, and perennials adding pleasant greenery to the already scenic wood path.
To show off the cedar, I swept the wood path with a broom. The sawdust between the slices created a finished look. Here's where I'll admit that I actually like the path still fully covered in sawdust equally as well -- the sawdust gives an extra cushion that lets you bounce a little along the path. But then you miss getting to see the log slices underneath, and they are just plain cool.
Cedar log slices with saw dust used to fill the gaps
I am obsessed with our new path. Everytime I look at it, I just sigh a peaceful sigh. Of course, it's still too hot and dry to plant anything around the path right now, but the path is so pleasant in appearance that while inside I repeatedly walk over to the kitchen window to see it again.
The advantages to this wood path are many, as I have discovered:
- It's natural and organic
- It's free (except the electric chainsaw, a small one that we spent $50 on)
- The wood is locally obtained and grows readily in Central Texas
- The space between the slices easily lets moisture penetrate the soil below
- Ashe Juniper is naturally rot resistant
- It's comfortable to walk on
- You can walk barefoot on it, too
- Log slices can be easily moved around or replaced, not that we've had to
- The path stays in place without shifting
- The path can be swept with a broom or raked
- It's easy to create
- I can use leftover wood bits in my closet to keep moths out. And the cedar smells great.
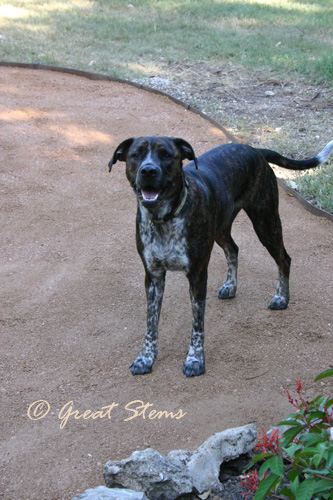
 The logs are staying nicely in place, human- and wildlife-tested. Were this path in our backyard, I'm certain that our big, rambunctious dogs might test it to its limits, though.
Is this a weekend project? Yes. Did it take us months because we are lazy slowpokes? Yes. But do we love it? YES!


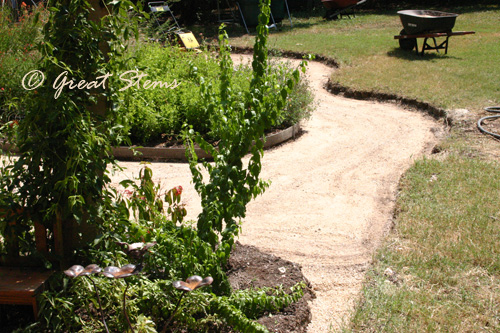
 One might think that August in Texas is not the best month to create a large garden path in the full sun, and that person would be right. But there are some plus sides to creating a new path in August, even in the 100+ weather. One, hiring for some of the work we couldn't do meant helping out other families in need of some income during what is a slow month for many workers. Two, landscape supply companies were very open in terms of delivery availability and quite eager for business. Three, the heat certainly wasn't slowing down the growth of Bermuda grass and Nut Sedge, so why let the weeds continue their world takeover by waiting until autumn to work on the path? And four, if we went ahead and tackled the path in August, then come fall we could actually focus on enjoying the garden, instead of crying about the weeds and miserably wishing we had a real garden path.
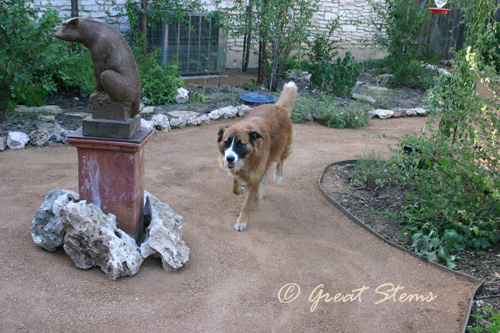
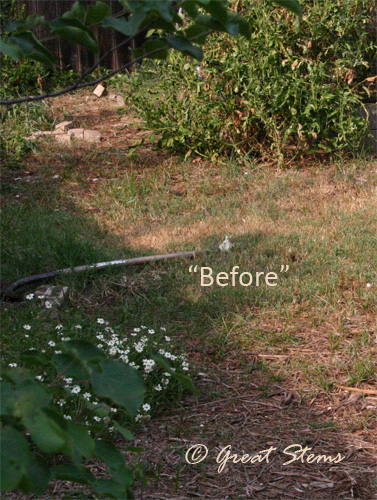 Mowing had become a joke, and the fact that mowing was even required made me all the more annoyed. You can see why we needed to do something drastic.
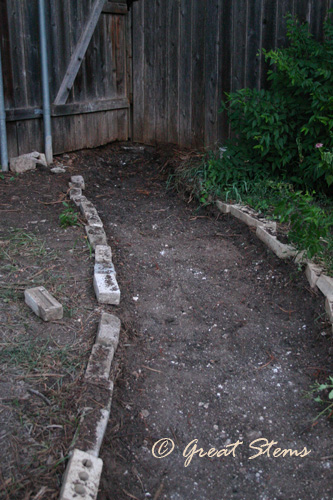
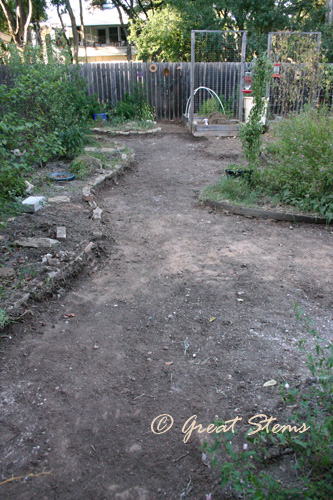

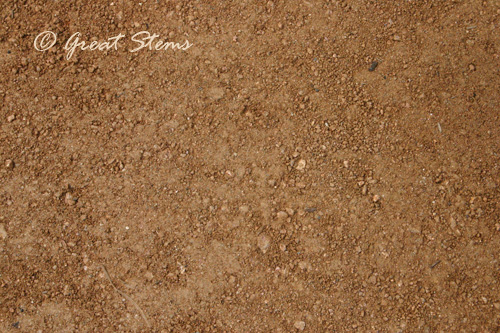
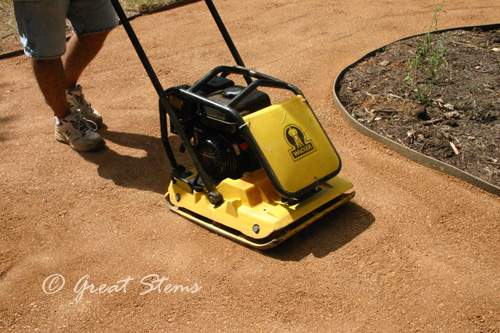
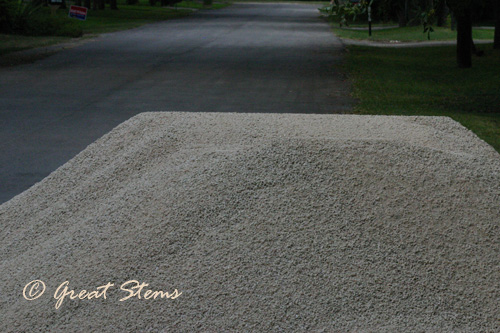 The first layer of aggregate base further helped us to visualize the path to come.